Thursday, February 27, 2014

Trumpeter P-40 B/C in 1:72 scale

So I started my 2nd plane model.  Another 1/72 scale WW2 fighter plane.  This time I am making an early P-40B in Chinese service.  The fighter was flown by US pilots in China against the Japanese forces, but after US pilots were pulled out, the planes were flown by Chinese pilots.

So here are the first steps:

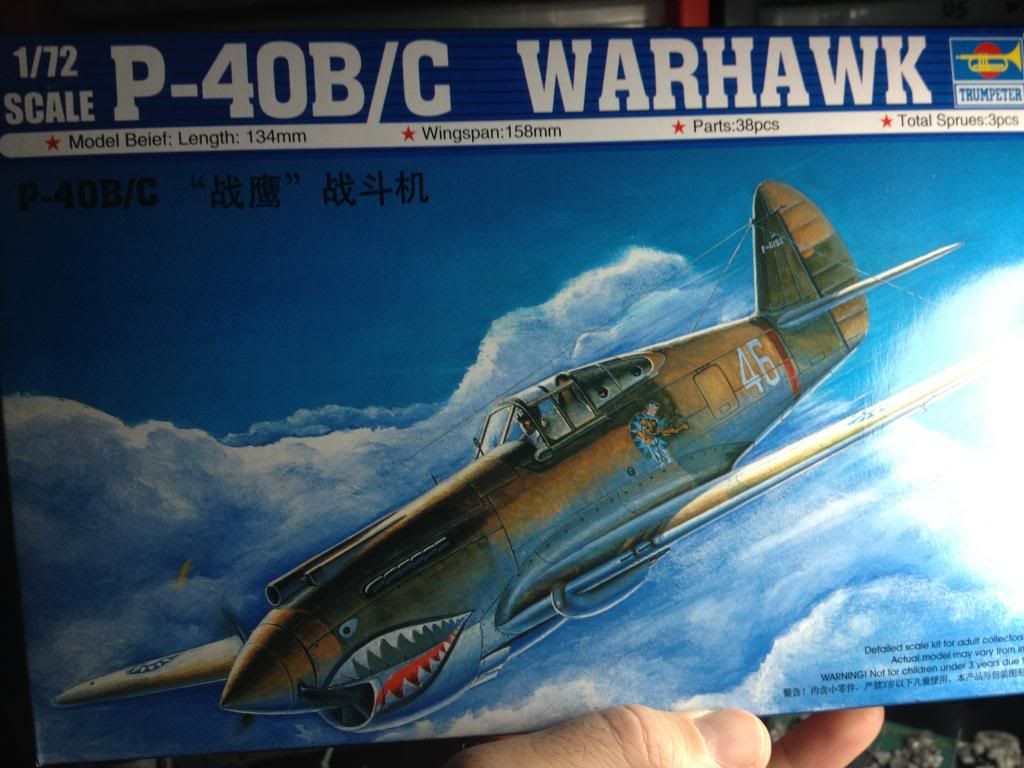
Box art of model.  Looks cool, can't wait.

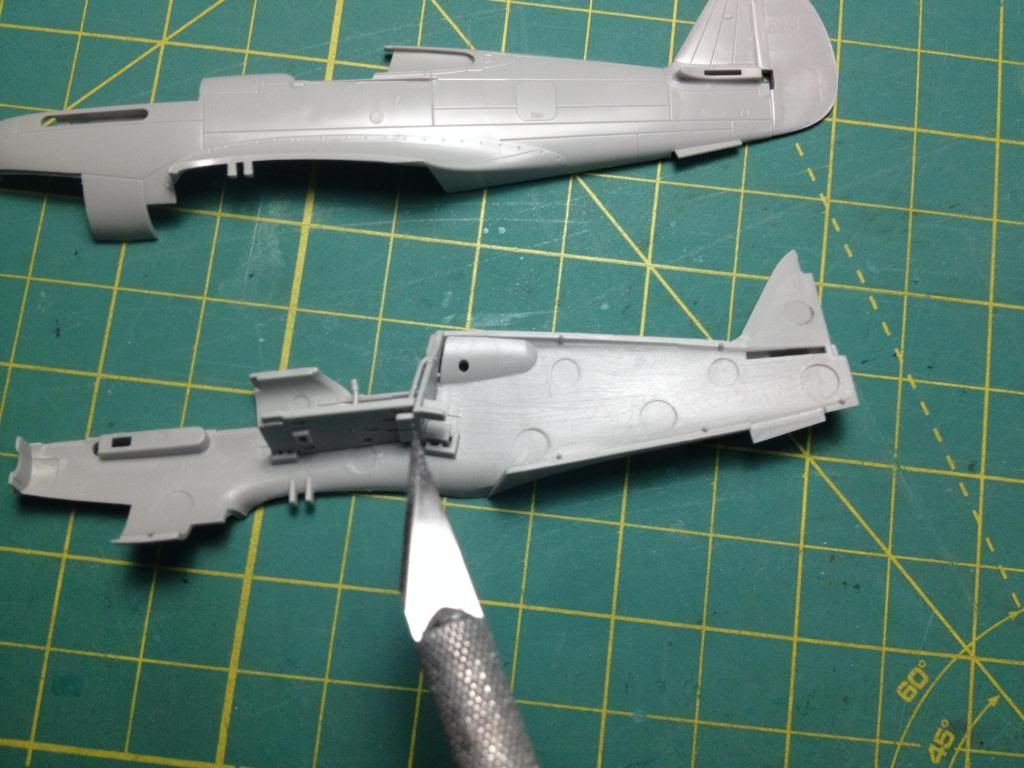
After cutting the parts I will be dealing with first from the sprues.  Not bad on the detail.  I hear there are some improvements over the 1/48 and 1/32 versions that had rivet accuracy problems.
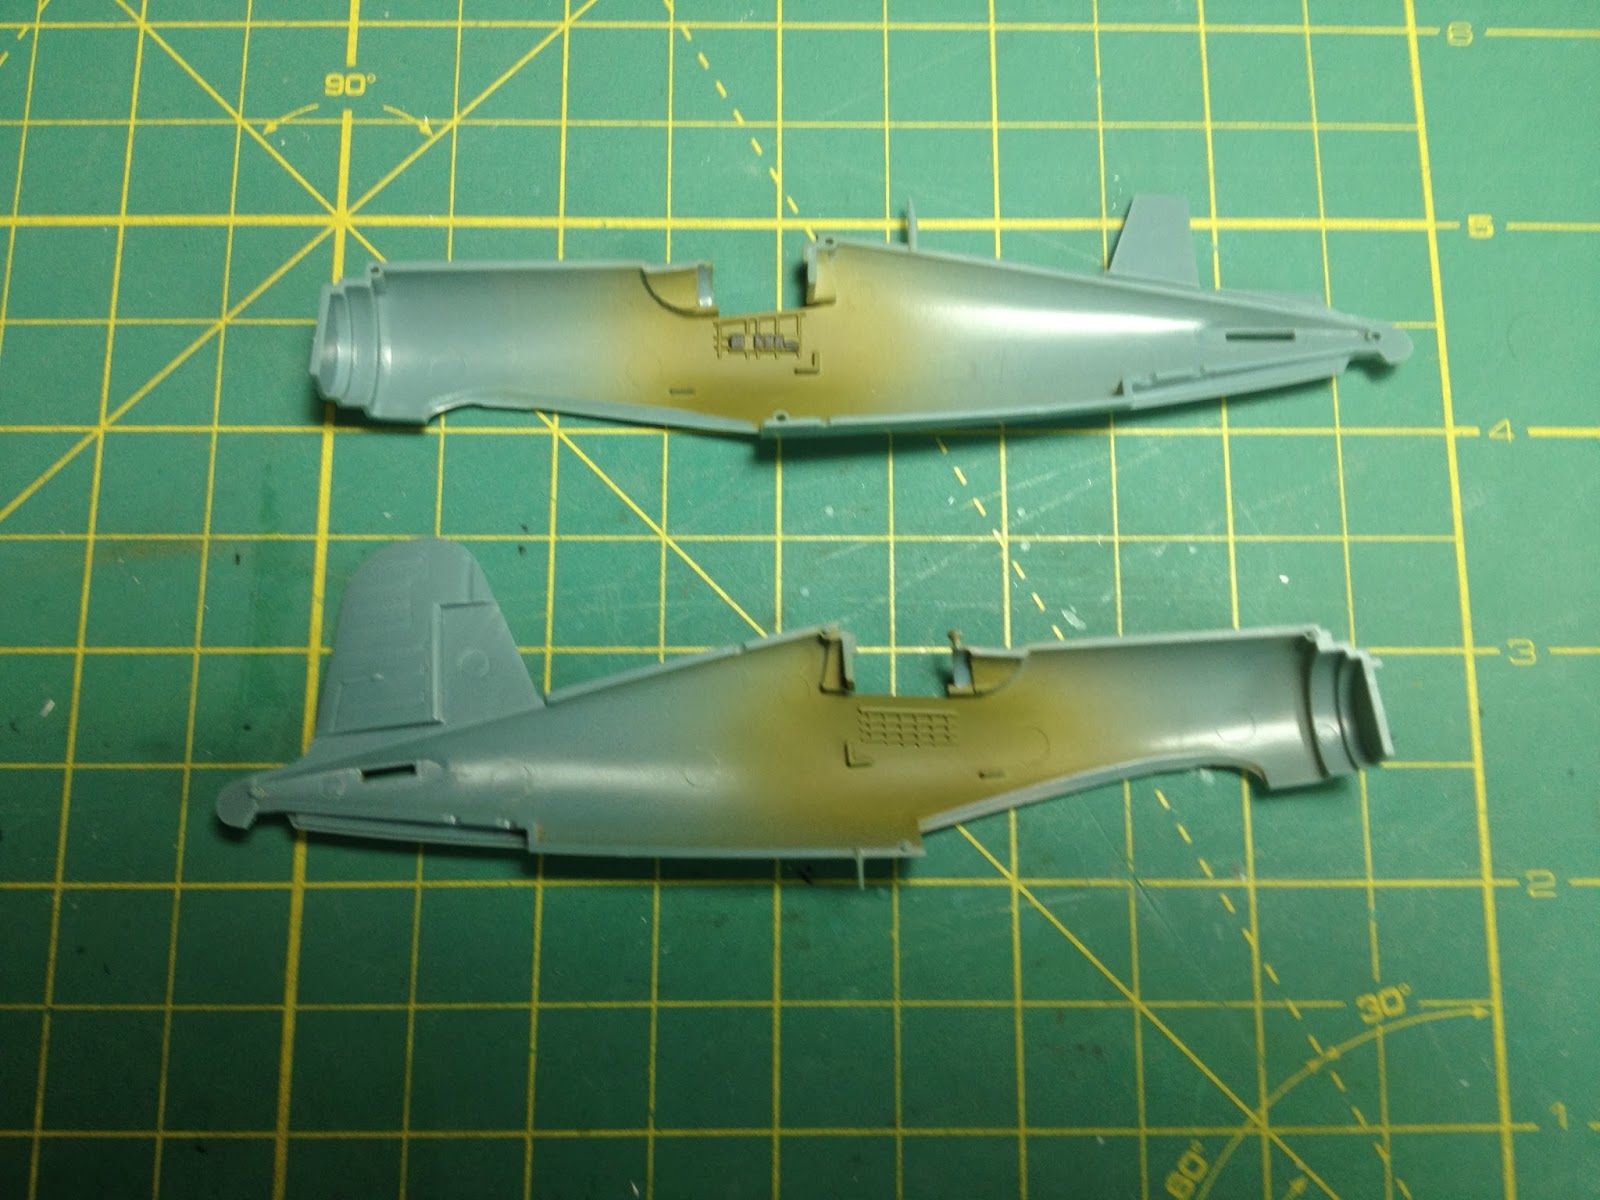
When you build this part, make sure you dry fit it and glue the back and floor together, then remove it and glue on seat and then paint. 
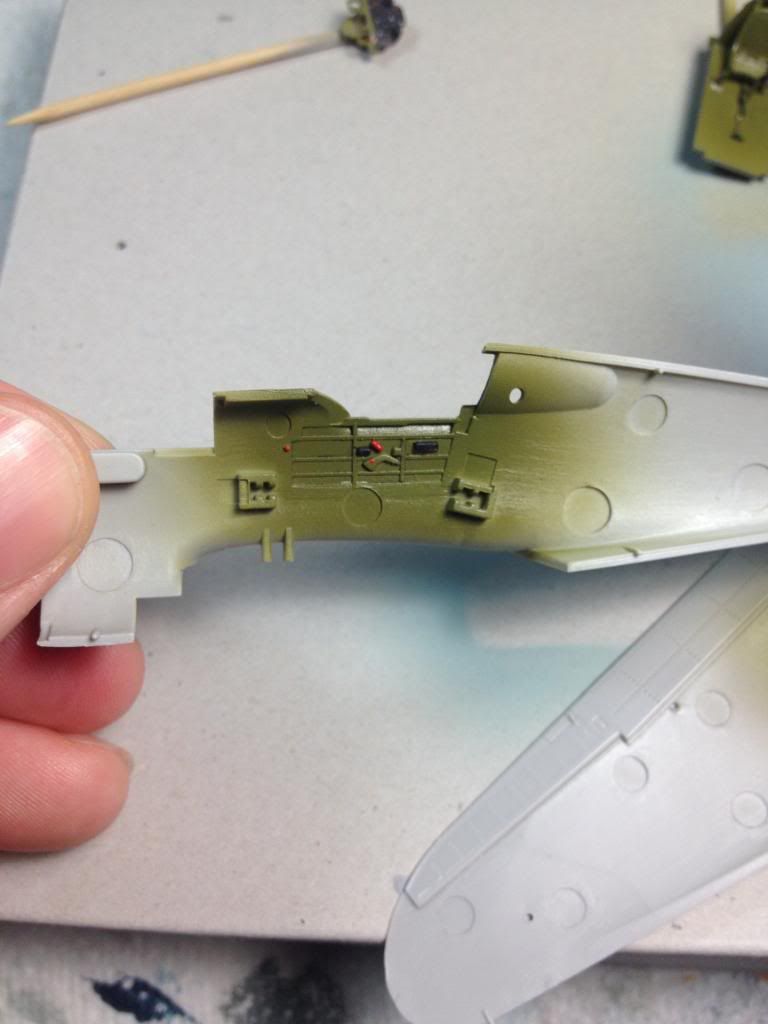
Here I have the cockpit primed, painted and glossed so I can do my pin washes.  You can see other painted parts in the back ground.
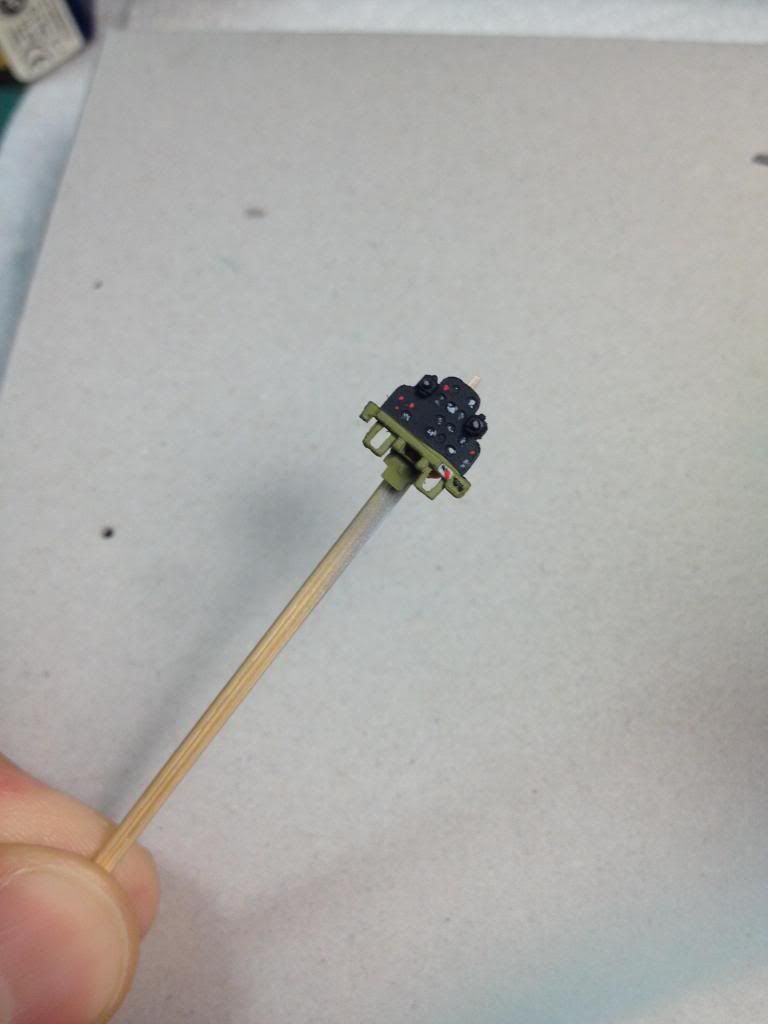
Instrument panels.  I will be touching up the rear parts of the .50 cals.  Just enough to make them look more like HMG then part of the panel. 
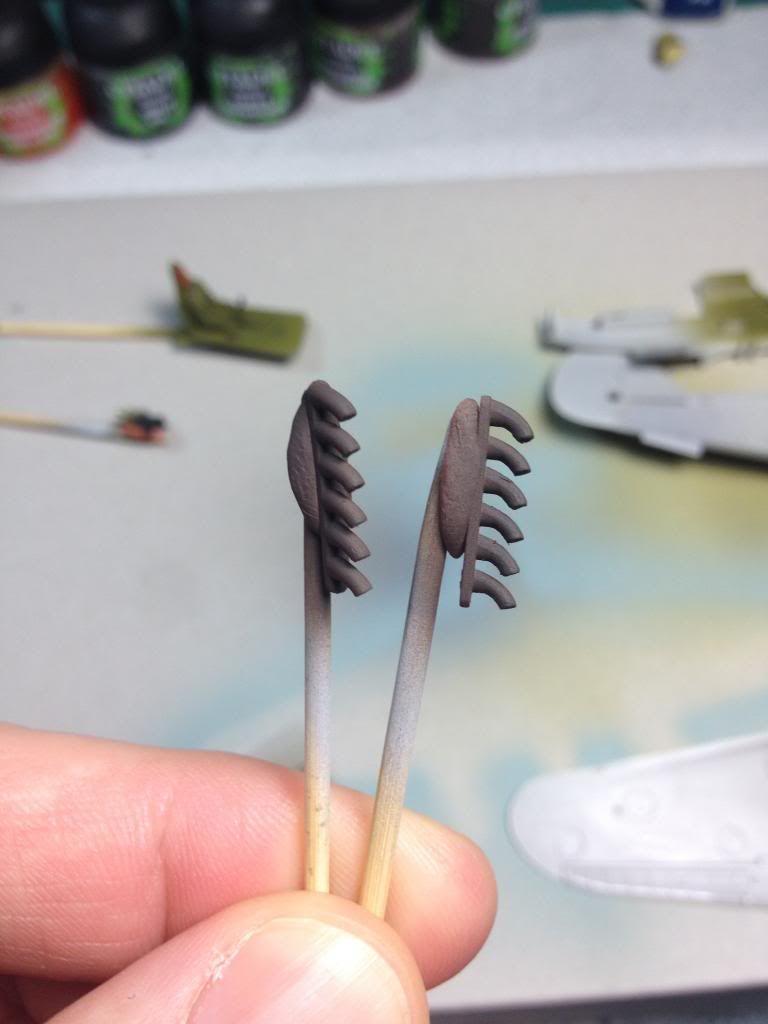
I painted the exhausts a track color.  I like this color as it resembles metal that isn't new, yet not too old and rusty.  A little weathering etc will make these look great. 

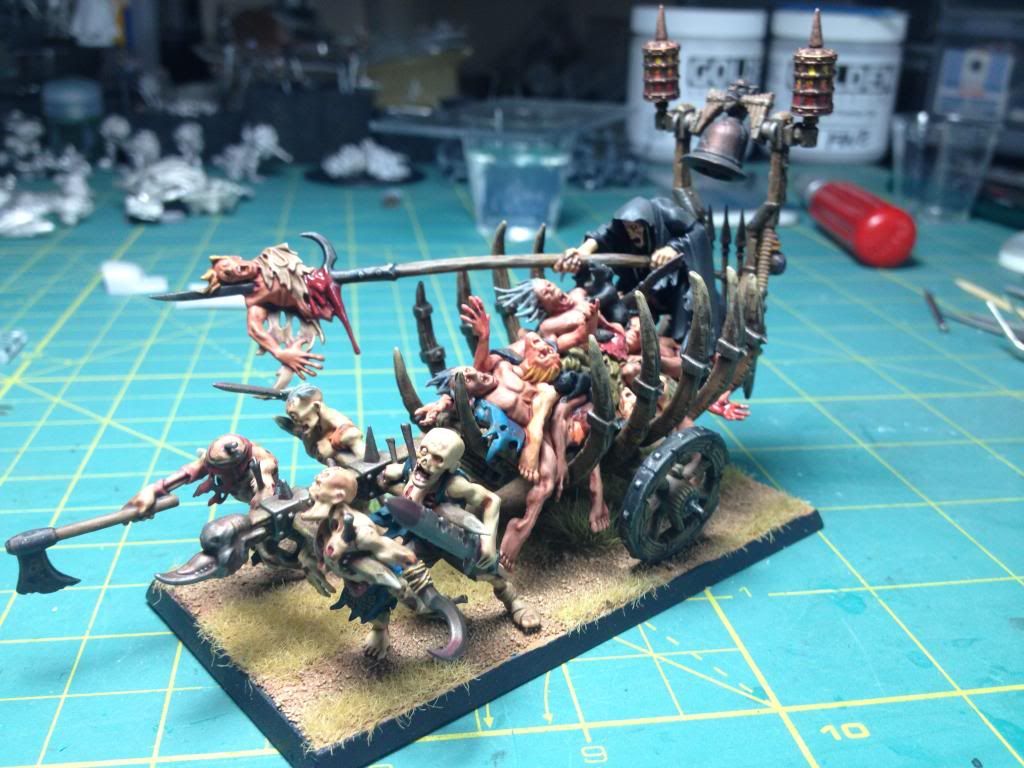
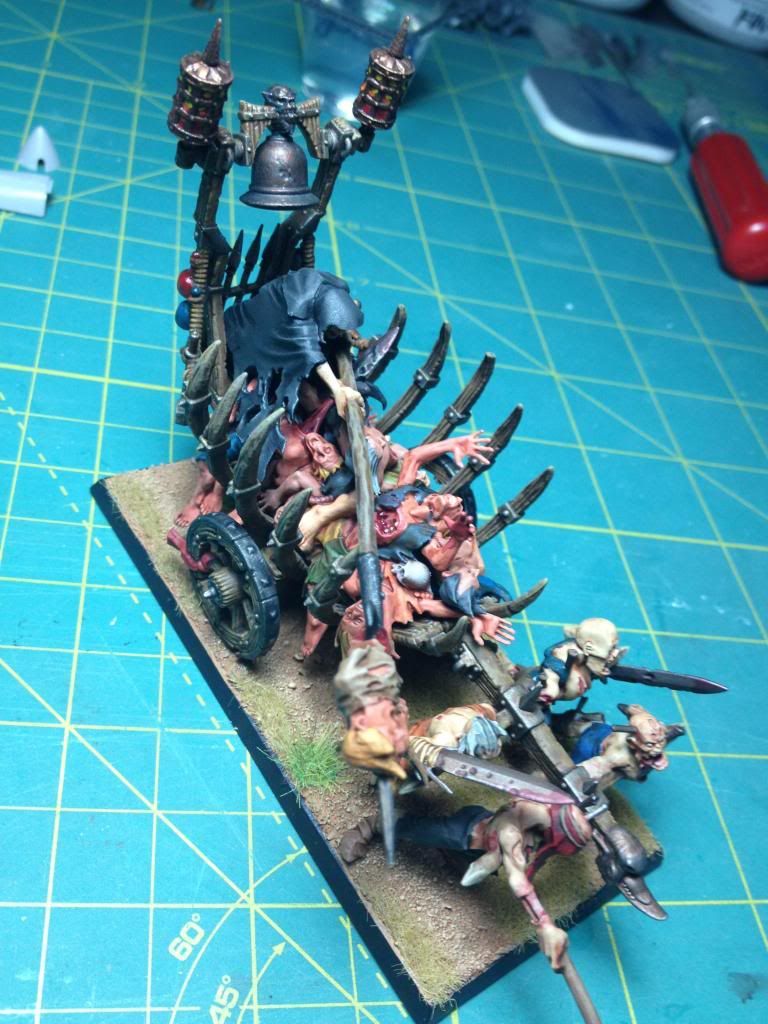
WALKING DEAD! Vampire Counts Games Workshop WARHAMMER.

So years ago I started building my Vampire Count army.  It is a very cool looking army and an interesting one at that.  I have yet to play with it as it is not fully complete, or even complete enough to play a small game with, soon.  Here is my corpse cart.  I used washes on this.  I like how it turned out, BUT it was tough to paint.

Friday, February 21, 2014

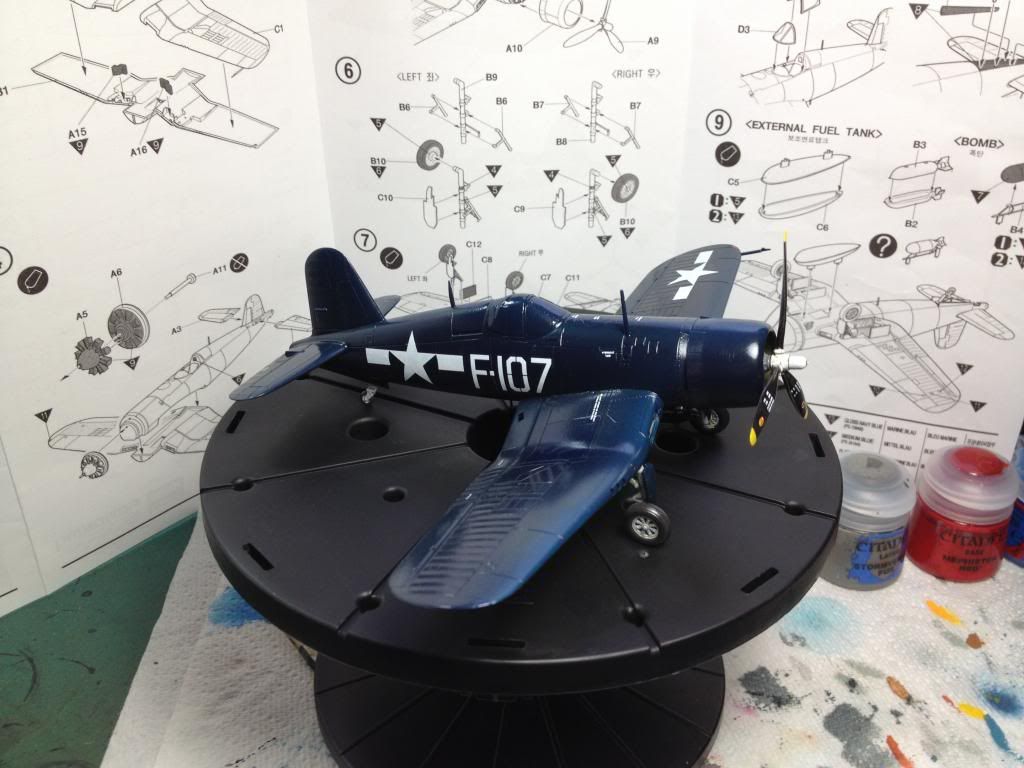
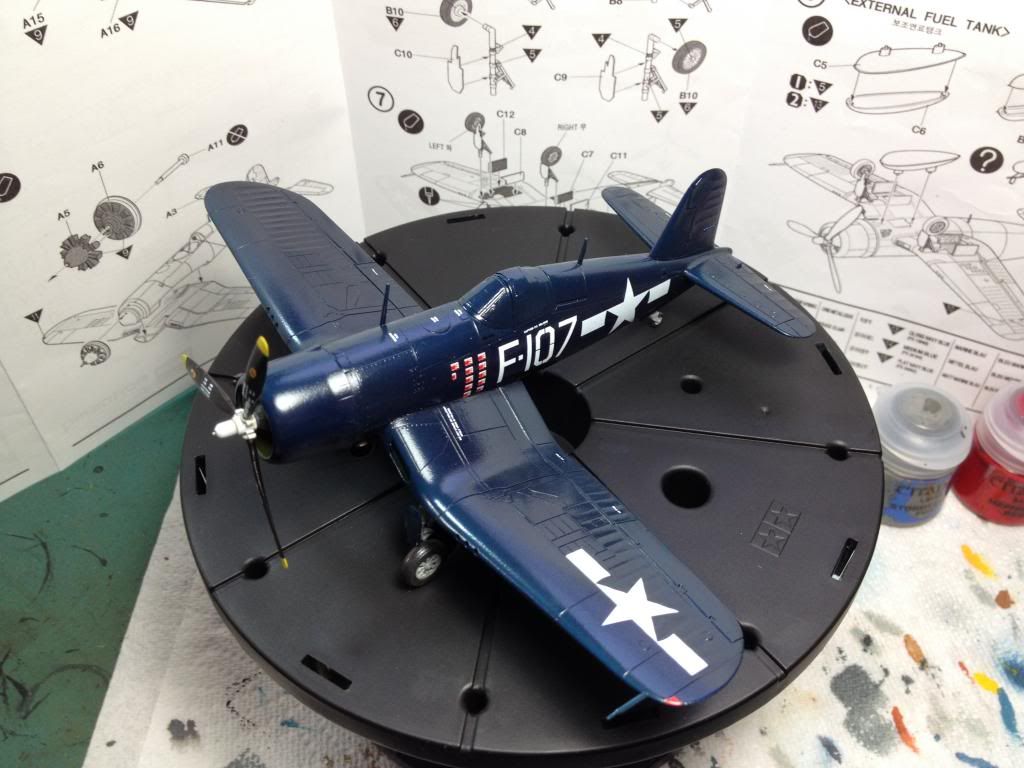
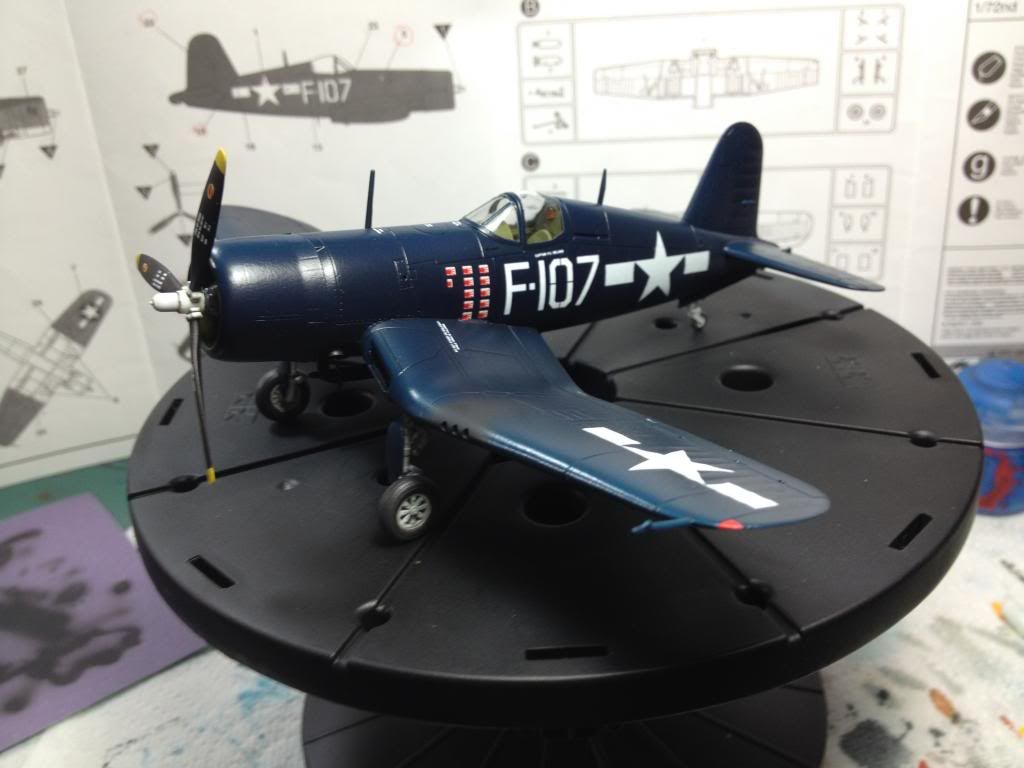
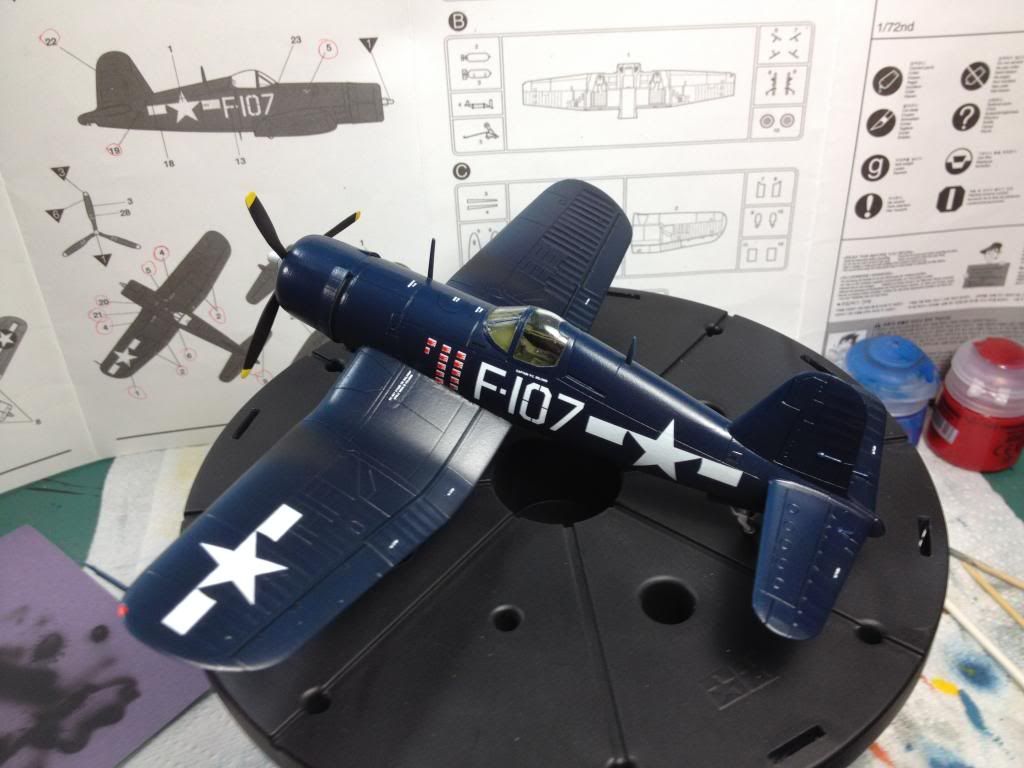
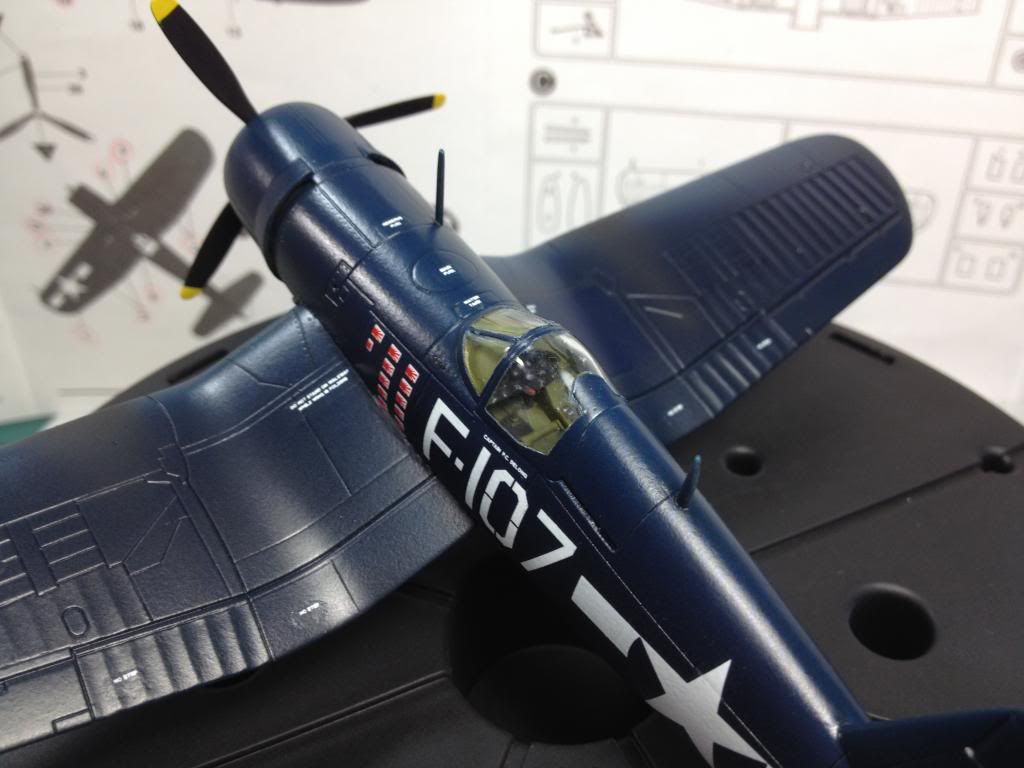
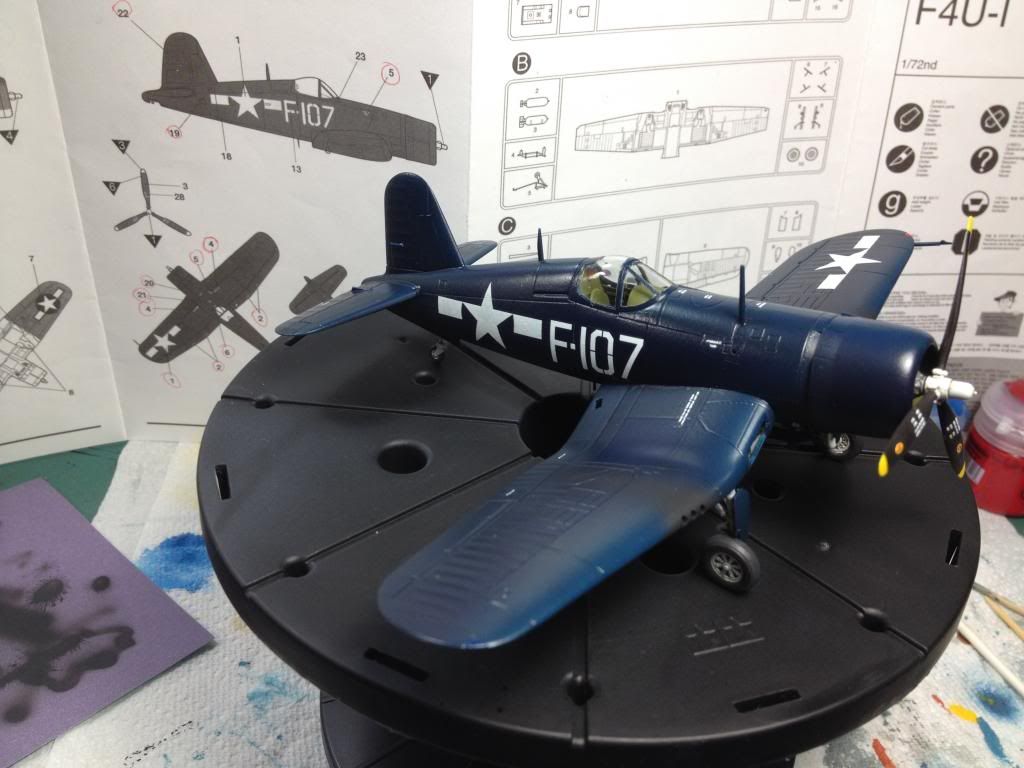
F4U Decals, Pin Washes and Done!

So at the decal and pin wash stage.  The Academy decals SUCK.  They are very durable BUT they do NOT take to Solvoset at all!  I didn't have any other decal softening agent left so this process was VERY annoying and took a while. 
So after the pin washes were completed after decals, I hit it one more time with satin coat (which is WAY to shiny) and added some streaking on wings, and fuselage. 

I did NOT like the sheen.  Too glossy even for US NAVY Blue Gloss.  So I decided to give Alclad Aqua Gloss a try.  I know it is a GLOSS but I heard good things. 

BAM!   Perfect sheen.  This product went on out of the bottle, NO cutting with anything else.  It was perfect!  I sprayed it at a 18-20 psi out of my airbrush. 


I did however totally mess up the gun smoke!  I am NOT happy with that.  I guess the paint wasn't thin enough and blasted out.  Oh well.  ANOTHER lesson learned. 
But the sheen is awesome. 

DONE!

Thursday, February 20, 2014

War of the Roses 1455 to 1485. Impetus Rule Set.

The English aristocracy was involved in ware amongst the ruling families of the time.  It was after the 100 years war between France and England and MANY soldiers were out of work.  Hey, it's time for a new war!  It makes for a fun table top war game. 

At the time of this war, shields had fallen out of favor, so you will not really see any.  Long bow units made up a huge part of the armies, and as a result, HUGE number of troops and nobles were  hit by them.  Over all, the casualties were not as high as one would think, but many nobles and aristocrats were killed in battle, or captured and executed. 

A few friends and I are building a starter army to test out the Impetus Rules set.  I chose Richard Neville, Earl of Warwick, the King Maker.  Being he changed sides mid way through the war, I thought I could have more gaming and modeling freedom.  His brother (or was is cousin) also commanded forces, with is own colors. 

My forces also have Burgundian mercenaries.  They are the guys with red X on the front ad back of their Uniforms. 

The bases are NOT yet painted.  Again, these forces are modeled for the Impetus battle rules.  Miniature dioramas as they are known. 

 These are the basic billmen infantry.  They are Perry miniatures.  These guys are a mix of new plastic and older metal figures.  Richard of Neville used RED liveries with a small white barbed staff of sorts.
 Richard Neville on the white horse, his men to his flanks.  The one on the left holds his banner, but the banners have not been put on yet. 
 More billmen.  All these, except the guy getting hit with an arrow are Perry Plastics.  The casualty is Perry metal.
   Men-at-Arms.  Now I know that during this war, most armor, especially for upper class warriors was polished.  But I do not like that look, so I toned it down a bit.  Furthermore, I do not like th elook of painted armor, as many did, so you wont see any of that in my army either.  :-)
Burgundian hand gunners.  Most hand gunners were mercenaries, and so were most crossbowmen.
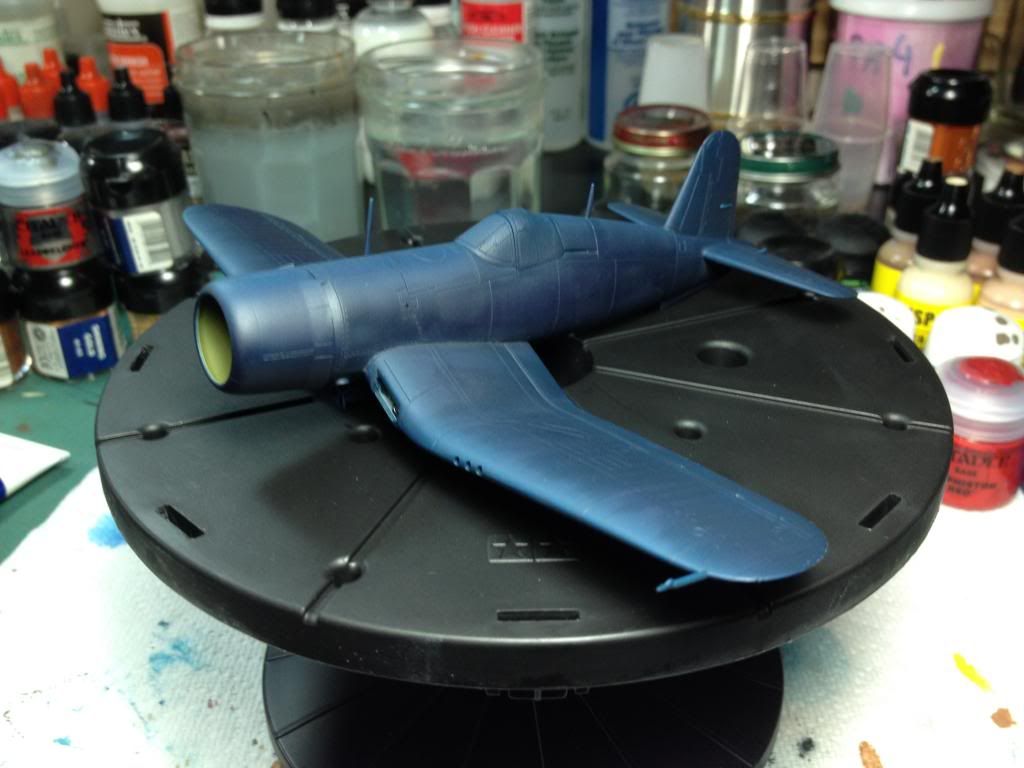
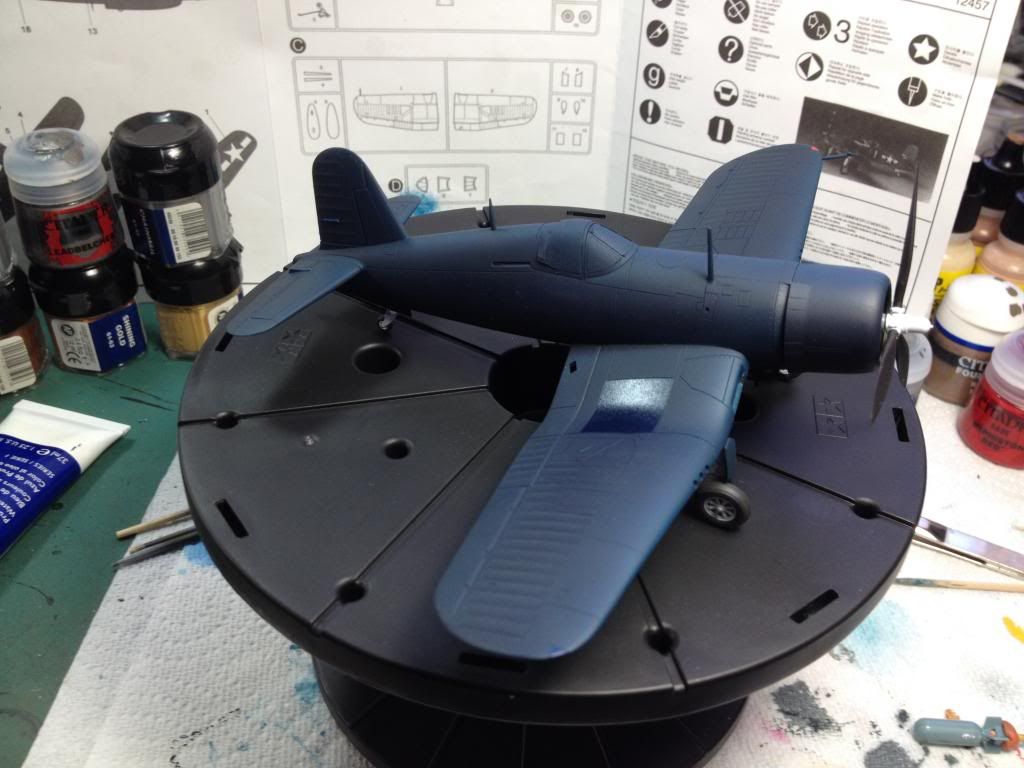
F4U Filters.....HUGE leasson learned.


Then came filter time.  I have applied filters to countless tanks, from 1:35 scale to 1:100.  I have never not been happy with a filter, TILL NOW.  I think the filter from AK Interactive was too thick.  I was NOT happy with the filter.  I used the blue filter for panzers, thinking it would tone the blue down a bit, but it was very visible and dirty looking!  NOT HAPPY.  I should of made my own filter.  I ended up making my own wash. 

Being the filter looked like shit, I tried to remove as much as possible and carried on. 
Next step was to clean off the excess filter and add a diff blue (Tamiya Royal Blue XF-3) to 2 panels to add some variation.  I added it to the right wing and one of the wheel hatches on the left wing. 

F4U High Lights etc.

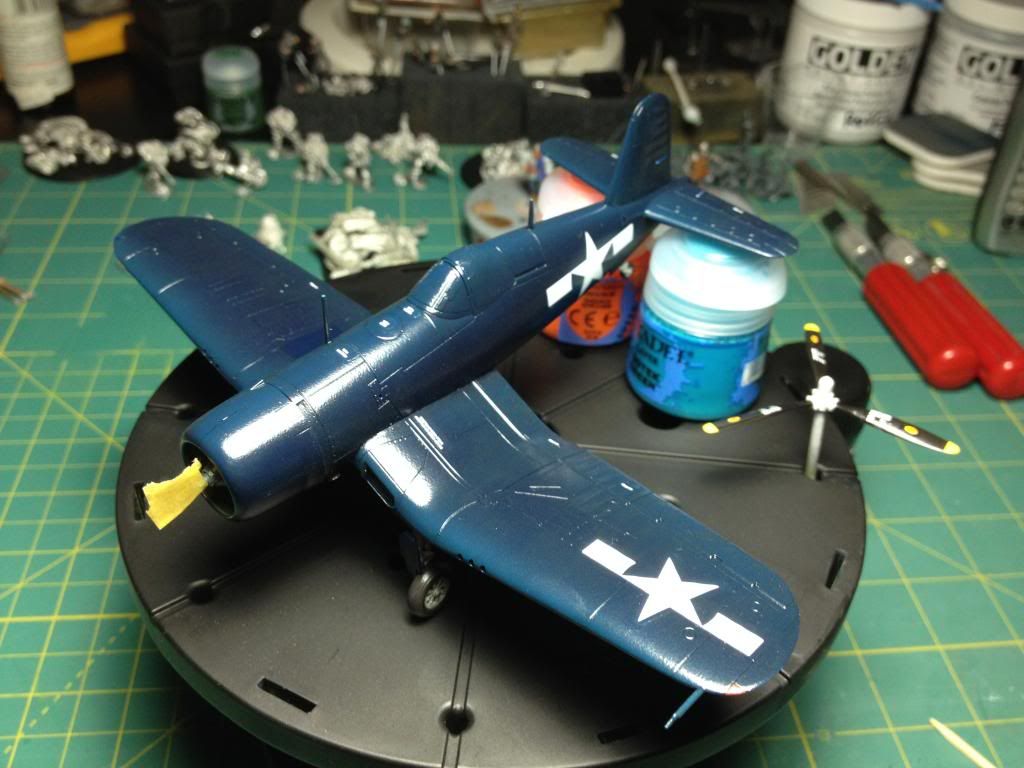
So after the first pass of the blue color (Vallejo Model Air) which is their closest to the FS color required, I also added a drop of white to make it more to scale, I decided to add some high lights.  Somewhat Mig modulation style, but not exactly.

As you can see, I hit the front of the wing edges and top of plane going down the middle.  So far I like it a lot!

Building the Academy F4U

Here is the model glued together.  the fuselage was a bit imperfect on the wings. 

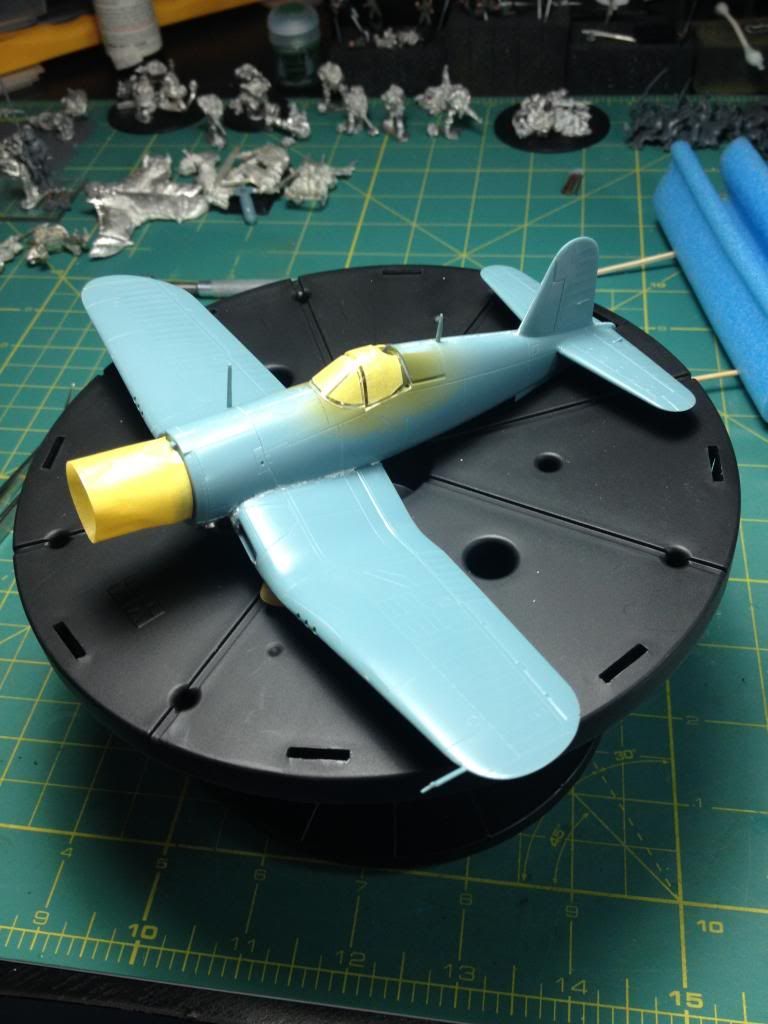
Canopy all masked off.  This was my first time doing a canopy mask,  It WAS a pain in the ass.  But well worth it. 
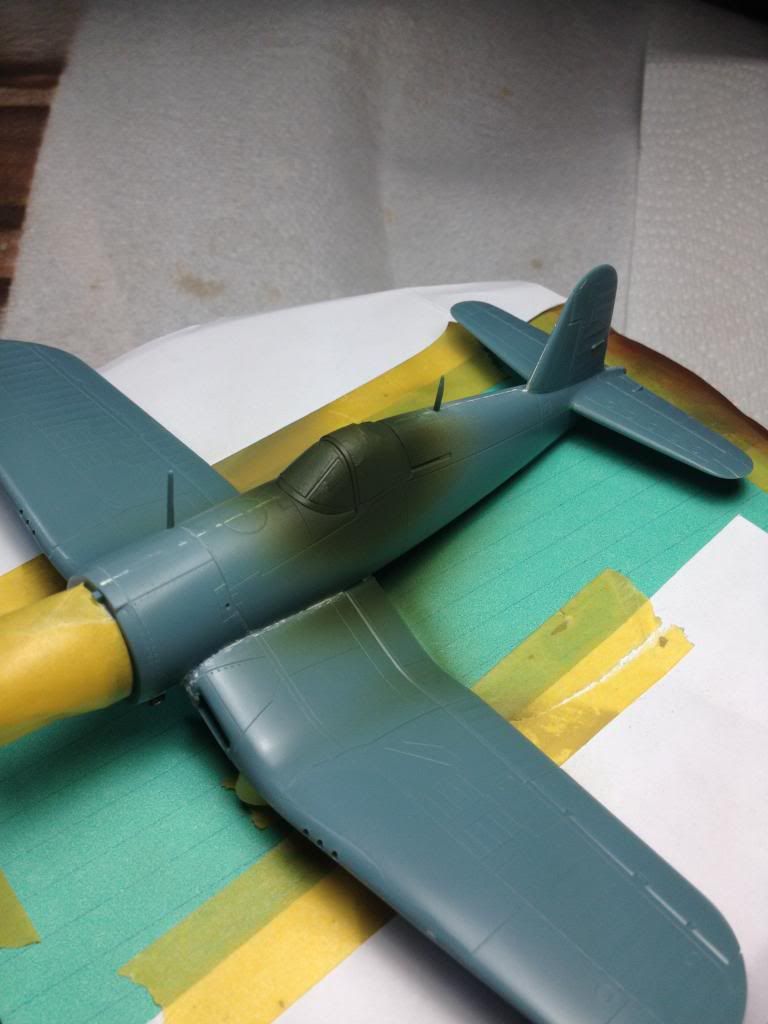
Green primer mixed with some interior green.  This color should have been a bit lighter.  Oh well, lesson learned.  Also, I used Mr. Hobby liquid putty or what ever they call it.  It's a great product.  It's a very wet and loose putty (stinks to high heaven!  Use a respirator), I applied it with a tooth pick.  The liquid mostly evaporates and the putty stays behind in the seam.  GREAT STUFF.  Minimal sanding


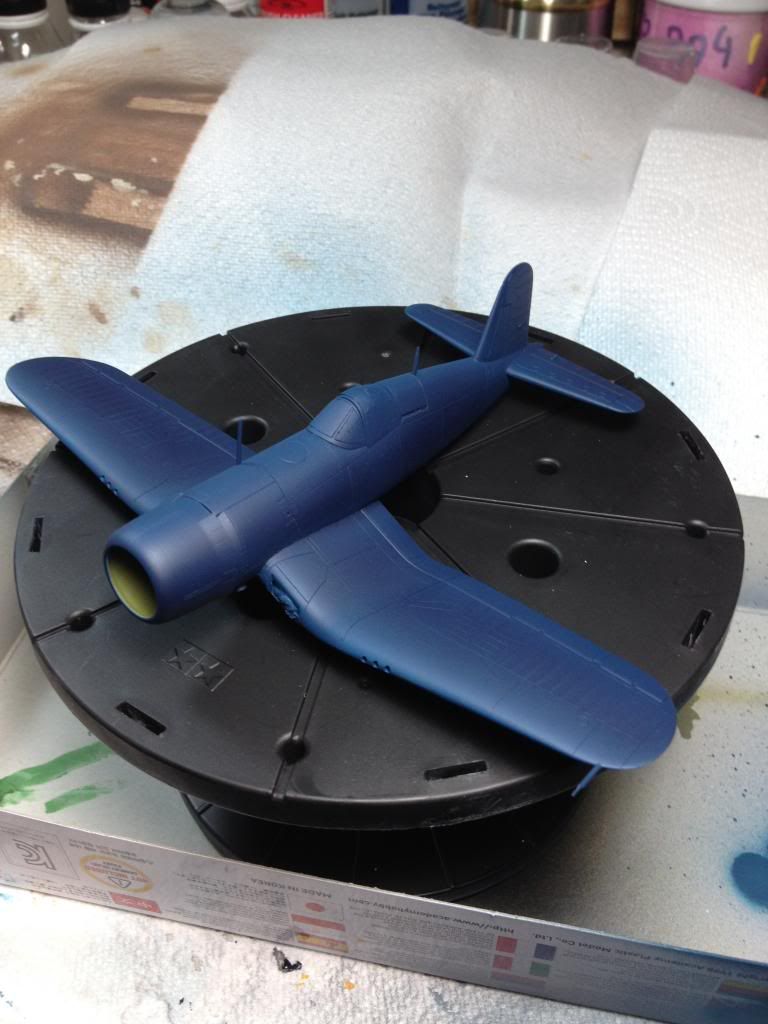
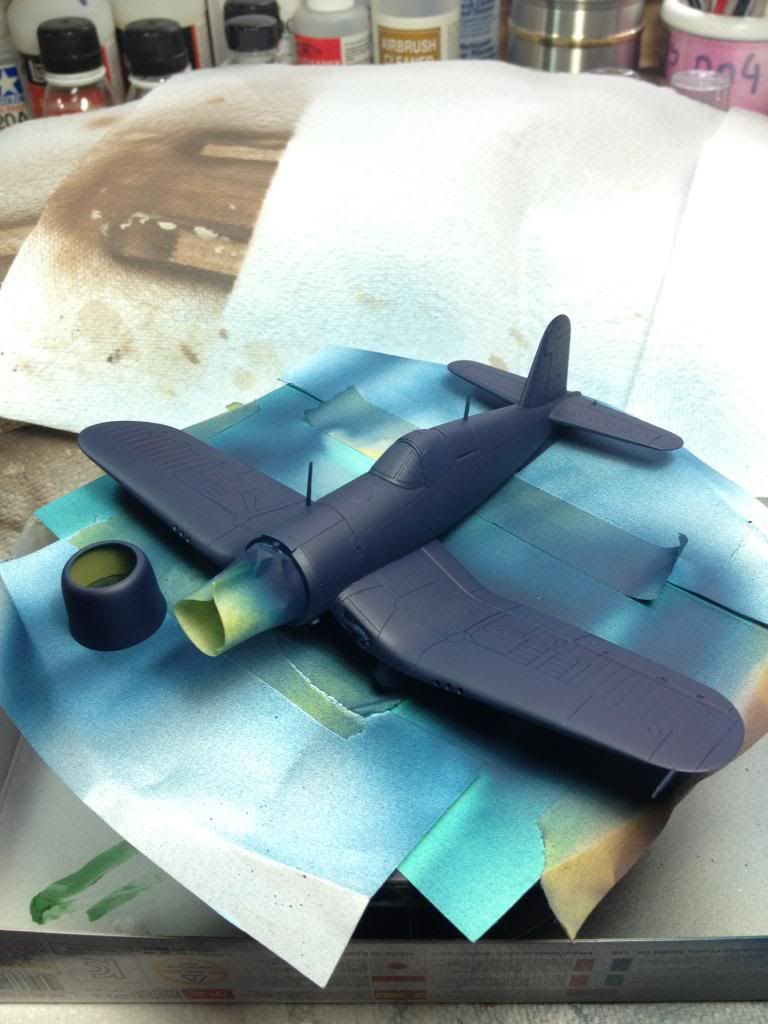
Used my airbrush and applied the later war US navy blue on the model.  Plan is US Navy Gloss Blue finish.

F4U Corsair 1/72 scale - First model airplane built since 1991, when I was in school

Yes, that is right, you saw correctly, I built a 1/72 scale model of an F4U.  Why is PANZER Bill building model planes you ask?  GREAT question.  A friend asked me if I had played War Thunder, a multi player online game that is about WW2 and cold war aircraft.  As soon as I tried it, I WAS HOOKED. 

So I bought a few model airplanes.  I started and finished this F4U in record time.  Planes at this scale are much quicker to build, BUT building planes is tough.  You have a lot of building then painting, and repeat!  It not like a tank where you can build it, and paint it.  So here is my F4U.  I made some mistakes on it, but lessons learned.  I have a P-40B Tomahawk from Trumpeter in 1/72 scale up next. 

So, first we have the start of the project.  This is an Academy F4U. 


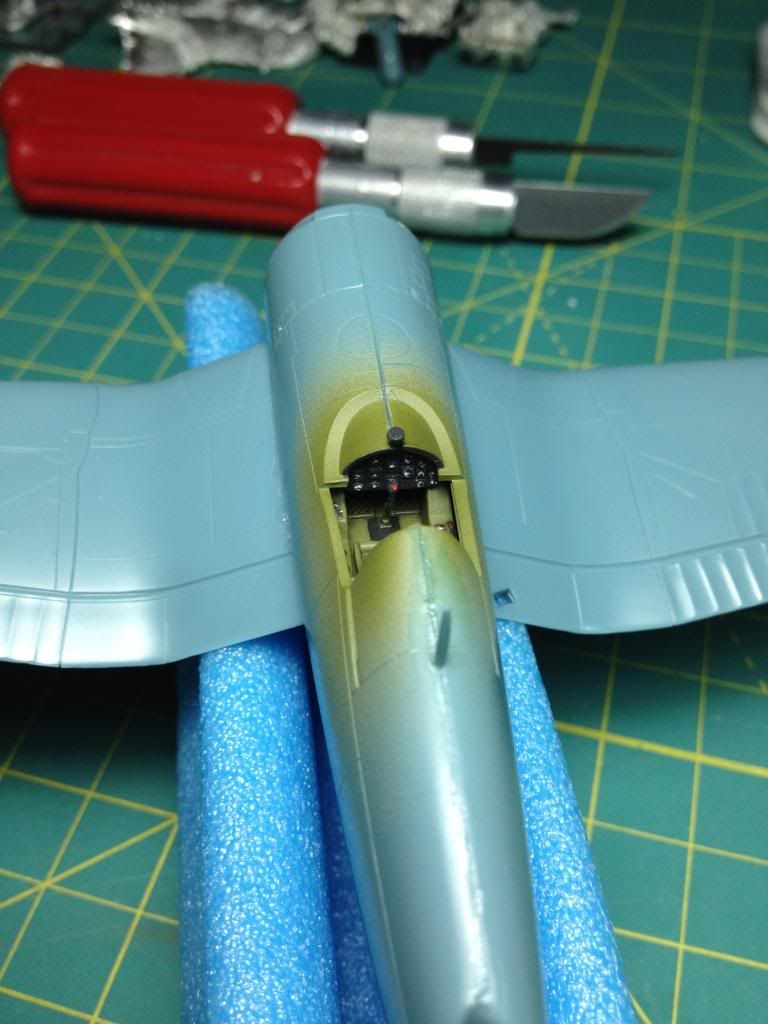
Cockpit Painted and washed.  Nothing crazy.


Dash simple paint, but looks fine at this scale through the canopy glass.

Didn't like the crappy exhaust, so I cut some round tubing to use.  All I had was this metal tube, a bit out of scale, but you cant really tell when the model is propped up on the base. 

Looks BIG here, but not so bad when finished

SU-100 Finished.

Sorry for the LONG delay in updates.  It was a busy fall and winter so far.  The SU-100 is complete and won two silver awards in a local model show.  Personally I think I should not have gotten an award for one of the categories and should have gotten a gold in the other.  BUT anyway. 

So here are the photos, not wonderful photos, I will try and take a few with the Nikon instead of these iPhone pics. 

*Updates photos below.


UPDATED PHOTOS


Colors looked wrong due to lighting, here are some more updated photos: