Showing posts with label P-40B. Show all posts

Wednesday, April 23, 2014

P-40B - Final Photos

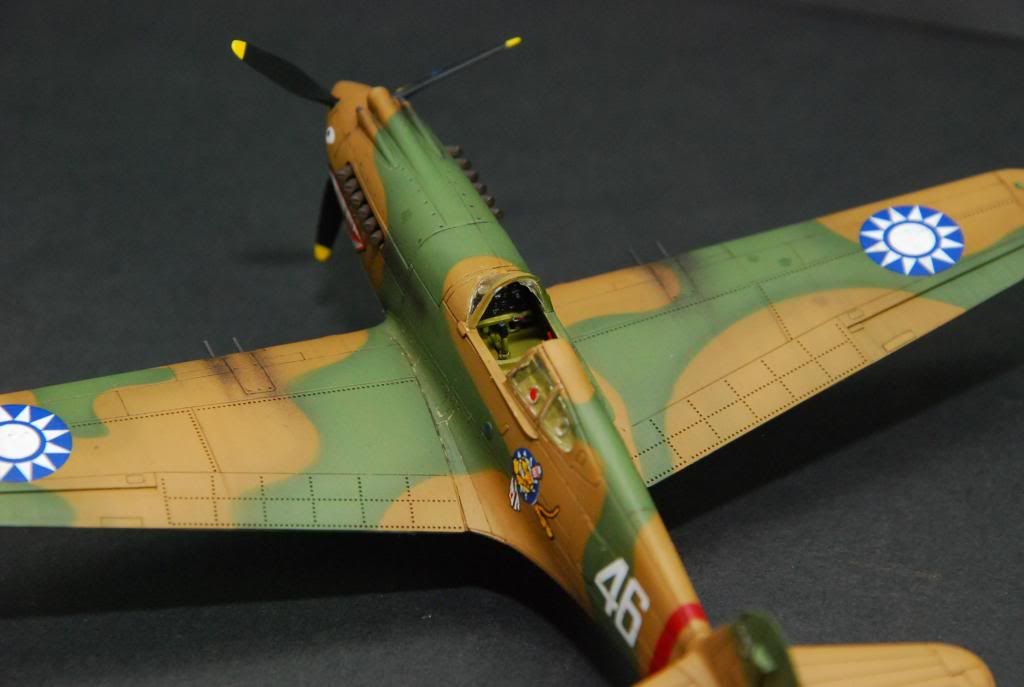
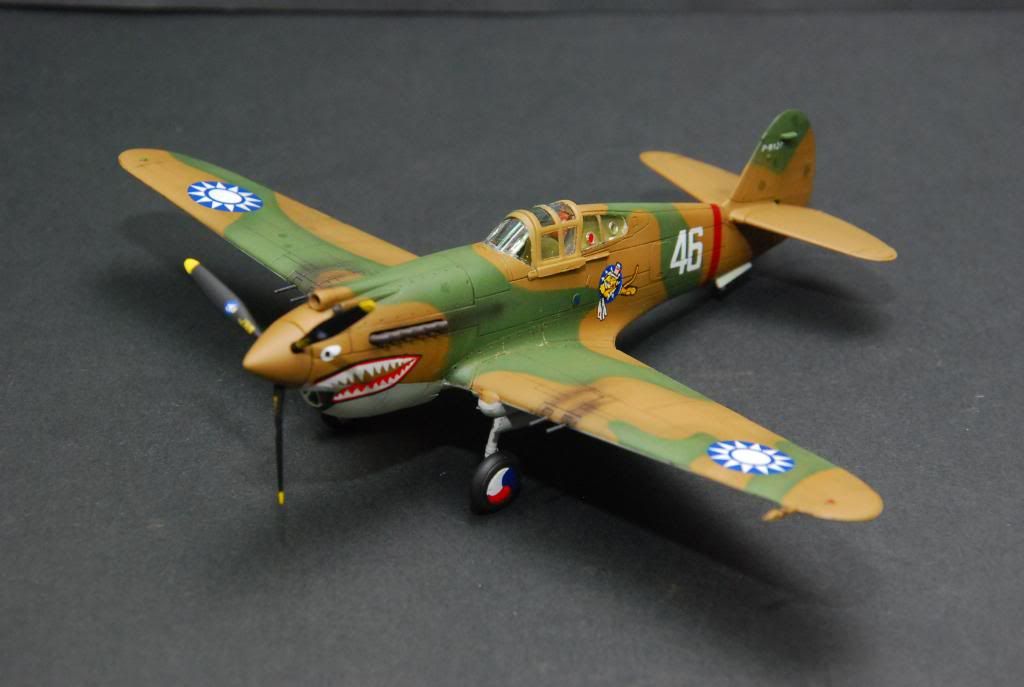
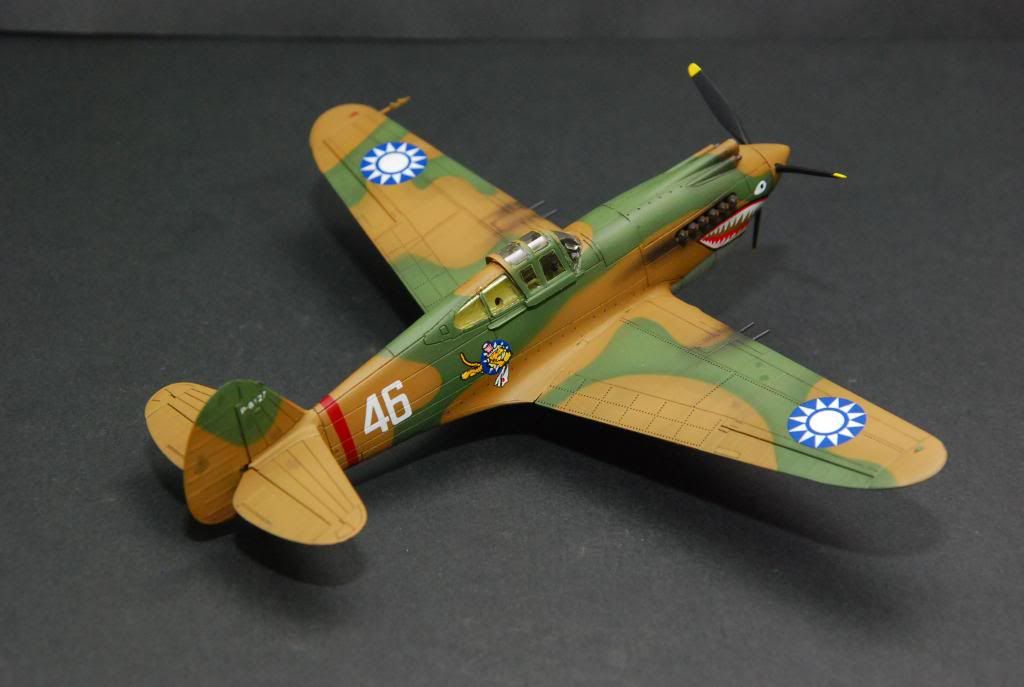
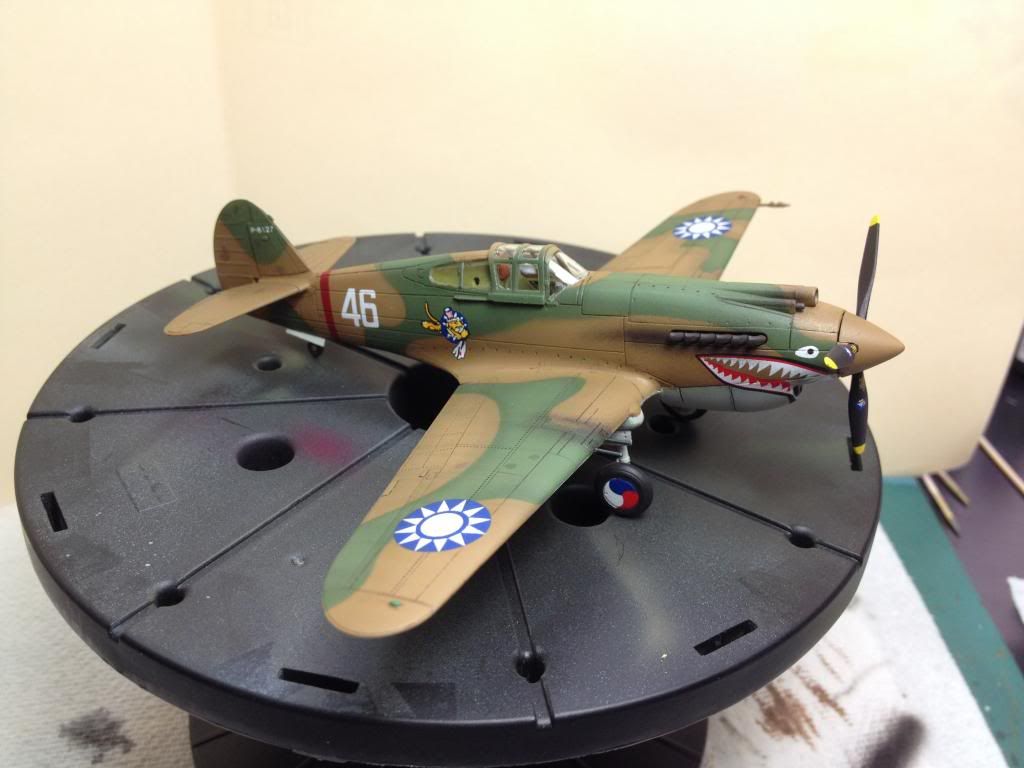
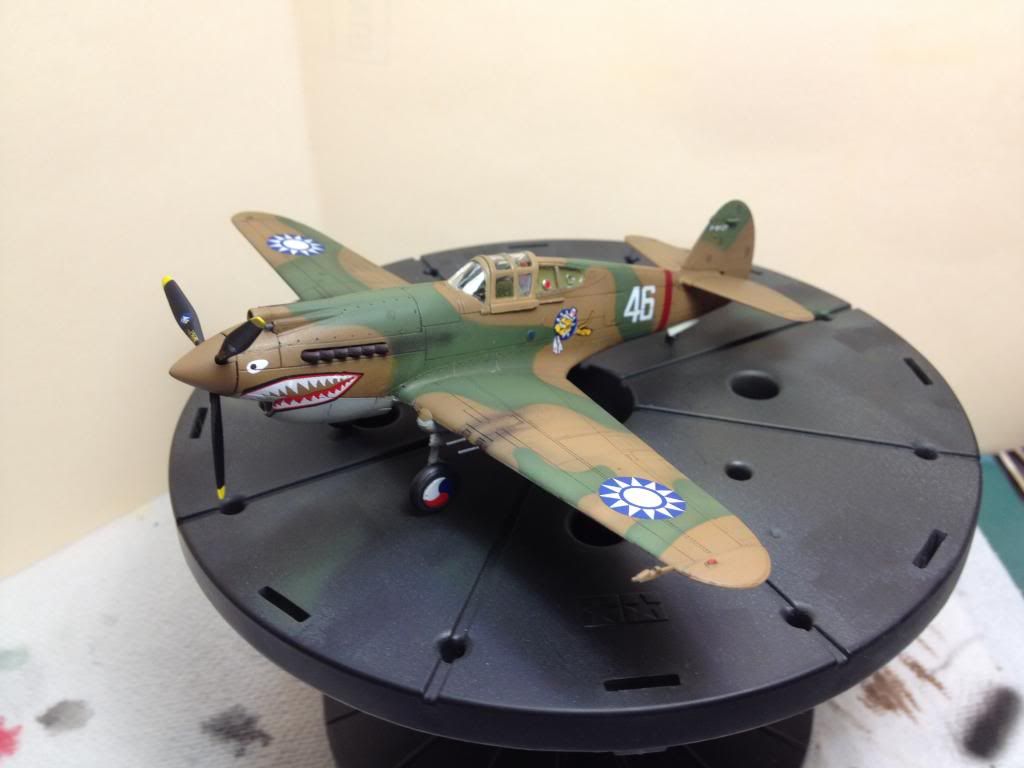
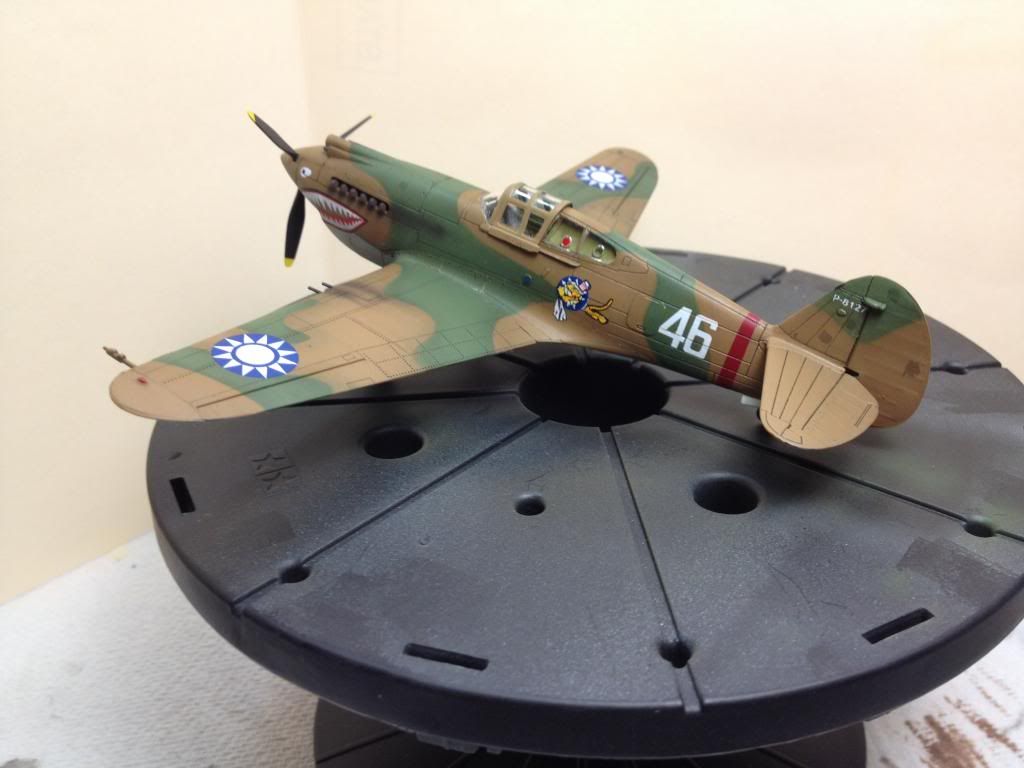
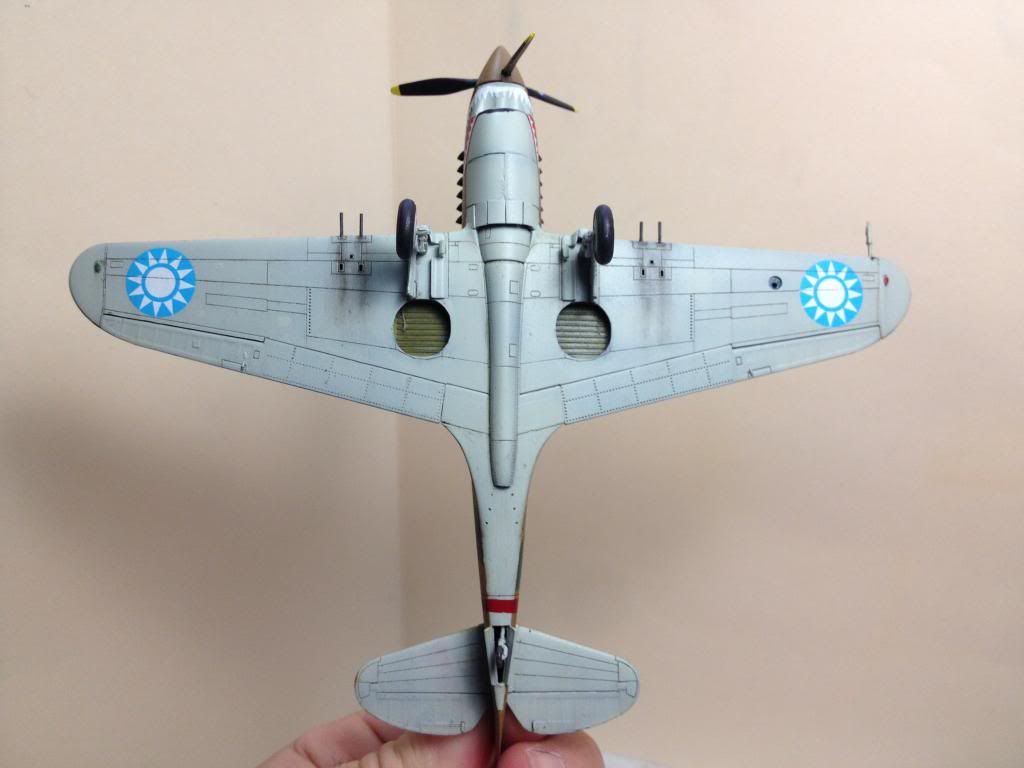
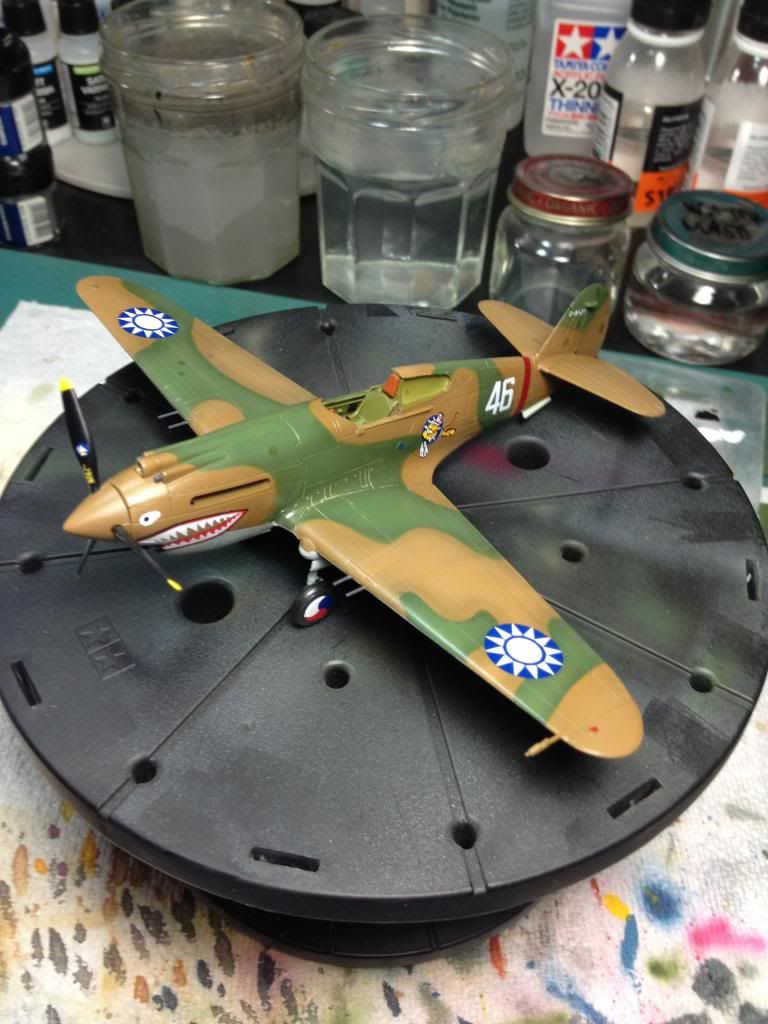
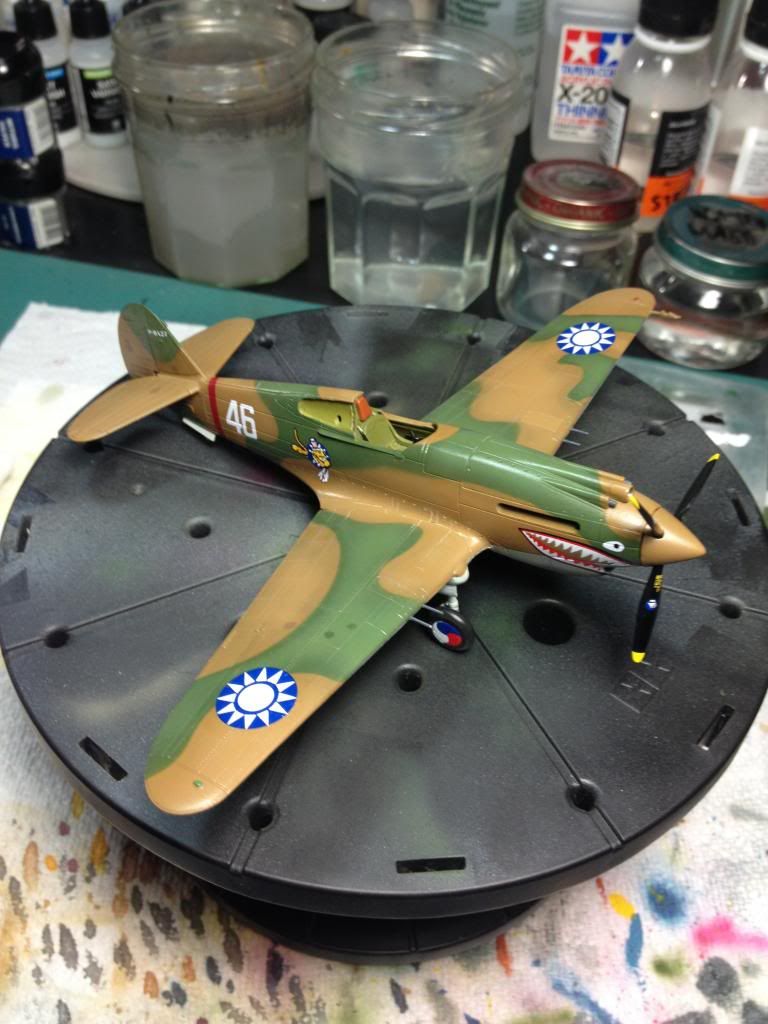
Here are the final real photos of the P-40B Tomahawk.

Monday, April 7, 2014

P-40B Update and Finale

I have FINALLY finished this P40B.  Washes on, used AMMO of MIG washes and Floquil Figure Flat after my Alclad 2 Aqua coats.  I wasn't so impressed, and to be honest with the model, I lost interest once I saw the fit problems with the model.  I did my best to salvage it and paint it nicely, but there were a number of mistakes and problems with it that will prevent me from entering this in any shows.  This will just be a display model in my war room.  (what is my war room  you ask?  wait and see). 

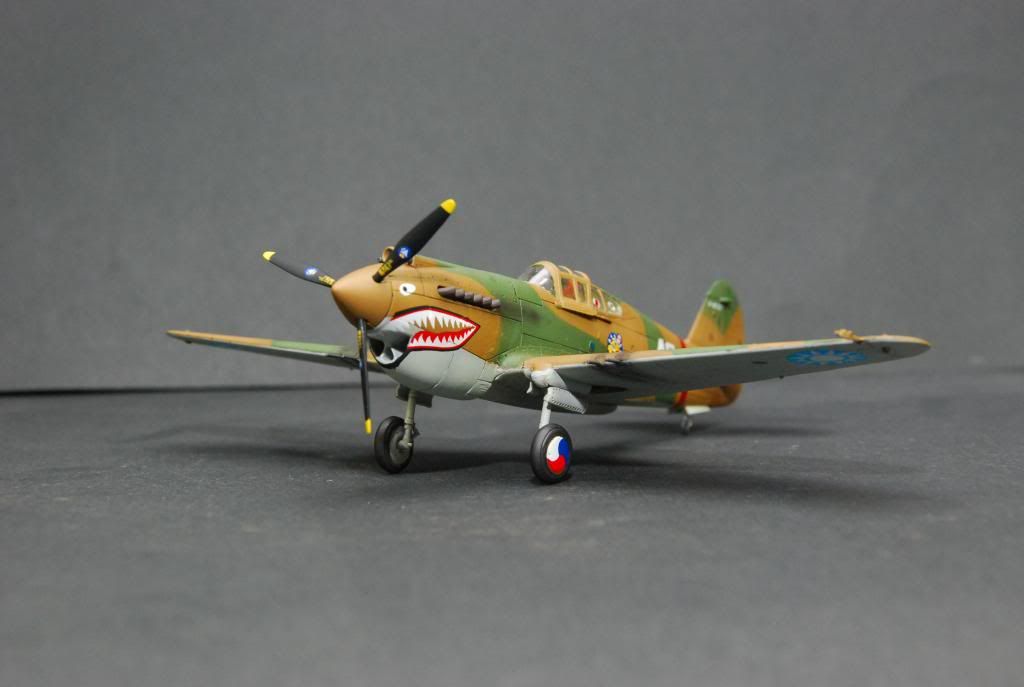
I liked the subject in this model, but Trumpeter has to make some improvements on fit, and some other items that needed attention.  Here are the photos of the finished model.  Thanks for following.

Yes I know, I haven't added the light's plastic piece yet.  I need to locate it, it went into the void....I am still looking.  :-)  Also, I just HATE how bulky the canopy is on this model.  Too chunky.  I wanted it to be in the open position, BUT it does not fit well this way and had to pull it closed. 
 

Monday, March 24, 2014

P-40B Update: Decals

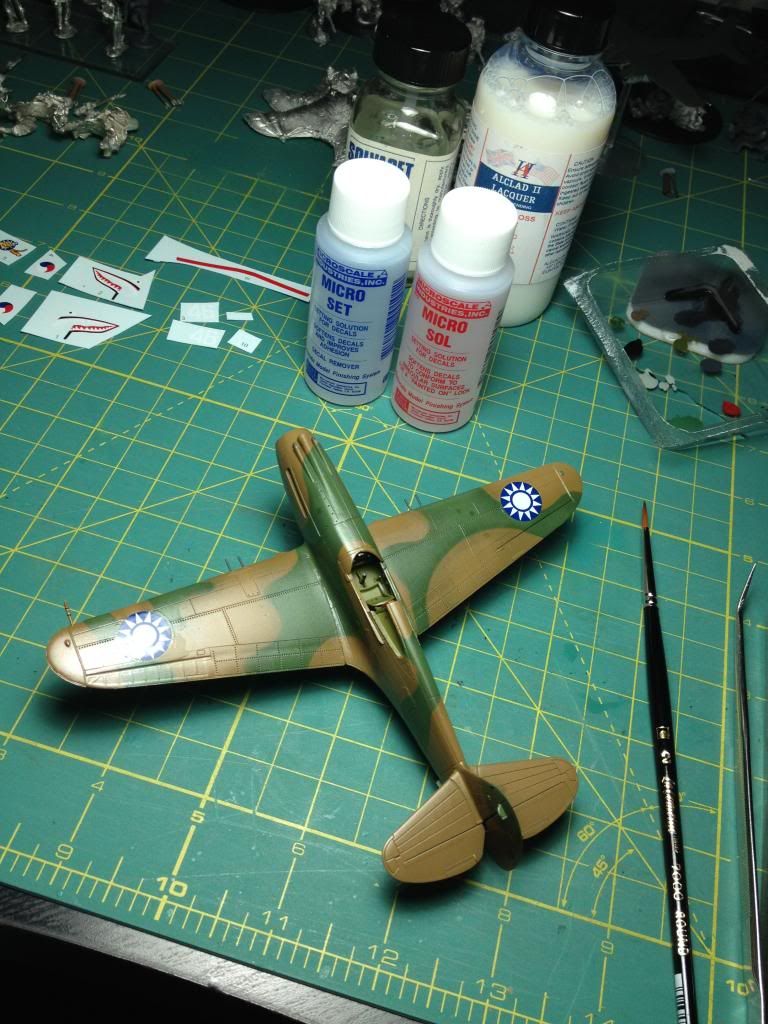
Wow.  The decals on this model are a pain in the ass.  lots of TLC going into each one with Micro Set and Micro SOL being used on them.  The tiger mouth decal on one side was a total pain and even had some tears, with I had to correct with paint.  Not to mention the decal instructions were not exactly correct when it came to placement of the mouths on the bottom view of the aircraft. 

But, after taking my time this weekend, I finished this part.  Tonight I gloss coat over the decals to seal them in and start my washing and mild weathering tomorrow.  Being this is not an award winning model (I'm not happy with the build), I will not go nuts, it will be a simple display aircraft.  I thought the Trumpeter model would be better, but it's just OK.  I have a few Edward 1/72 Profi packs waiting for me, as well as some Tamiya.  But I think a tank might be next.  Either a Trumpeter KV-1 in 1/35 scale, a JS-1 in 1/76 or a Panther D or A in 1/72.  If I can't figure it out, I'll make the 1/72 Edward Mig-15 bis.  :-)

I had to paint the red stripe on as the decal was a total pain in the ass to place.  I found it easier to actually mask the plane and spray it on. 
 

Friday, March 21, 2014

P-40B: Update - Decals

Decals are on the way!  I can see that these decals are just as bad as the Academy decals.  This is going to be "fun". 

Landing gear was added and painted, and model was sprayed with light coats of Alclad II Aqua Gloss the night prior.  Left to dry and decals are going on!  Next step to finish the decals, seal them in and start weathering. 

Tuesday, March 18, 2014

P-40B Update - Filters

Not much to report.  I added some old bullet damage patches painted over with fresher darker paint and applied two layers of filters on the model. 
Tonight, if I have some time I will be painting some details and applying Alclad gloss to prepare for decals and weathering.  This is where the fun starts! ;-)

Monday, March 17, 2014

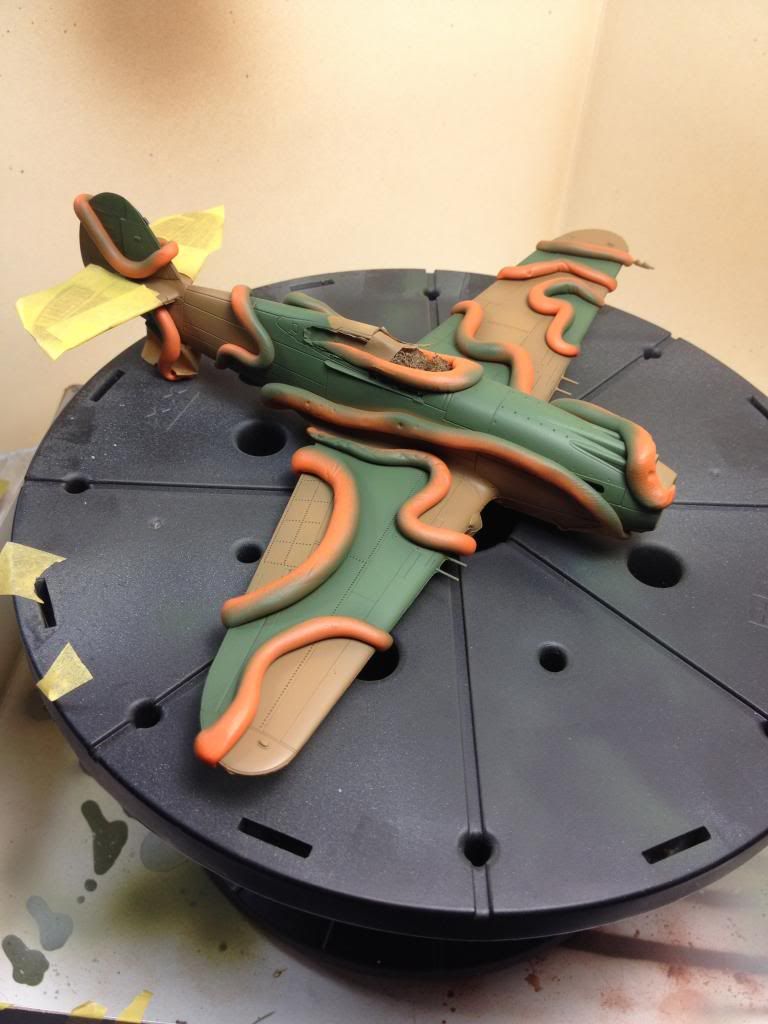
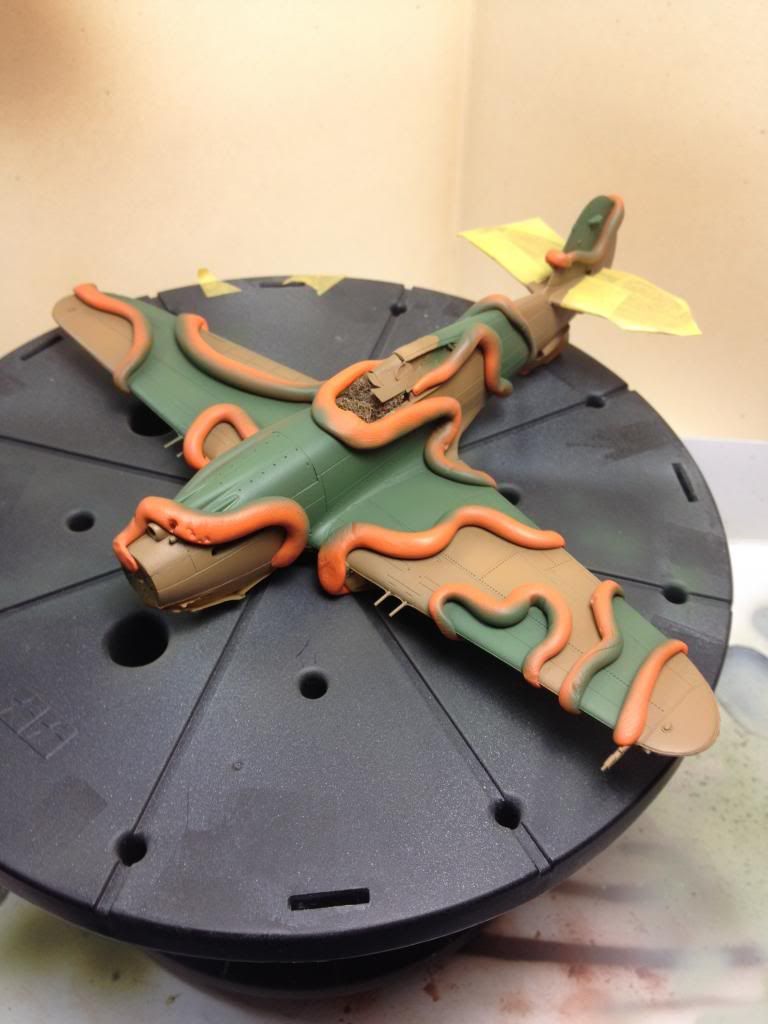
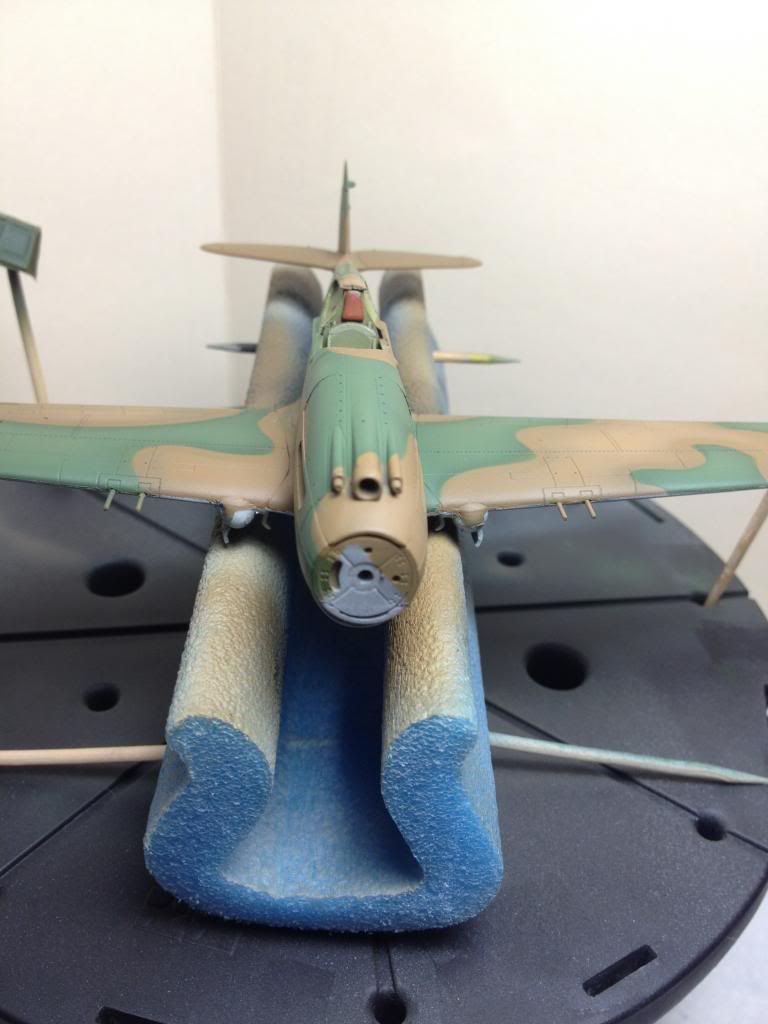
P40B - Update: Camo painting

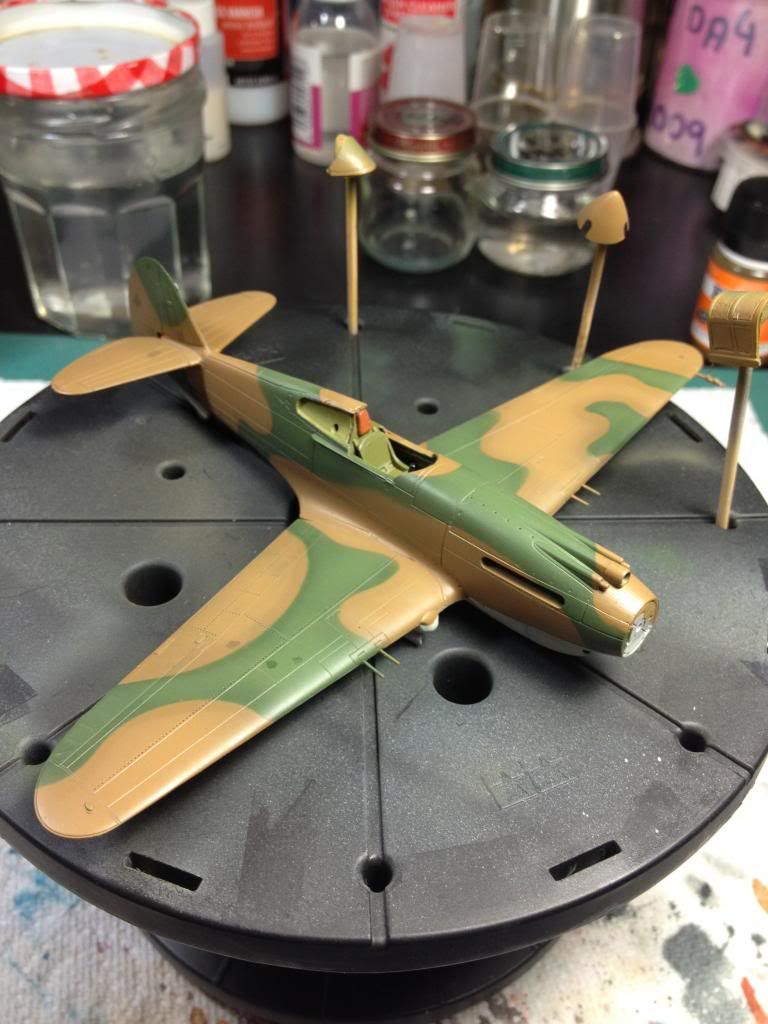
So I finally had the balls to try the fun-tack trick.  I laid out my cam design taken from the plane's instructions and got my paint ready. 

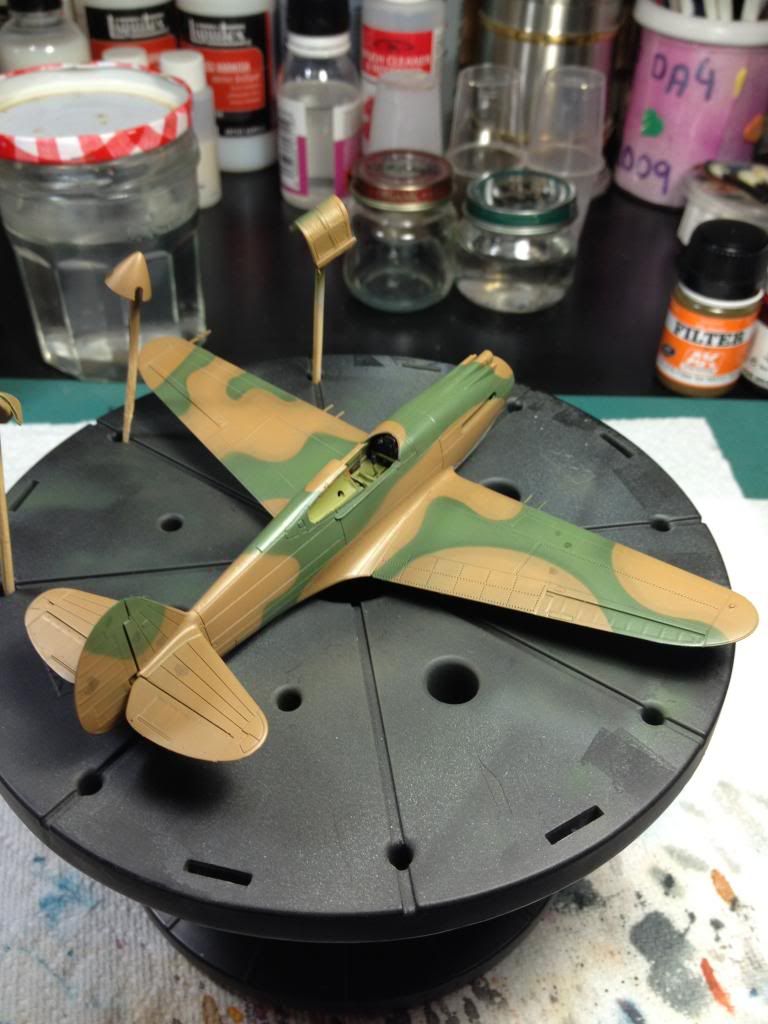
After spraying the green, I decided to try some paint variations on both green and brown to give some depth to my colors.  It worked out ok I guess.  In future I might remove the fun-tack before I do this step as I got some lines that almost seem hard.  I need to use some filters and weathering to get rid of them.

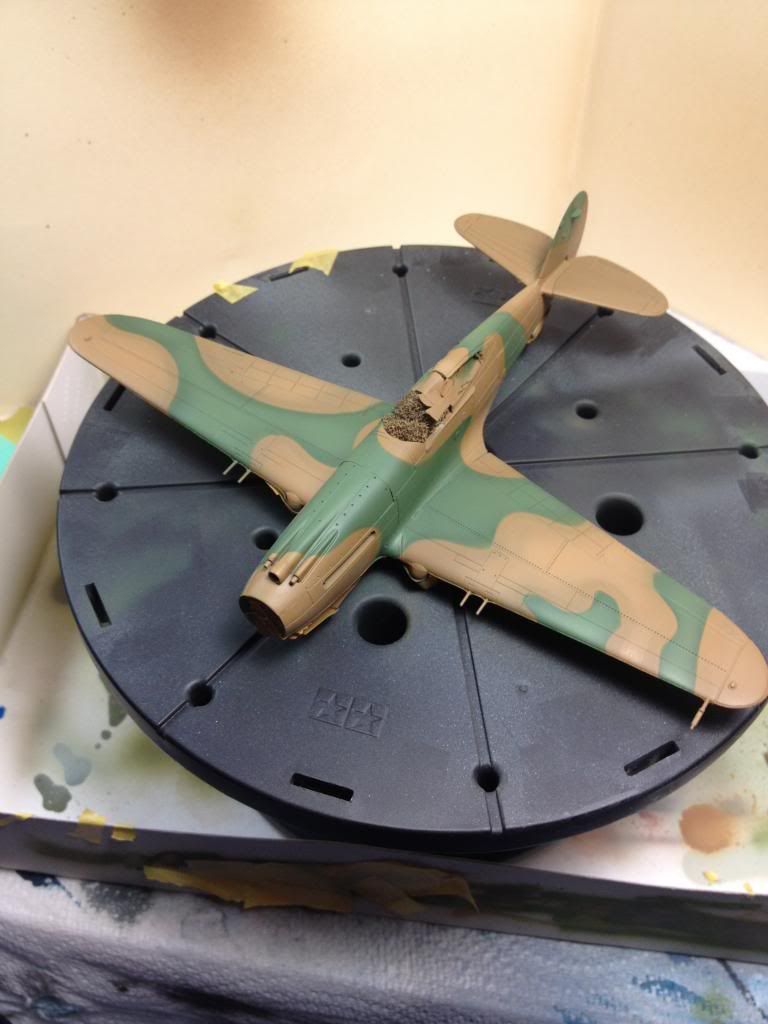
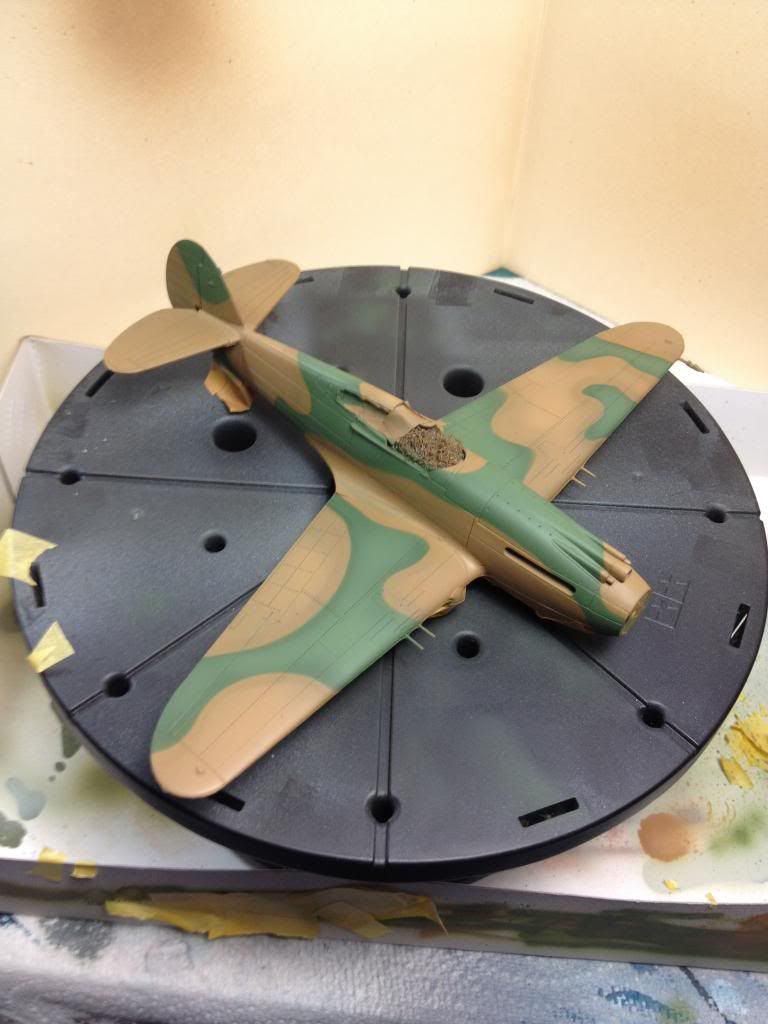
After finishing, I removed the fun-tack and realized I had a little bit of clean up to do.  I had to try and apply some high light colors towards to tops of the plane.
After removing the fun-tack sausages, I did my touching up and then I went on to remove the lower masks.  I came across a small problem. 
 
The liquid mask PULLED off the paint and primer, down to the plastic (by the wing flaps).  I guess next time, before I apply the liquid mask, I should try some satin clean coat?  I also had problems by the front of the landing gear. Finny funny thing is I applied the liquid mash as heavy as I could so it would be a thick layer to allow me to pull it of easily. 

Anyway, Overall I like the way it is coming out.  Not bad for my 2nd plane model and my first attempt at hard lined edge camo. 

Next step, Filters, gloss coat for decal application and wreathing.

. 
Thursday, March 13, 2014

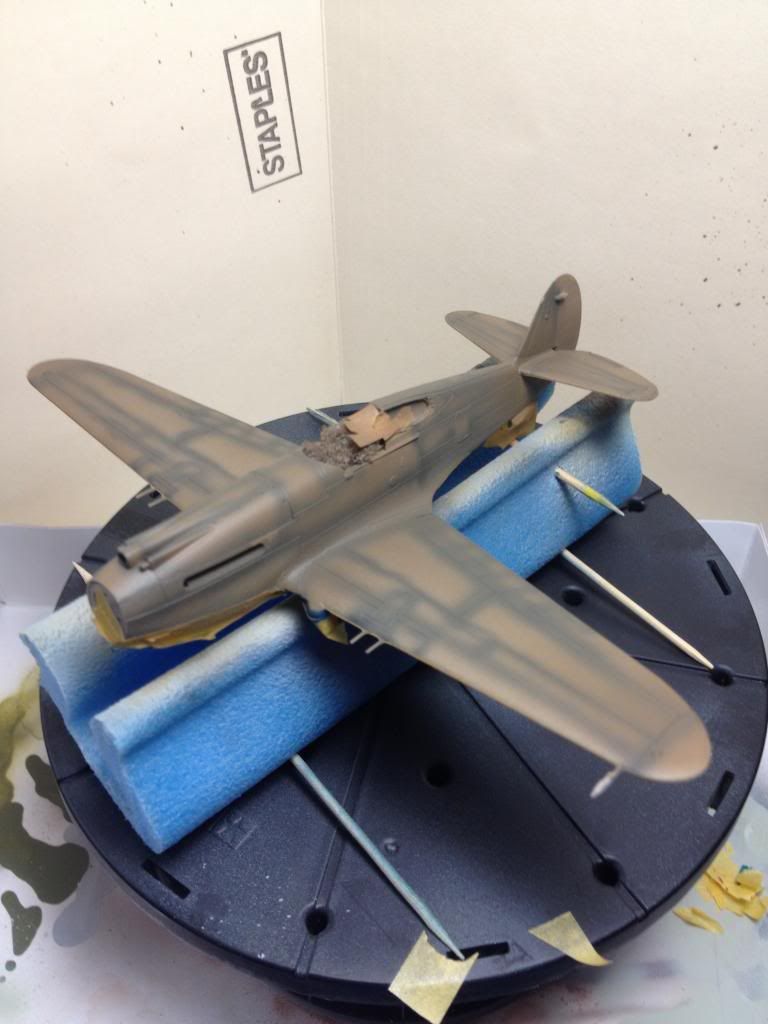
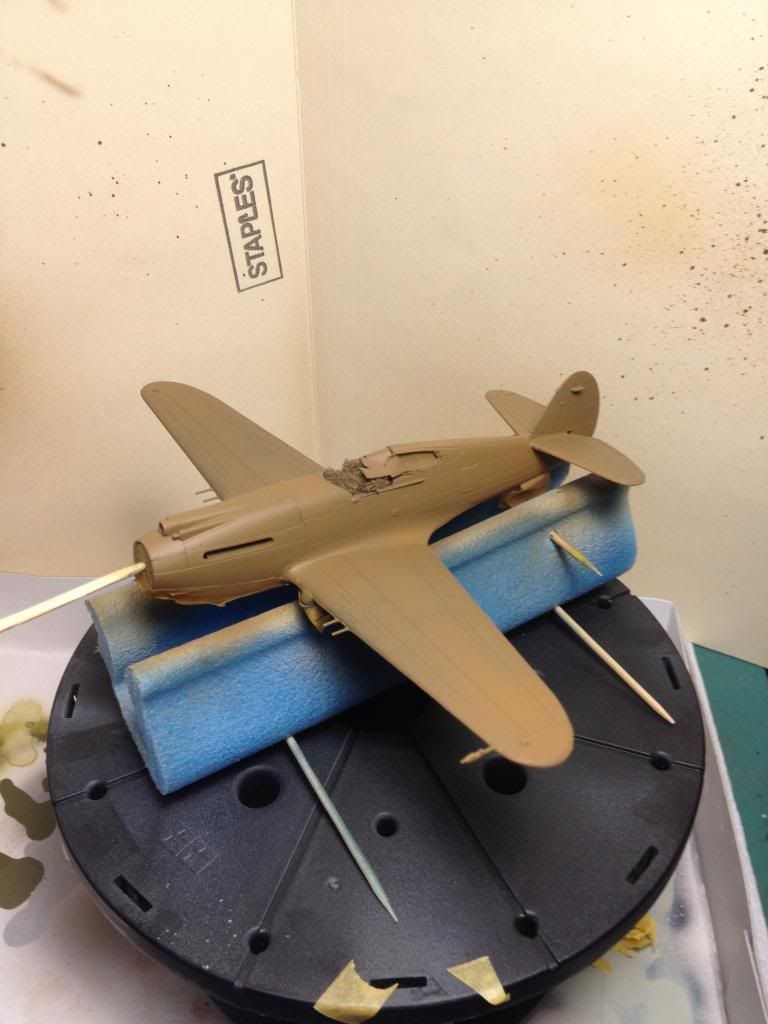
P-40 Update - Starting the painting

Ok, so after stressing the masking process, I finally go to doing it.  It was slow and a bit frustrating, but it was needed.  Came out pretty good.  So after that was completed, I started on the upper colors. 
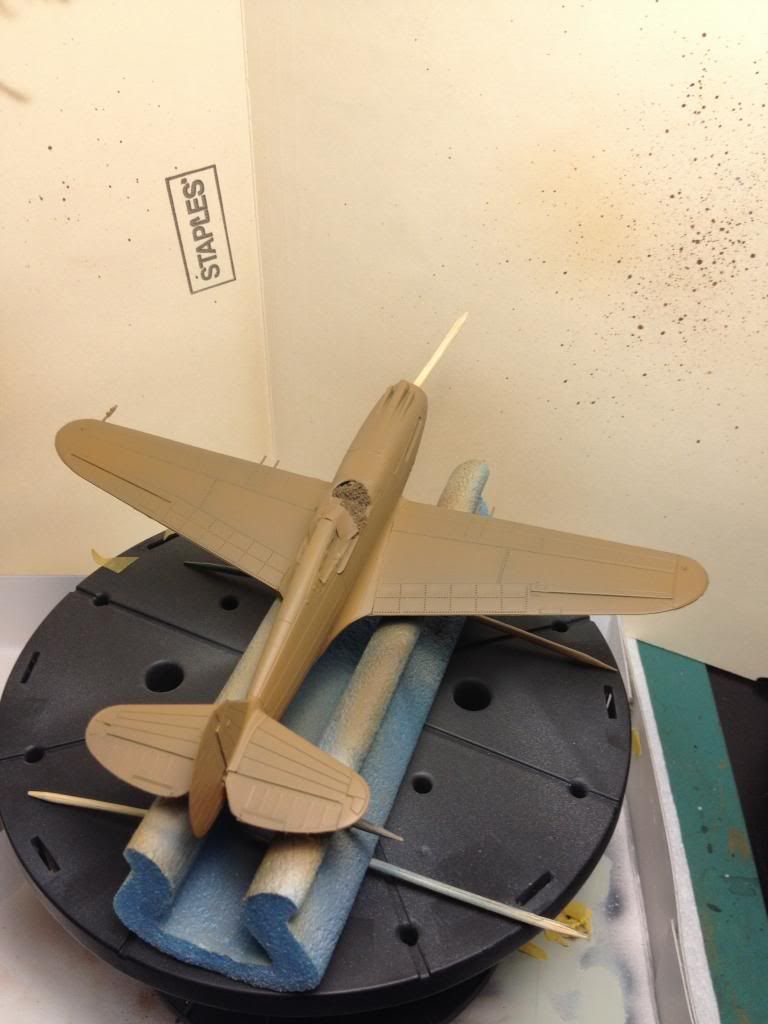
I sprayed a dark earth color first.  I continued to spray more light layers on the model beyond what yo see above. 
Then I sprayed a lighter color.  I feel that I might have sprayed too much of this color too heavily.  I might go back and spray certain parts just a hair darker to blend it better.  After this, it will be time for filters. 

Monday, March 10, 2014

P-40 Update - Glueing the model together and priming.

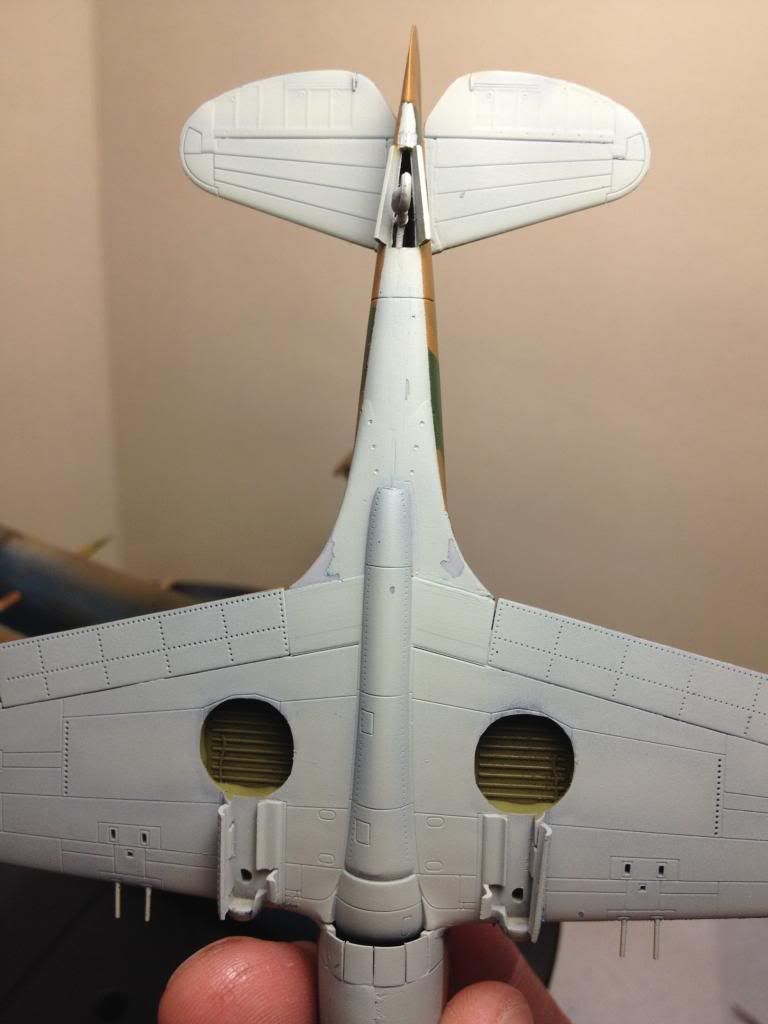
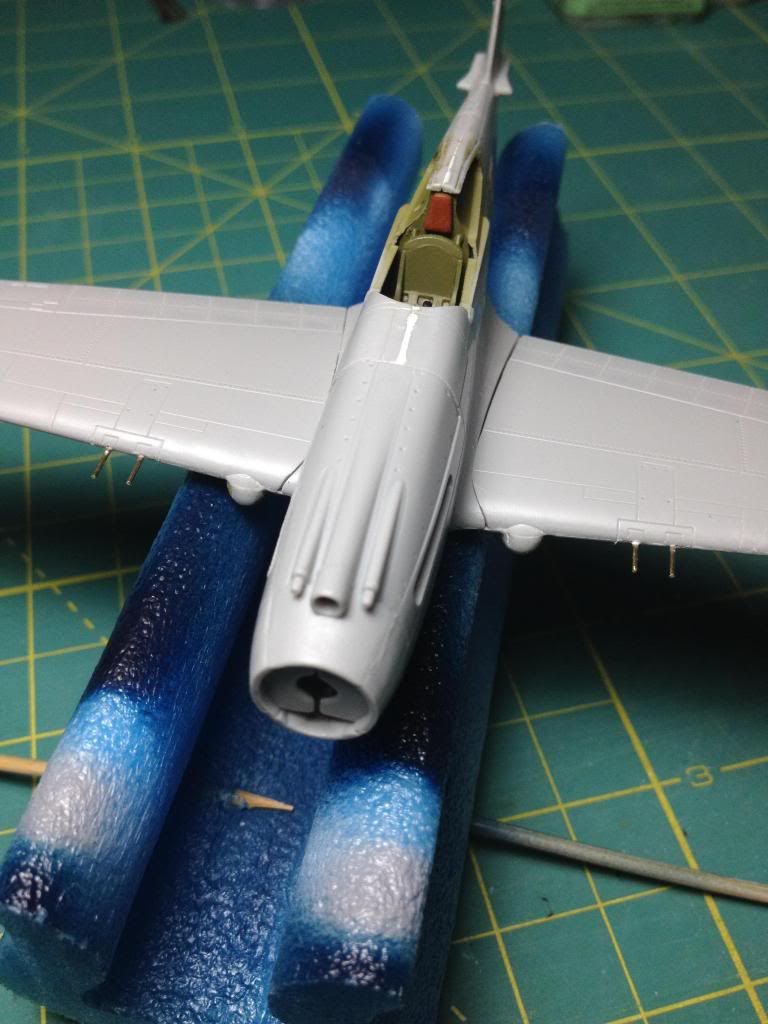
So I started the process of mating the model together.  I thought being it is a Trumpeter Model, it would be almost perfect.  Boy was I wrong.  As nice as this model is, there are some definite fitting problems. 

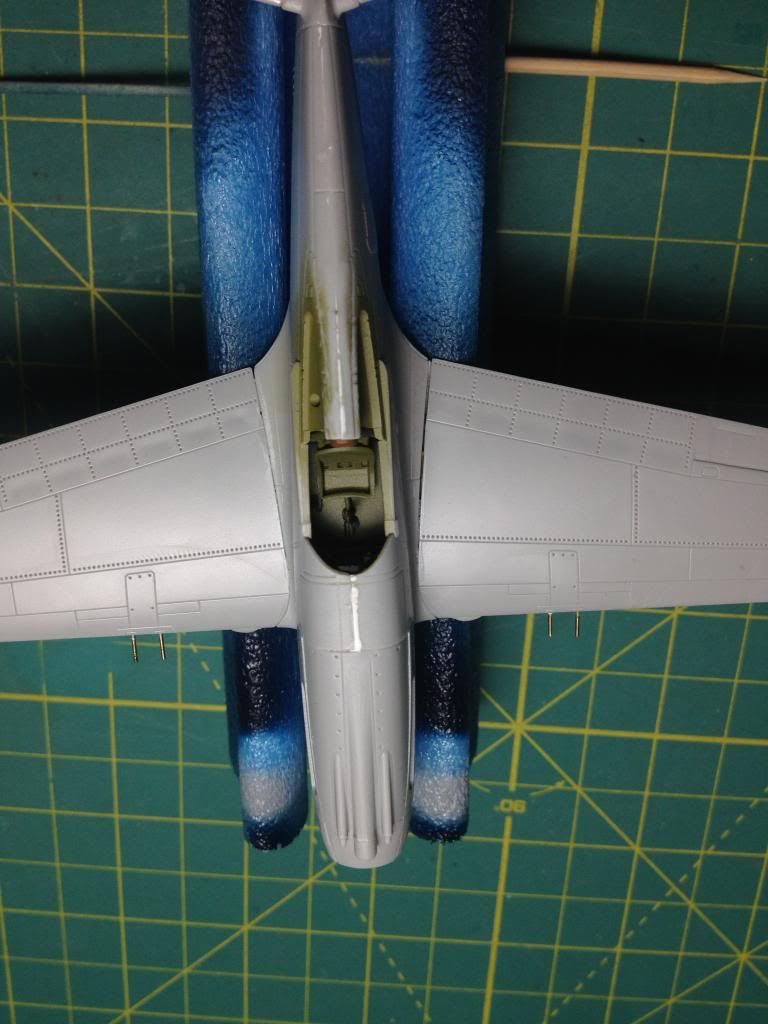
If you can see where the fuselage and the wings meet, the gap was too big and the parts a little offset in some areas.  I also did not like the MGs in he wings.  The barrels were stubby and incorrect.  I didn't want to spend any more money on this kit, being I am not going to be entering it in any contests.  I went through my stash of brass and metal rods and found a gauge that was close to what I needed, cut and glued them in.  Not bad. 

I also got my little Dremel bit and carved out a bit of the 50 cals barrels to add some definition to the guns. 

Here is another angle.  You can see both sides are bit off, but one side favors the other.  I used Mr. Hobby dissolved putty to close the gaps a bit to many it look like a panel line more than a gap.  I used the same putty on the other seams and sanded them down. 

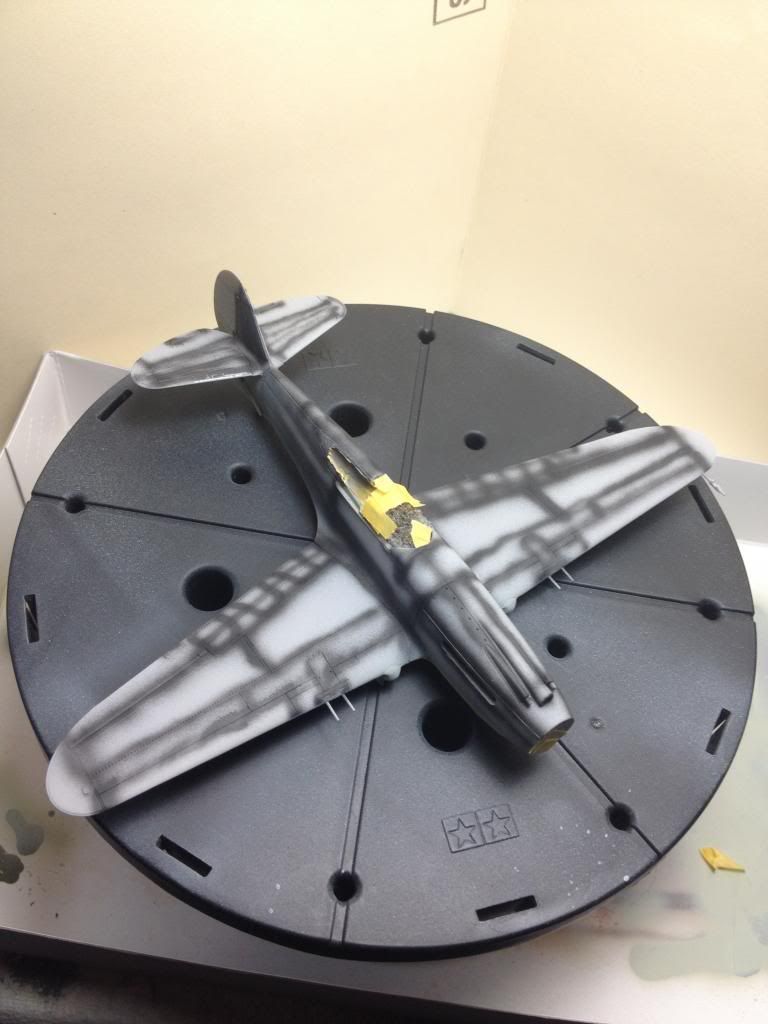
After priming the model with Mig's Ammo Primer, I used black paint to airbrush the panel lines.  I was not tooo careful, I kinda rushed through this phase.  Plus 1:72 scale is CRAZY small to me (I'm used to 1:35 AFV).  I sprayed both sides of model and then the fun REALLY begins. 


Thursday, February 27, 2014

Trumpeter P-40 B/C in 1:72 scale

So I started my 2nd plane model.  Another 1/72 scale WW2 fighter plane.  This time I am making an early P-40B in Chinese service.  The fighter was flown by US pilots in China against the Japanese forces, but after US pilots were pulled out, the planes were flown by Chinese pilots.

So here are the first steps:

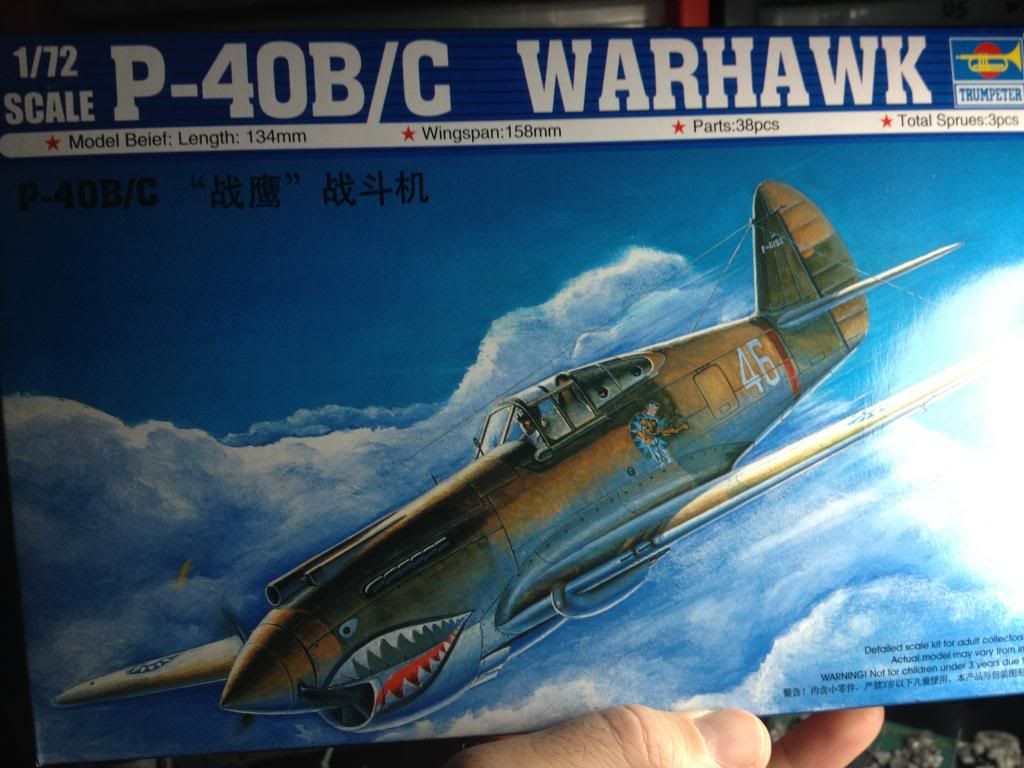
Box art of model.  Looks cool, can't wait.

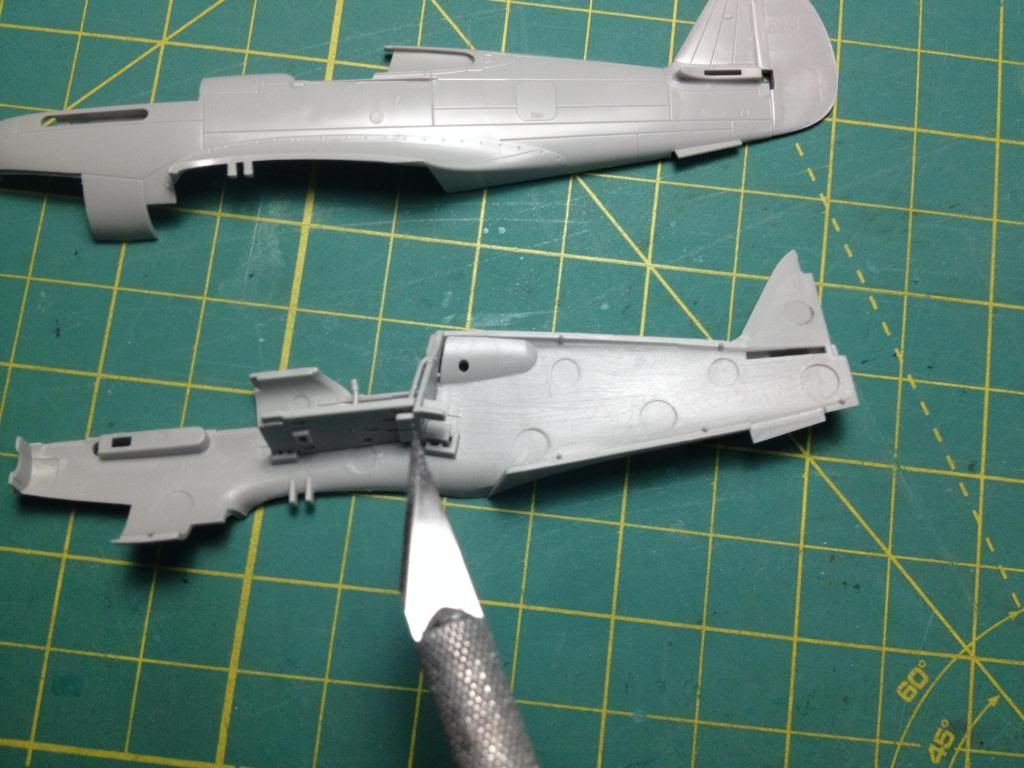
After cutting the parts I will be dealing with first from the sprues.  Not bad on the detail.  I hear there are some improvements over the 1/48 and 1/32 versions that had rivet accuracy problems.
When you build this part, make sure you dry fit it and glue the back and floor together, then remove it and glue on seat and then paint. 
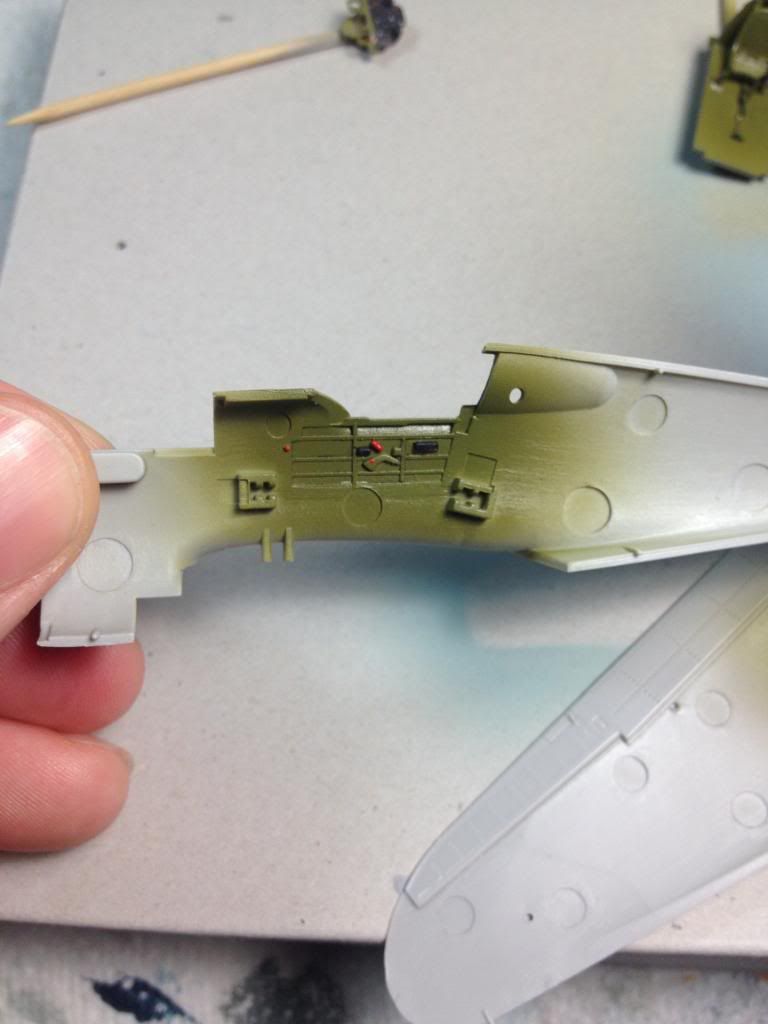
Here I have the cockpit primed, painted and glossed so I can do my pin washes.  You can see other painted parts in the back ground.
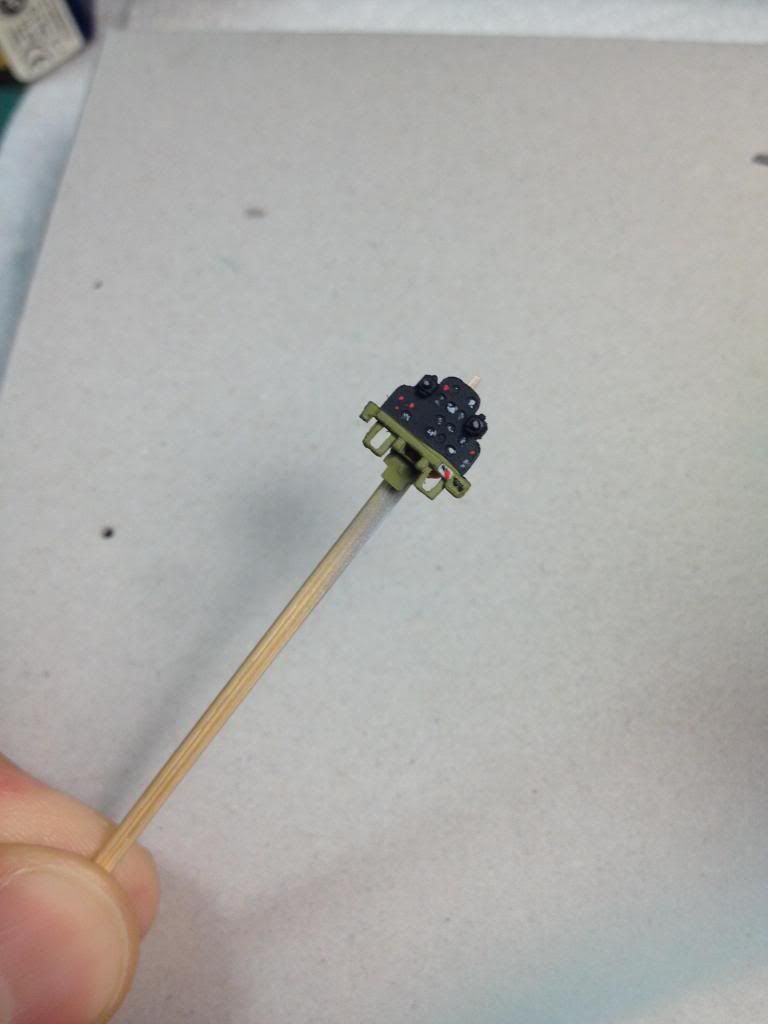
Instrument panels.  I will be touching up the rear parts of the .50 cals.  Just enough to make them look more like HMG then part of the panel. 
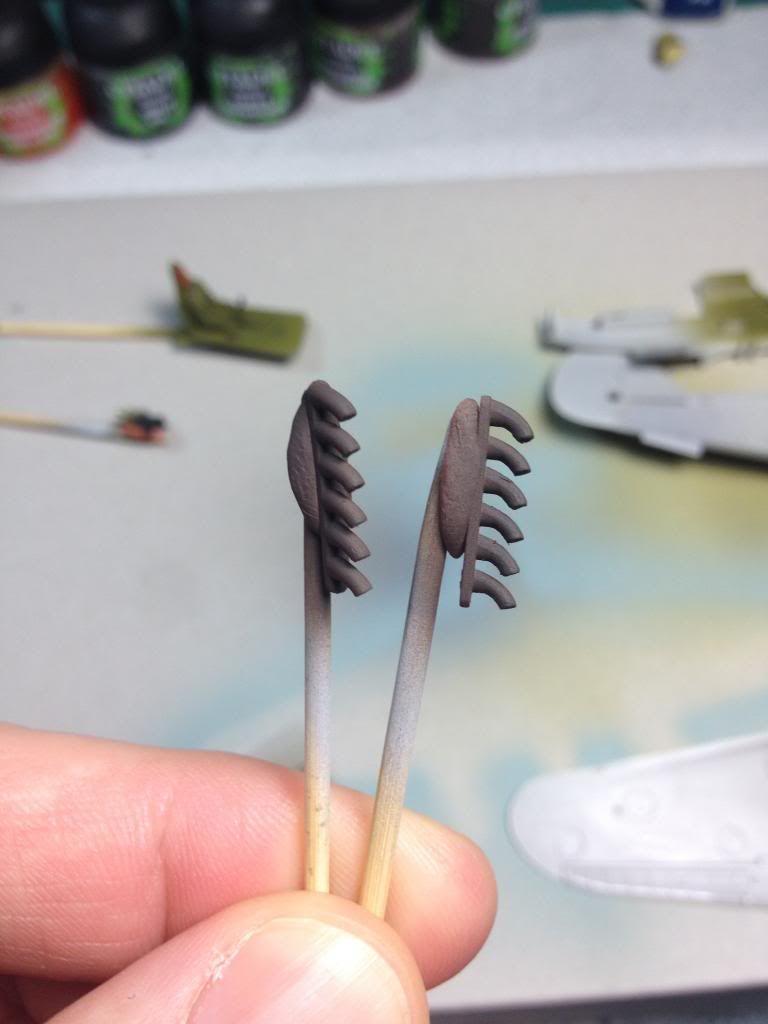
I painted the exhausts a track color.  I like this color as it resembles metal that isn't new, yet not too old and rusty.  A little weathering etc will make these look great.