Tuesday, June 7, 2016

WIP: Complete screw up of a model. ZSL-92 IFV

When the new airbrushes arrived, I was excited.  I was waiting for them to continue this kit.  I messed up the camo pattern on this IFV badly.  So badly, I am putting it away for now until I figure out how to correct it.  Most likely I will have to repaint the base color and start the camo process over.  VERY pissed.
 So far the primer came out great.

 Used some back primer for light shadow effects.
 My selected colors for the model.
 I decided to lightly sand the flat surfaces to make them more smooth for the base coat.
 The base coat applied.  Tamiya XF-59 Dessert Yellow.

 The model with silly putty on.  This is where I completely messed up.  BAD pattern, Bad application.  Need to repaint the base color and start again. 


Monday, June 6, 2016

Games Work Shop Miniature: Special Edition Warhammer Empire Fire Mage

A number of years ago, I purchased the new Warhammer Army box of the newly reengineered Empire army.  It was a nice deal, plus 20% off!  Can't beat that.  Within that box, was a special character that was a limited edition, a Fire Mage!  Kinda cool. 

I have had him primed and sitting on my painting station for YEARS not knowing what to do with him.  Finally, a few weeks ago, I had inspiration and I actually painted him in 3 days.  I used Citadel paints, shades, and Reaper MSP paints. 

I did not want to paint him the way the box art depicted him.  I mean it was ok, but I wanted something different.  So this is what I came up with.  Hope you like.


This is the first time I have painted fire on a miniature, or on anything actually.  I used the shades on the model, especially the fire.  I used yellow, orange, red and even black shades to enhance the colors. 
 
All I need to do is add static grass on the base and I'm done!

WIP: KV-1 1942 - Turet, tracks oh my!

After some time away AGAIN, seems to be my routine lately, my apologies, I am back with a bunch of updates.  I have been busy repainting and painting some minis, ruining my Chinese AFV so badly that I need to repaint it and working on my KV-1.  Here is what I have so far since last update:
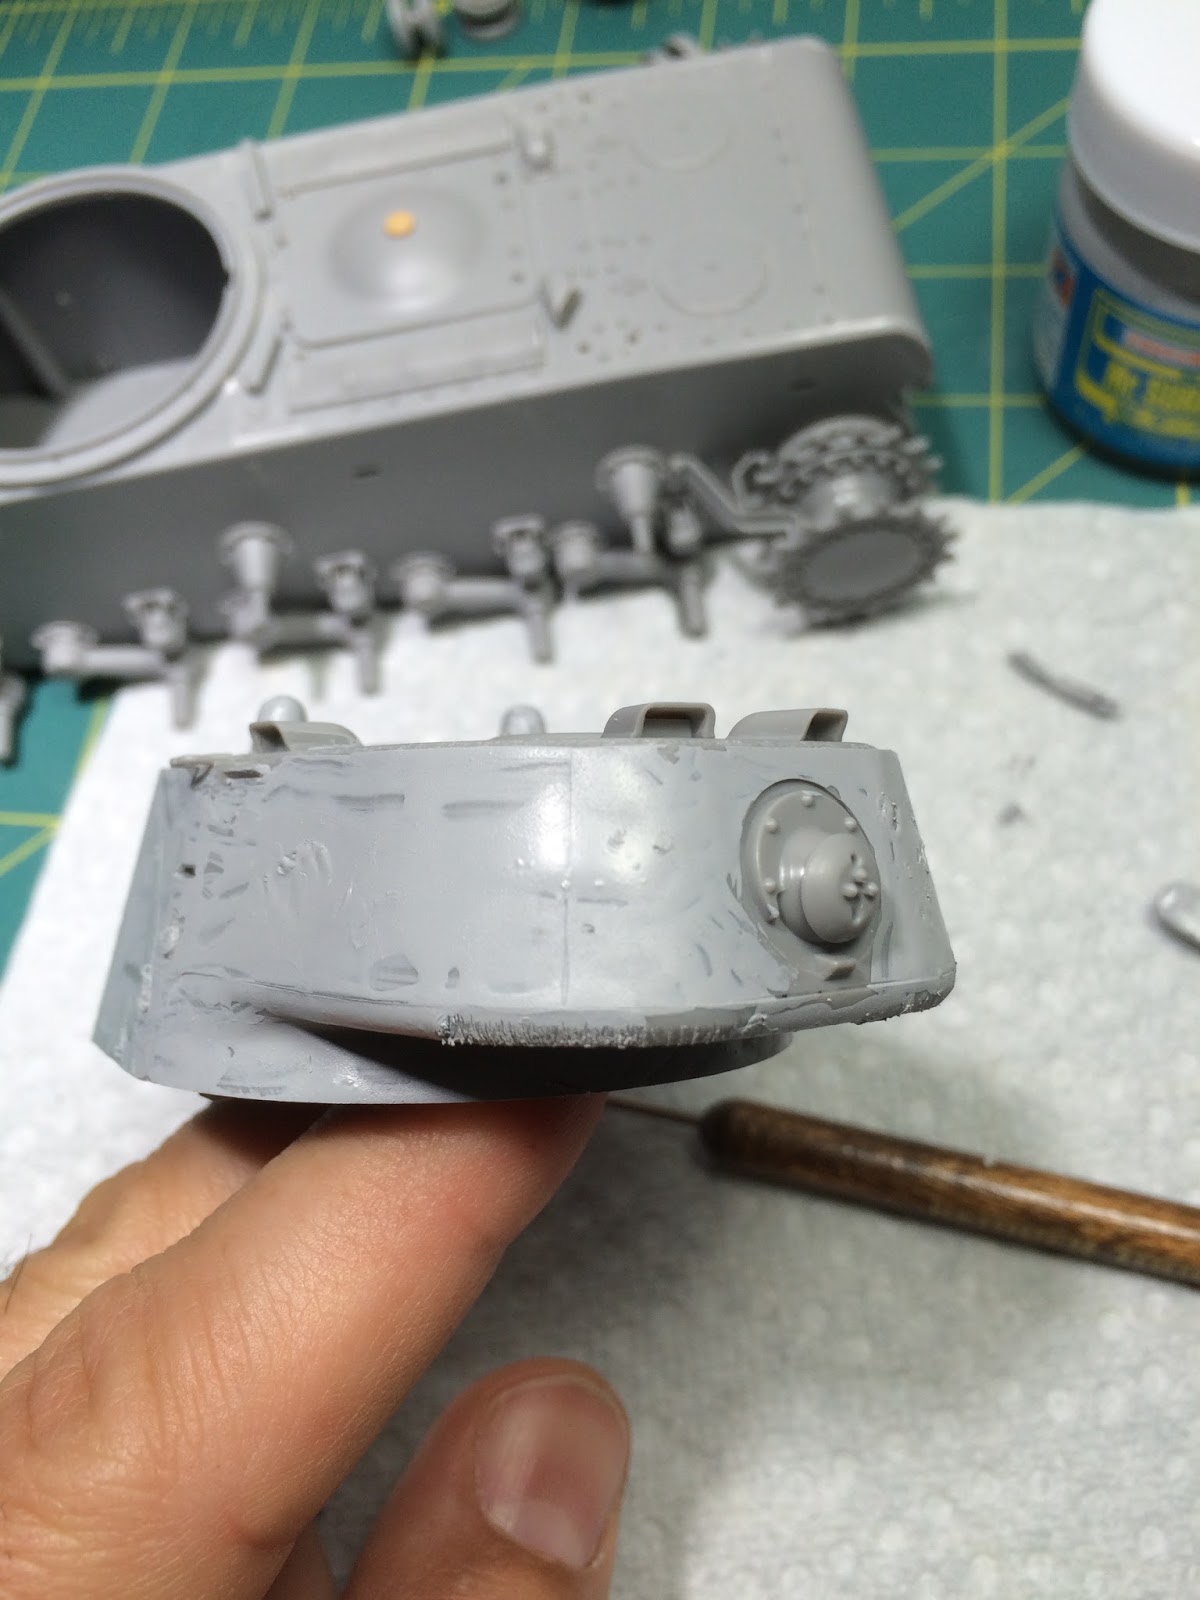
Used Mr. Surfacer 500 on the turret and rear of KV.


 Looks crappy at first.


 Then I whack it with a Dremel to add some roughness and start to sand.


Lets see what it will look like once primed.
 
 
And now for the FUN part of tank modelling.   UGH!  One side complete.  I used Fruilmodel metal tracks for KV-1/2;  ATL-10 (model #).


Thursday, February 4, 2016

New Arrivals from Badger Air Brushes

My new airbrushes came in.  I ordered two, a general purpose brush and a more modeling specific brush.  The Badger Patriot Pro 105 and the Badger Renegade Krome arrived yesterday.  I chose these for the following reasons:

1. The Patriot 105 is an excellent gen purp airbrush.  It can base coat and also do medium details, perfect for armor and airplanes. 
2. Easy to maintain and much more affordable than other premium brands
3. Great reviews.
4. The Krome also is a great brush.  This one is dual purpose, with 2 needles and 2 nozzles.  I plane to use it for the finer spraying in this configuration with the ultra fine set up. 
5.  This is my 2nd Krome.  I had received an older one from my friend Iain from Ammo paints and used it for years.  I am sending it back for repairs and to be tuned up.  When it comes back home, it will be my back up until it is time to train my 3 kids, then it will be their brush.
6. The Krome was designed for the modeler in mind.  It is an older Renegade, with newer items and options on it that many users had recommended of the Renegade. 
7.  Both brushes are Badger and they have one of the BEST customer service in the business and are AMERICAN made.  I was super happy with my first Krome, so I will continue using Badger. 

I added quick disconnects to all my air brushes.

So these are all my brushes, MINUS my first Krome which is boxed up ready to be mailed out.  The Brush on the bottom left is new too, It's a Badger 100 LG.  I bought it cause I wanted a really big needled airbrush for primers, some times base coats and clear coats, BUT it is old tech from Badger.  So far I am NOT happy with it. It could be I haven't really gotten he hang of it properly, so I will give it more time before I send it back to Badger for a looksee. 
 
The brushes on the right are my FIRST brushes.  They are an Iwata Eclipse HP-BCS and an HP-C.  The BCS is a siphon style airbrush, my first airbrush when I got back into modeling in 1996.  The HP-C was my fine work brush.  It is a nice brush, but both of them need serious repairs and tuning up.  I need to find a good place to bring them.  The other problem with Iwata is parts are expensive!

Tuesday, February 2, 2016

Figures: Mordheim model and Bones Figure.

I always have my figures that I have started but not finished close at hand.  While I was building my two AFVs, I reached over and finished these two models.  Just need to flock them.
This Vampire is an old Mordhiem model I have had for years!  I used my base painting, Citadel Shades, then minor high lights with SAME base color trick.  I do not really like the bright colors.  Some miniatures look cool that way, but I prefer more natural colors.  So you can see I paint the model, usually using 1 color.  Sometimes a high light.  I paint the base on a white primer.  Usually I spray a black primer, THEN a white heavy misting to create shadows (I spray from top down white only) and then I paint colors.  I paint the shade on the particular color only then when dry, the next shade.  So where you see red, I used the red shade, on the metal chest plate, black, on the boots and belt I used sepia, and on the pants regular brown.  Face received the skin toned shade.

Cape and hair got the black shade.  I used the same "tire black" Life color paint I used as the main base to high light the washed cape, thus giving it a more natural effect. 

This is a Bones PVC model.  I got this with the Kick Starter.  Their models aren't bad AT ALL for the price.  Cleaning up the flash lines sucks though.  Same painting method as Vampire.

WIP: While we wait for the airbrushes...KV-1 1942 build

Yeah, THAT'S RIGHT, a 2nd build!  I finished the WZ-551, I need my airbrushes to arrive before I can continue, so I pulled out another model to build while I wait.  Say hello to Trumpeter's older KV-1 1942. 

It's a nice easy model, not too much detail, but enough to make it interesting.  The parts fit somewhat well, but the hull has gaps.  NOTHING The Perfect Plastic Putty can't fix! Overall I like it.  I am almost done with the build, BIT THEN, I have to build the tracks.  Model comes with rubber bands, which I through out, and also link and length.  I opted for the Fruil tracks I have to make the model pop.  Here is what I have so far.

Gaps everywhere


Perfect Plastic Putty


Gaps


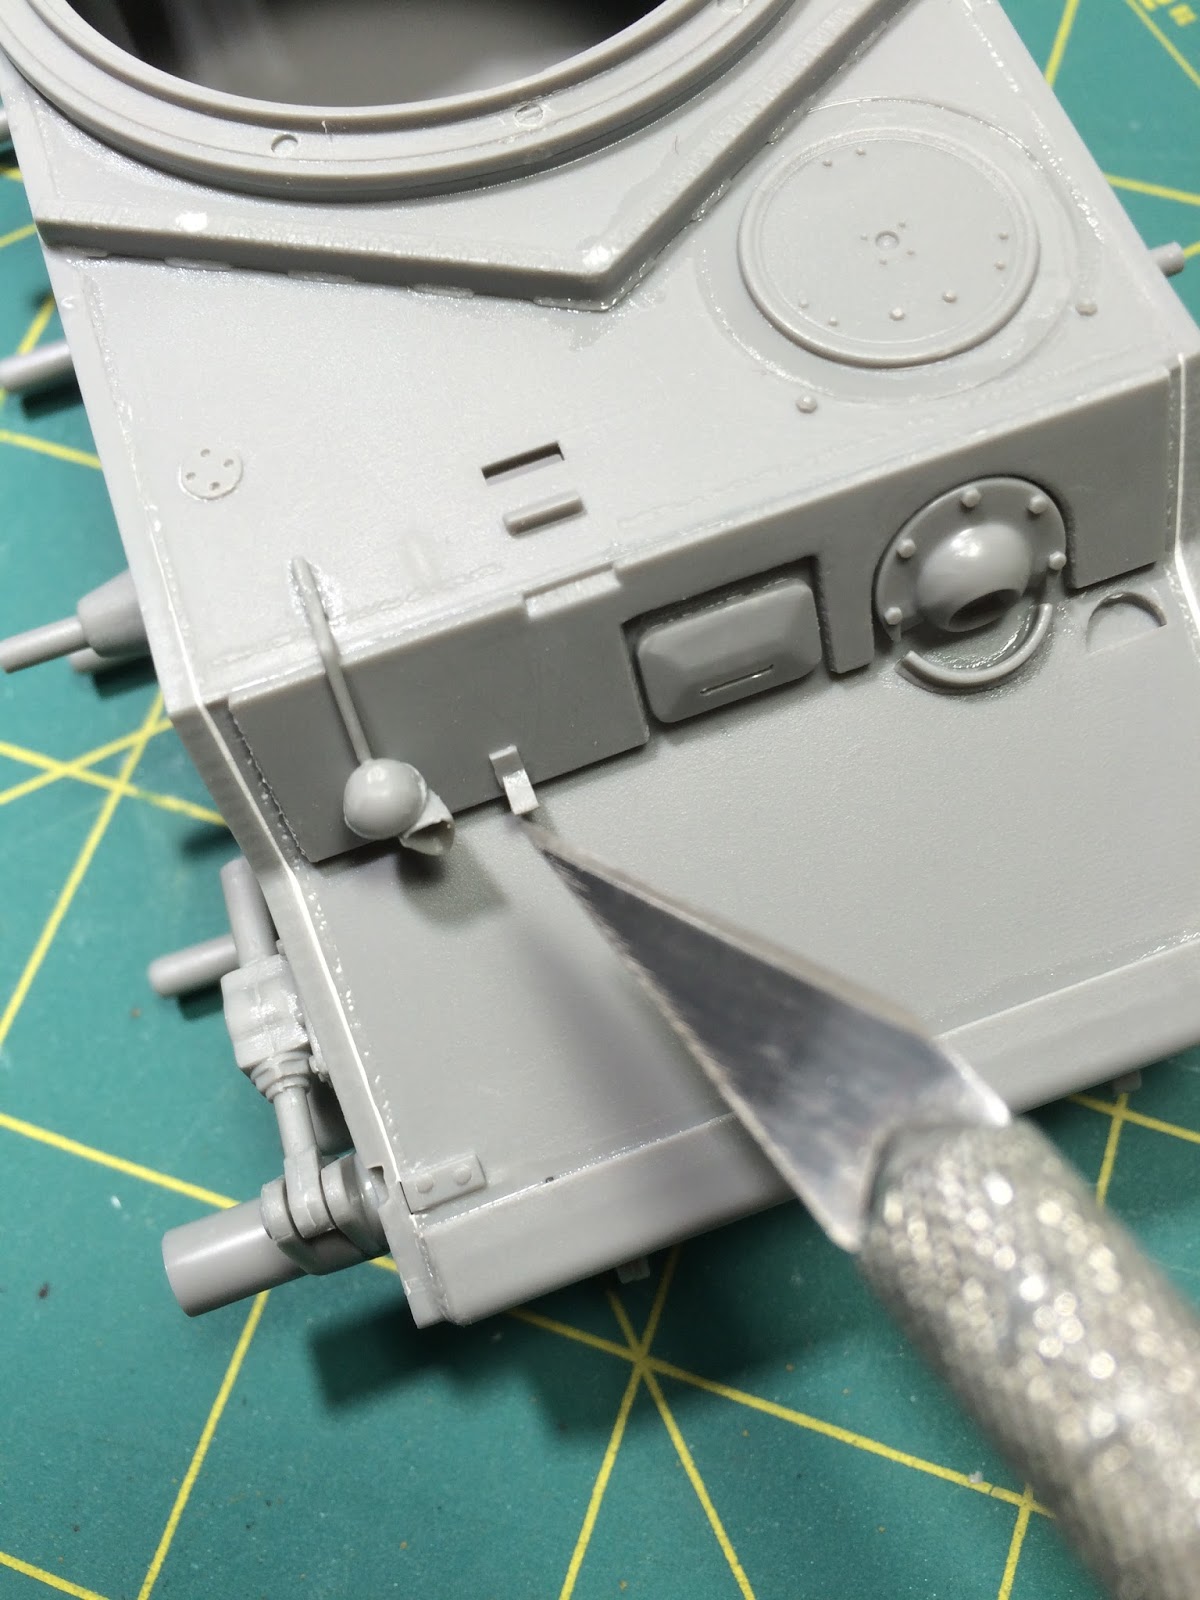
Used the liquid putty to fill the small knock out spots, this way when dry I can score them and make them look like weld marks.


Same thing.  I used the blade to make a ton of small slices to replicate weld marks.

I didn't like the detail on how the light was attached to the hull, so I added this little piece of plastic to rest the light on.

Cut the plastic from the strue identifier and cut and sanded to shape.


Thursday, January 28, 2016

WIP: ZSL-92 IFV UPDATE

Latest updates on the building of the Chinese IFV. 

I still can't figure out why this system rotates my photos.  Anyway...

The etched brass is kit. 


Have some ideas for the lights and glass.  Going to be using a combination of Ammo and Tamiya clear products. 


Used Perfect Plastic Putty on the seams and gaps where needed.  This stuff is FREAKIN great! It goes on easily, and is water clean up.  I put it where I need it, then use a damp q-tip to wipe it down flat.  Be wary though, that once dry, it can still be manipulated once wet again.  It can also be sanded down if need be. 
 
Just a few more minor items and it's painting time.  My airbrushes are NOT up to par anymore.  Both my Iwatas need repairs and so does my Badger Krome.  I ordered a new Krome (yes I am NUTS) and a Patriot 105, for base colors etc.  I have a Badger 100 LG with a large needle, but as of right now, I am NOT happy with it.  It's old tech.  If the Patriot works better for base colors and Primers, I will either sell it or give it away as a prize.  It is BRAND NEW. 
 
This model will be an OOTB model for once.  Good thing it came with some brass.