Wednesday, February 25, 2015

MIG-21 PF: Update WIP

Got some more work done on this bad boy.  Well over 45 hours so far.


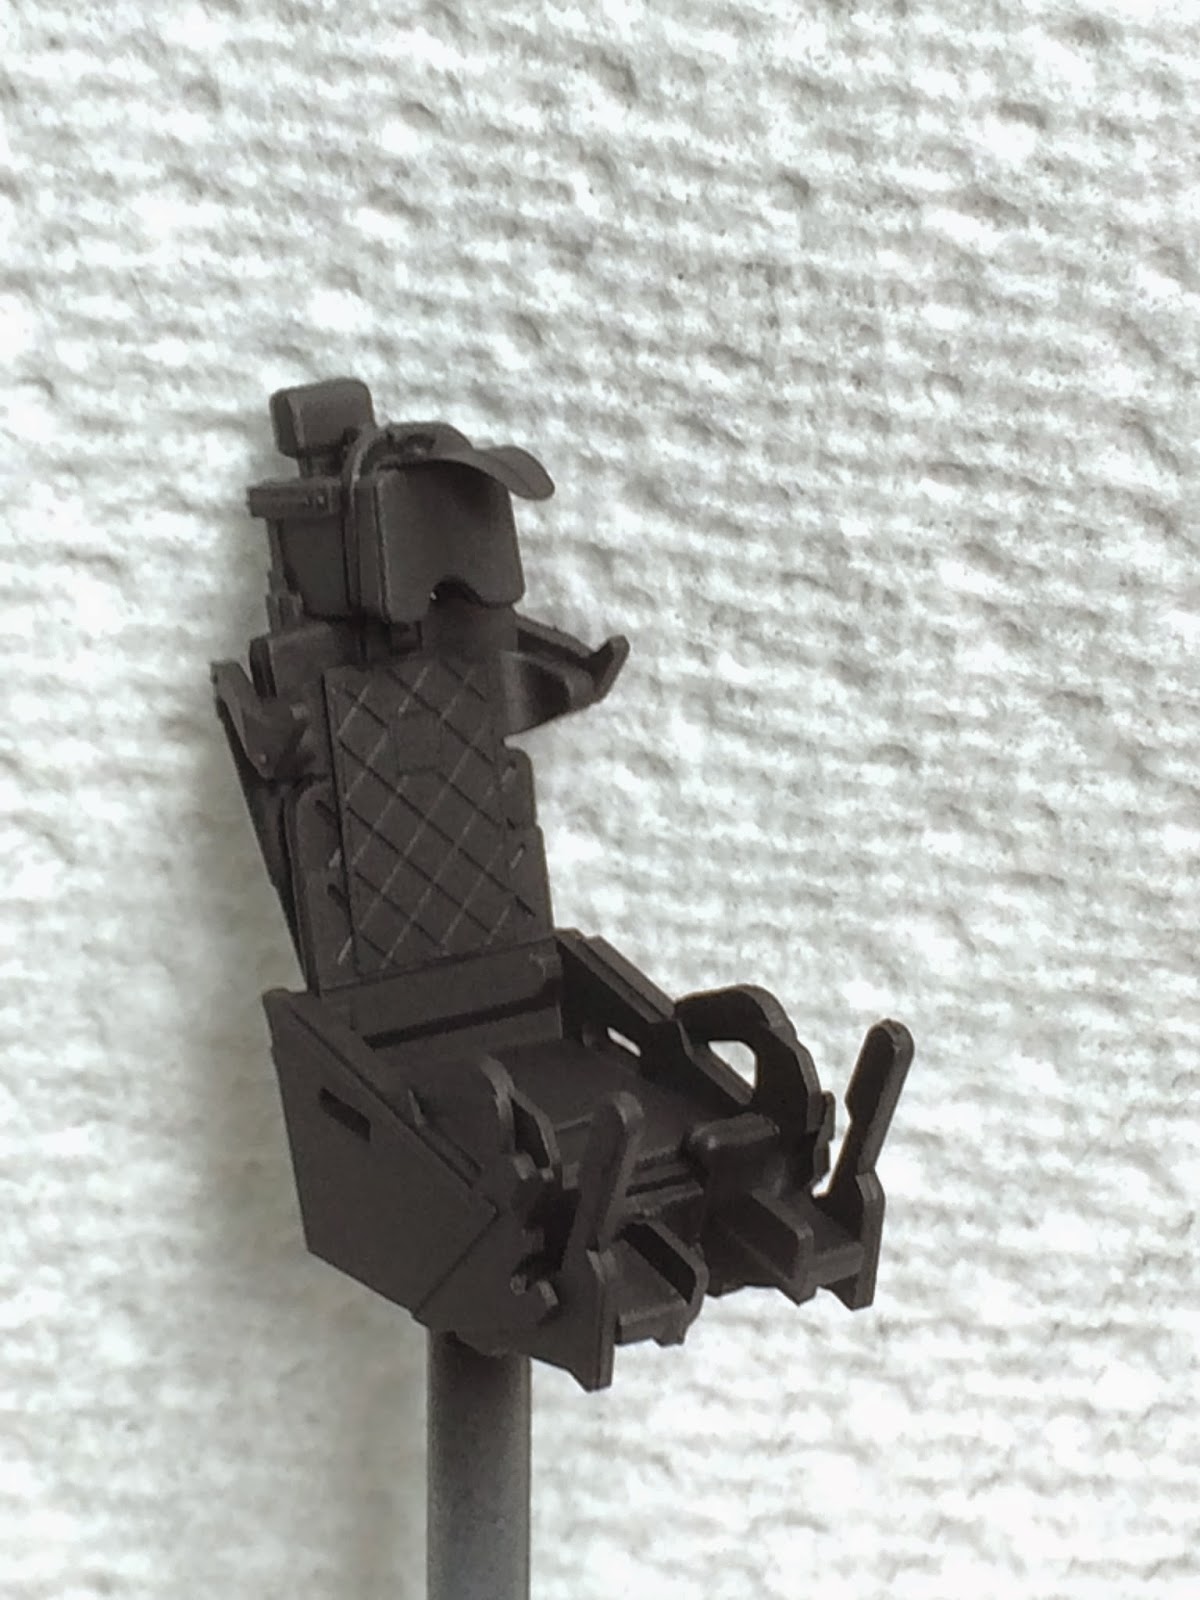
This is why its good to review photos.  I noticed I didn't paint the back side of the ejection handle. 


Fixed!

HUD installed

Primed.  Alclad2 Gloss base.  I should have used grey.

Aluminum Alclad2 on.

Buff off rough surface with a lint free cloth.

Result is a smoother surface.

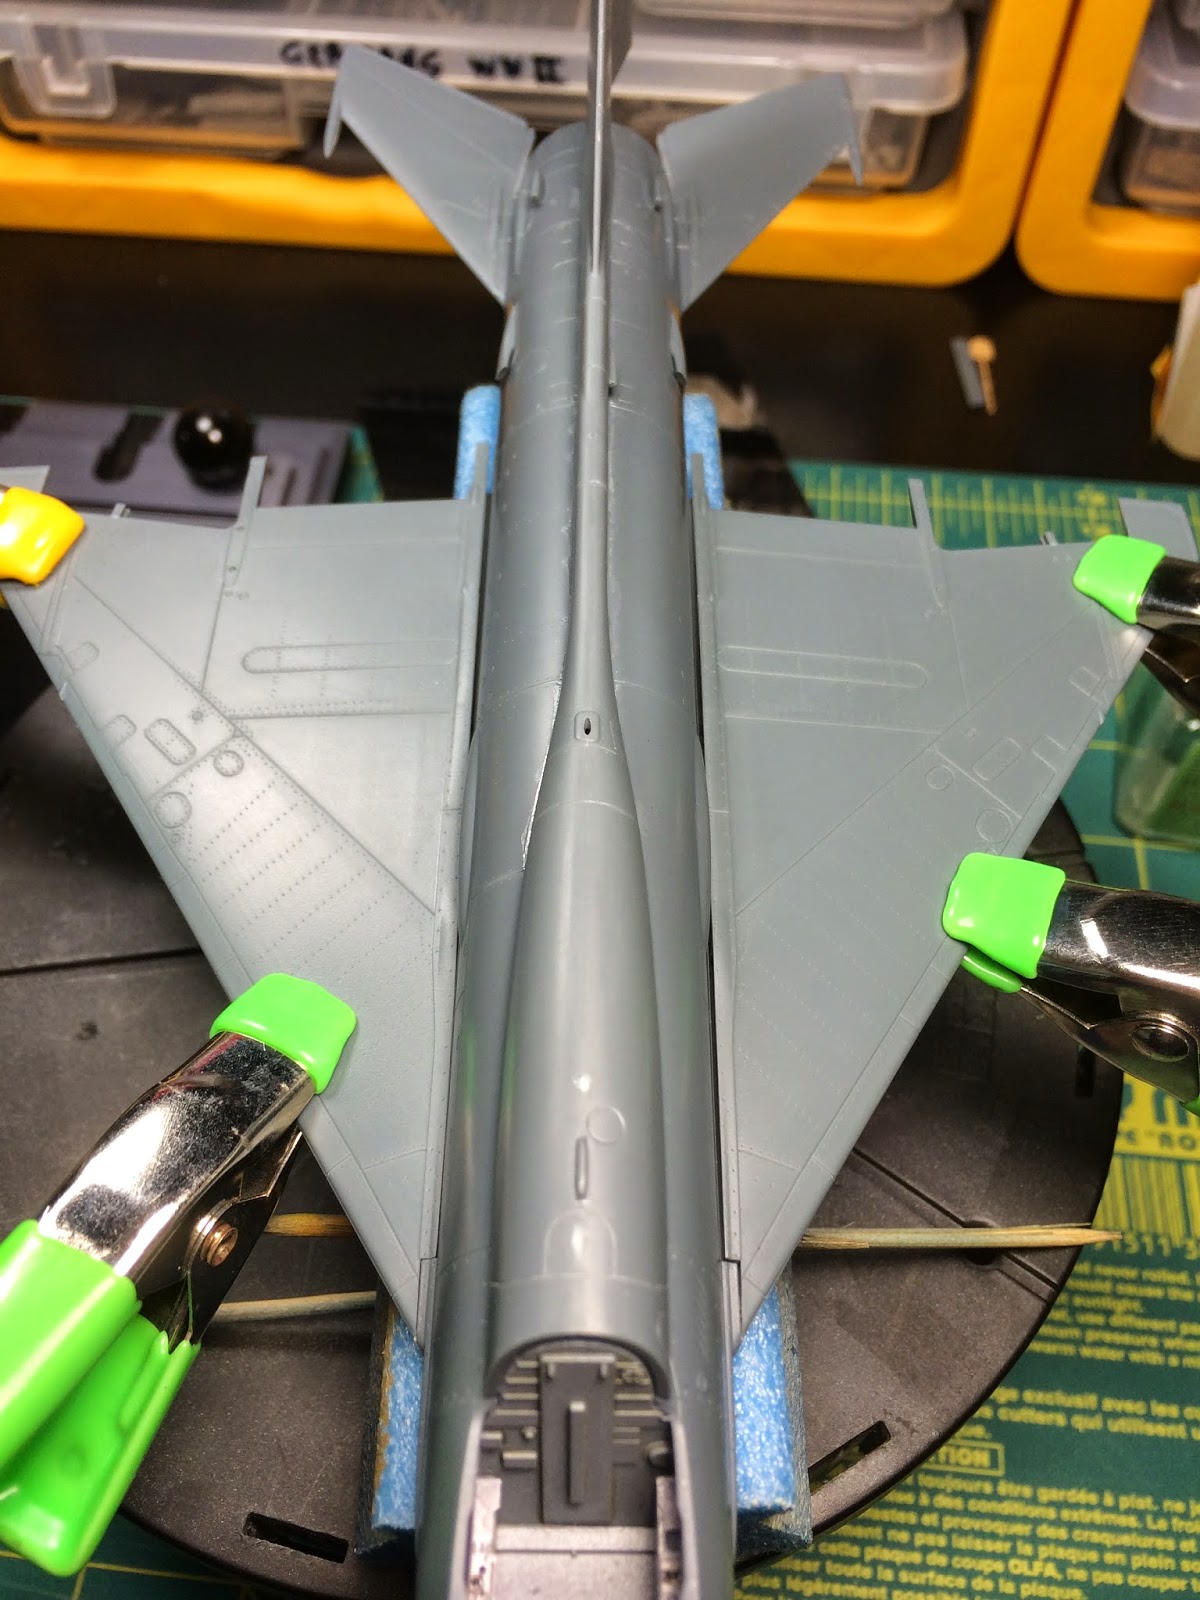
First Round of masking for panel painting.


Round 2 next, more panels on top.  I used Alclad 2 Dull Aluminum and Dark Aluminum. 

Monday, February 23, 2015

Mig-21 PF Eduard 1/48: Update WIP

Worked on this bad boy ALL WEEK.  I have about 38 hours logged into this model and I still am only at this stage.  I am one slow model maker. 

so while working on the Mig's under side, I blindly reached for something with my right hand when I was to the left of the model and WHACK! (see below)

Back handed the Mig right in the nose!  Terrible.  I was NOT happy.

Working on scribing out some of the panel lines and rivets that were clogged with putty

Adding PE

Wings, flaps and control surfaces

This is the PE piece for the wheel hydraulics!

What it looks like all bent into shape

Test fitting the ejection seat.


 After gluing the missile's fins.  I rested the missiles on a small rack to prevent them from touching the matt and bending the fins until totally dry.  I even drilled out the rear of the missiles.  


Getting ready for paint.  Tissues and asking.


The progression of the Ejection Seat and all the PE that went on it.  Phew, that was A TON of PE.  That was a first time putting on all those belts etc on a seat. I also used Ammo of Mig Primer and colors on the seat.  Washes also were Ammo of Mig.

Wednesday, February 18, 2015

New Build: Eduard Mig-21 PF 1/48 GROUP BUILD

I joined a group build on a Face Book modeling group I belong to.  The subject was ANYTHING THAT FLEW DURING THE VIETNAM CONFLICT.  So, a month + later, one of the guys made a Beautiful Skyhawk.  I was inspired to join the build, EVEN THOUGH I haven't 100% finished my D7, but that's another story. 

I chose a Vietnamese Mig-21 PF as my subject, an Eduard model in 1/48th.  Here is the progress so far.  Since Friday night when I got the model in the mail, I have logged about 27 hours.  And I am STILL not even up to exterior paint. Man I am slow as sh......

This is my first jet since I was 14 or 15 and my first 1/48 scale since then as well.  Also my first NMF on the aircraft sine I brush painted a 1/48 B-29 when I was 16!  This s going to be fun.  This build ends last day of February!  I better hurry. 


 Tiny parts in this kit


These files work GREAT.  Looks like almost no seam line and I used 0 filler.  Just Tamiya Thin Adhesive.

My first time EVER pushing metal paints through my air brush.  Used VJ Air paints thinned quite a bit with Ammo of Mig acrylic thinner, Not bad!

Dry Fitting

I think this is wrong.  The color guide shows green, but this looks wrong to me. 

Cockpit

I used the PE for the panel and then I used Ammo of Mig clear paints.  Looks great!

Exhaust Steel colored and Blue filter used. 


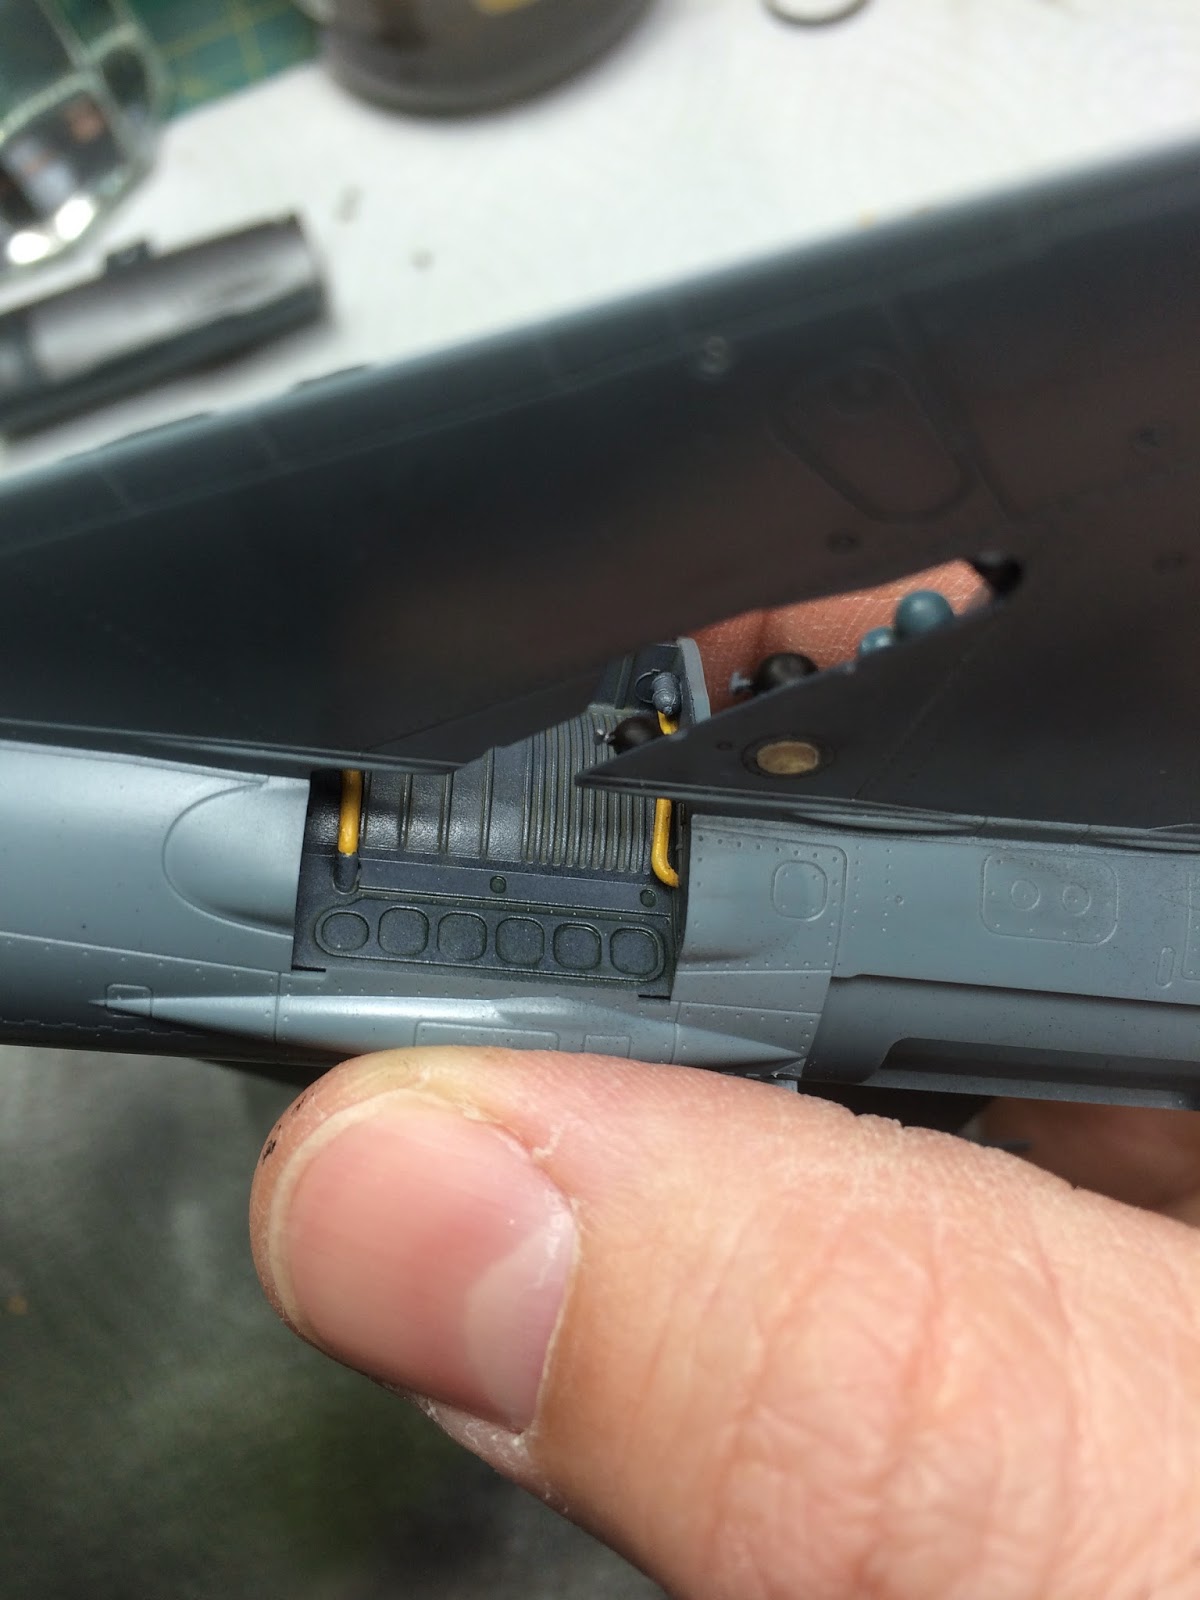
Landing gear housing, lightly washed. 

Dark washed the exhaust and ready for glue.

Glued! Also nose cone painted and chipped. 


Top of wings DO NOT fit right up against the fuselage.  WTF?

Thursday, February 12, 2015

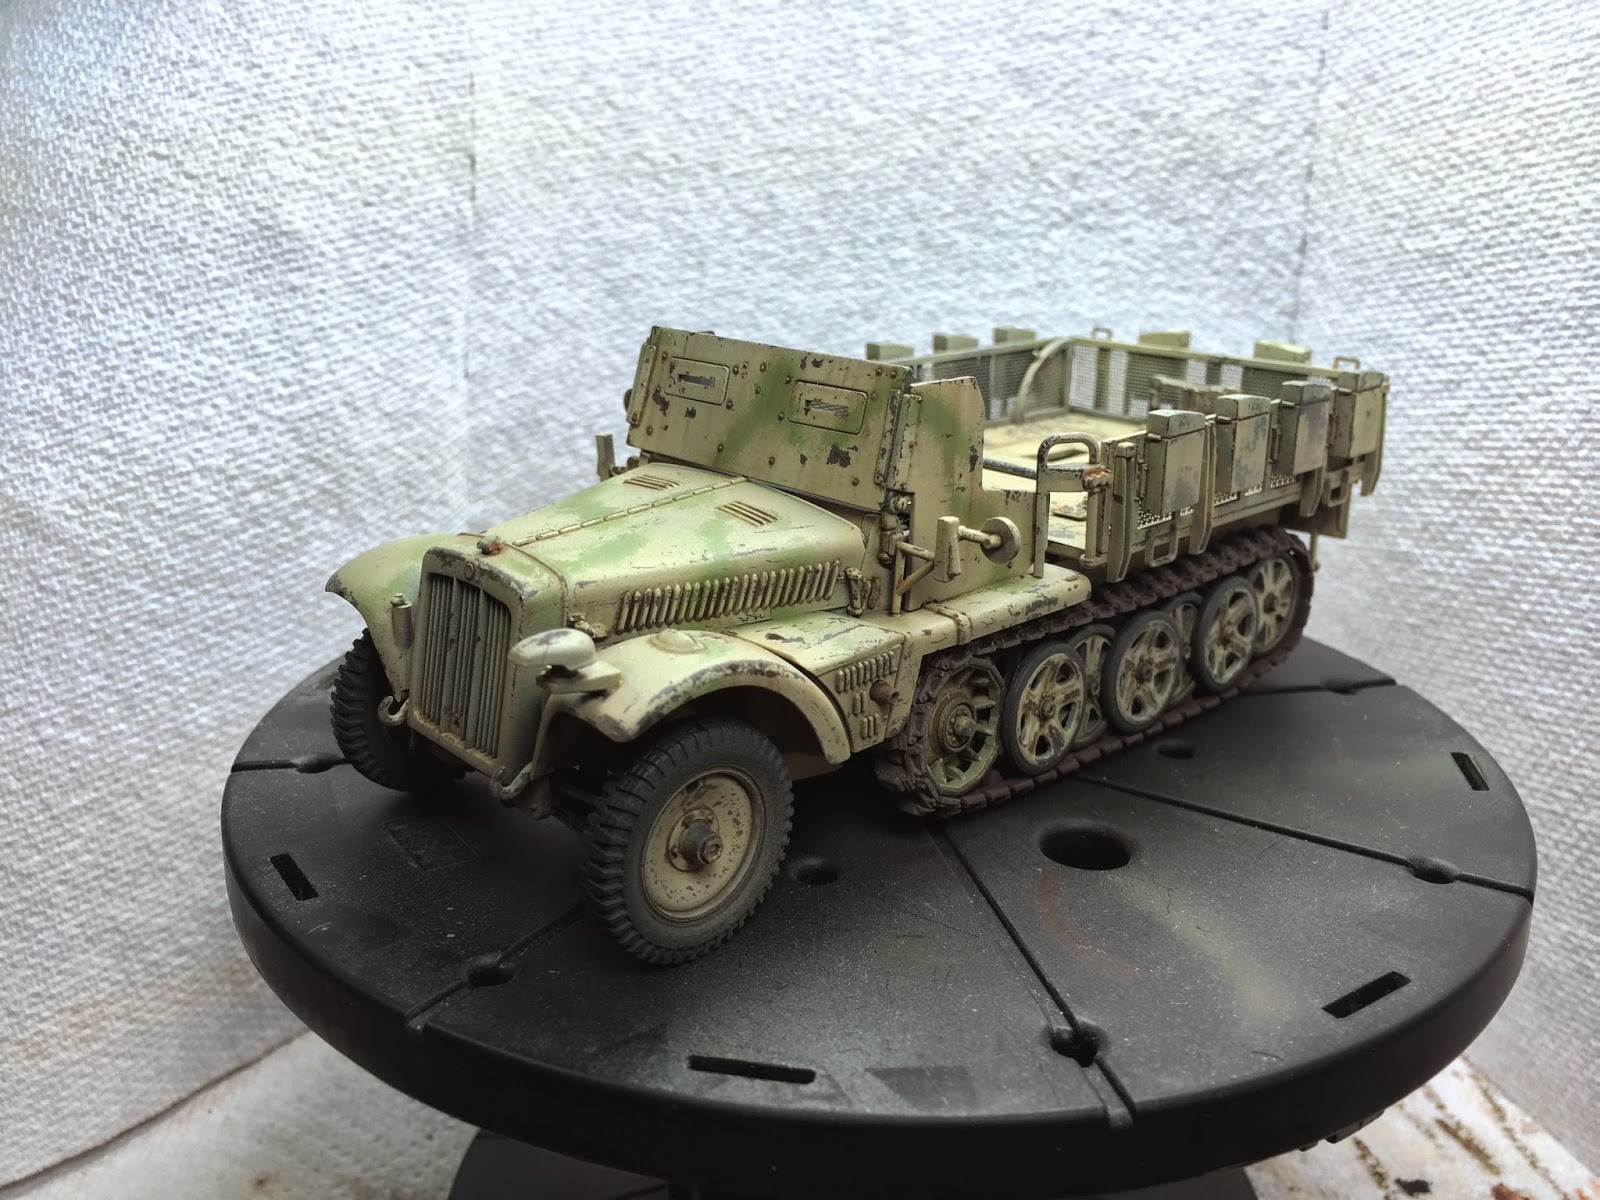
DEMAG D7 UPDATE: Adding dirt and dust

So, I am new to dust and dirt, at least making it look good and realistic.  As you all remember, I tried my hand with dust on the SIG 33 and T55, so those were my practice models.  Then the SU-100 was my first "real" attempt at it.  But I am still learning.  So I am going to go light on this model, just cause. 

Here is photo of the dust in the driving area. 

Some more dirt and dust to add and some pigments on gun and done!

Monday, February 9, 2015

New Addition: A Good Friend's New Blog; Painting the Lead Pile

So Sal is a good friend of mine.  Met him....man, going on 14 years ago at a local gaming/comic store with a few other guys.  Now, years later, we are all married WITH MULTIPLE kids and still trying to get gaming and building/painting in. 

Sal is super busy, but he spends his "free" time on figures.  He is a miniature fanatic and one of the best miniature painters I know.  He is also gifted with terrain.  If you like table top gaming as much as we do, then his blog is for you. 

Oh, NOT only is he good at painting miniatures and figures, but he as a SERIOUS disease too....he CANT stop collecting MORE "lead" to add to his pile.....get it?  LOL.  Man is a miniature collecting FANATIC!

http://paintingtheleadpile.blogspot.com/

Stop on over and pay Sal's new blog a visit. 

Thursday, February 5, 2015

DeMag D7 Update on Progress

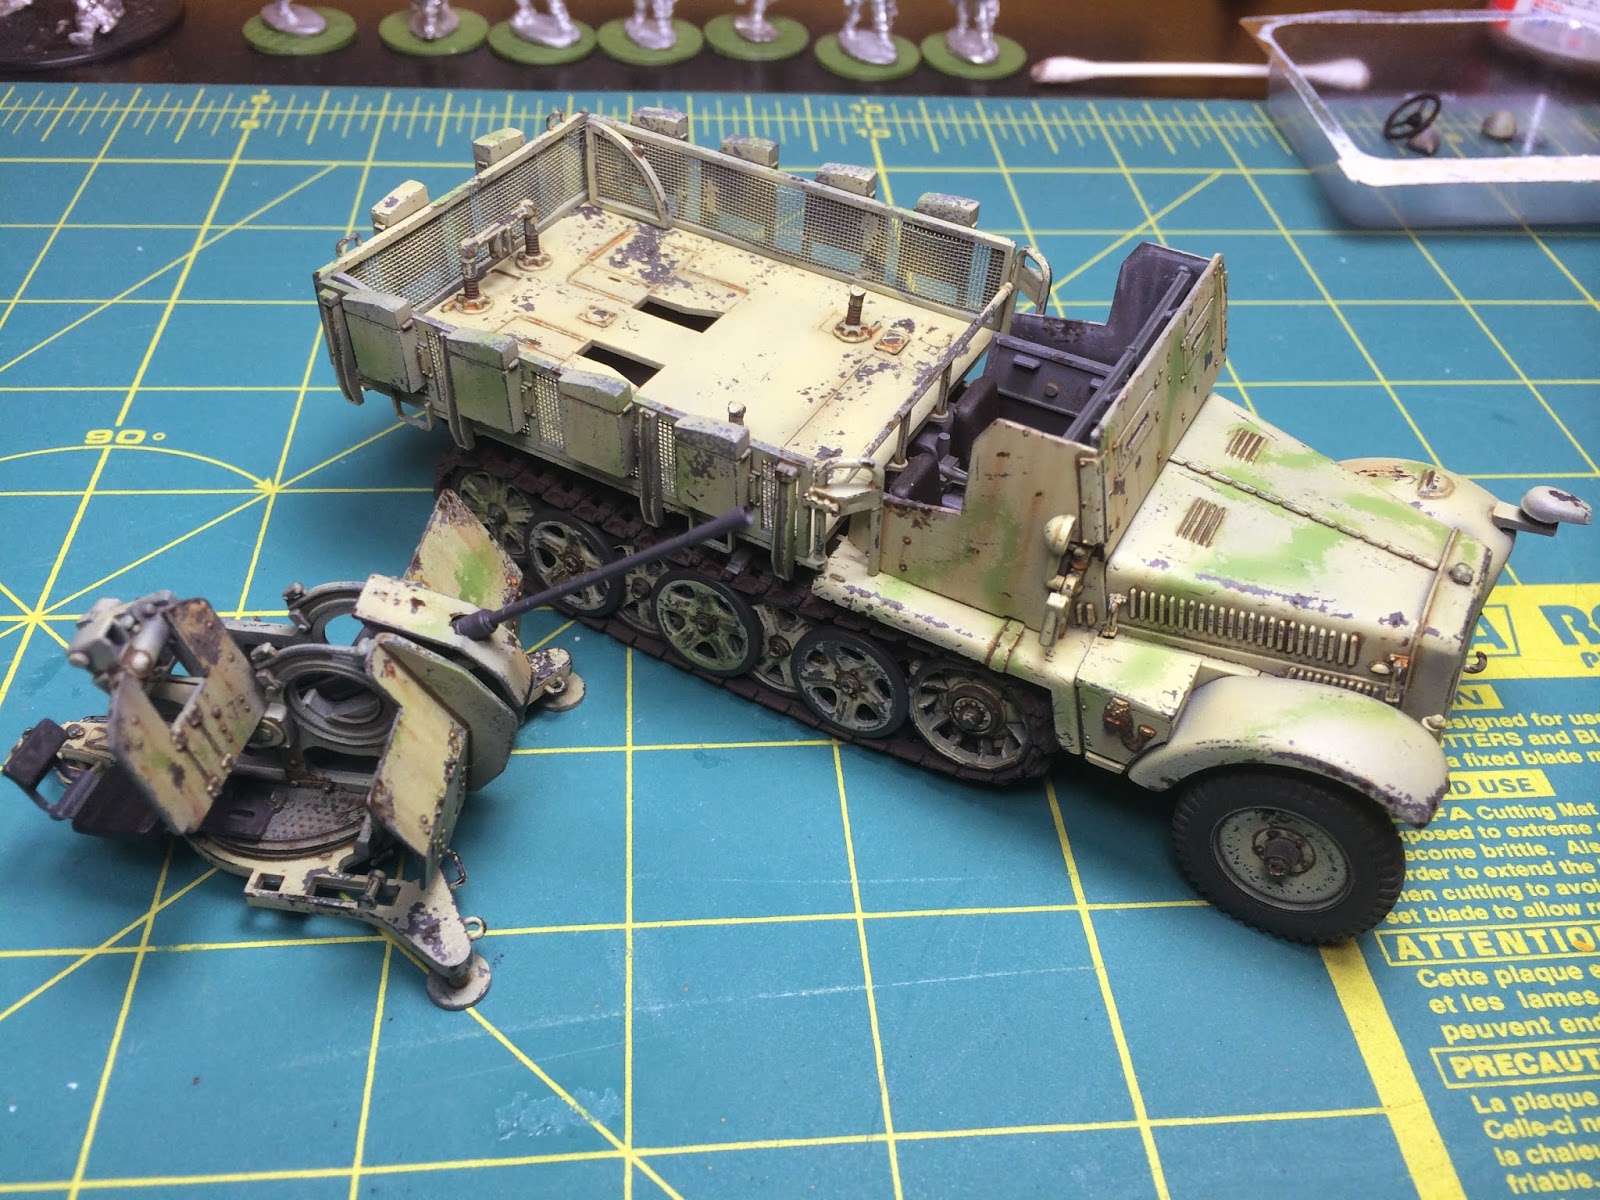
So I have been moving SLOW...but here are some of the latest photos of the model.  Almost done with it.

 Dry fitting of the rear gun deck after some Ammo of Mig pigments.  Very subtle so you really cant see that much.  I mixed a little bit of light dust with earth Nature Effects and applied it to just the right areas on the tracks, hubs of wheels, exterior of the vehicle and inside the driver area. 
 I finally finished the tracks.  Remember, these are old Dragon tracks from an older edition 250/1.  I used the tracks and the sprocket wheel.  I was able to make the tracks COMPLETLY workable.  You can see the one link that is unpainted is the connecting link to put the whole thing together.  It was painted soon after with Ammo of Mig Track primer and Life Color rubber on the pads.


Here I have a series of photos of the model after applying light coats of dust in prep for the dirt/dust which will be my final step.  I used Ammo of Mig Dust and light dry mud  and did light over spray under the wheel wells, engine compartment, gun deck, screens/ammo canister and over wheels and tracks.  Next, some darker pigments.