Showing posts with label Italeri Models. Show all posts

Friday, April 3, 2015

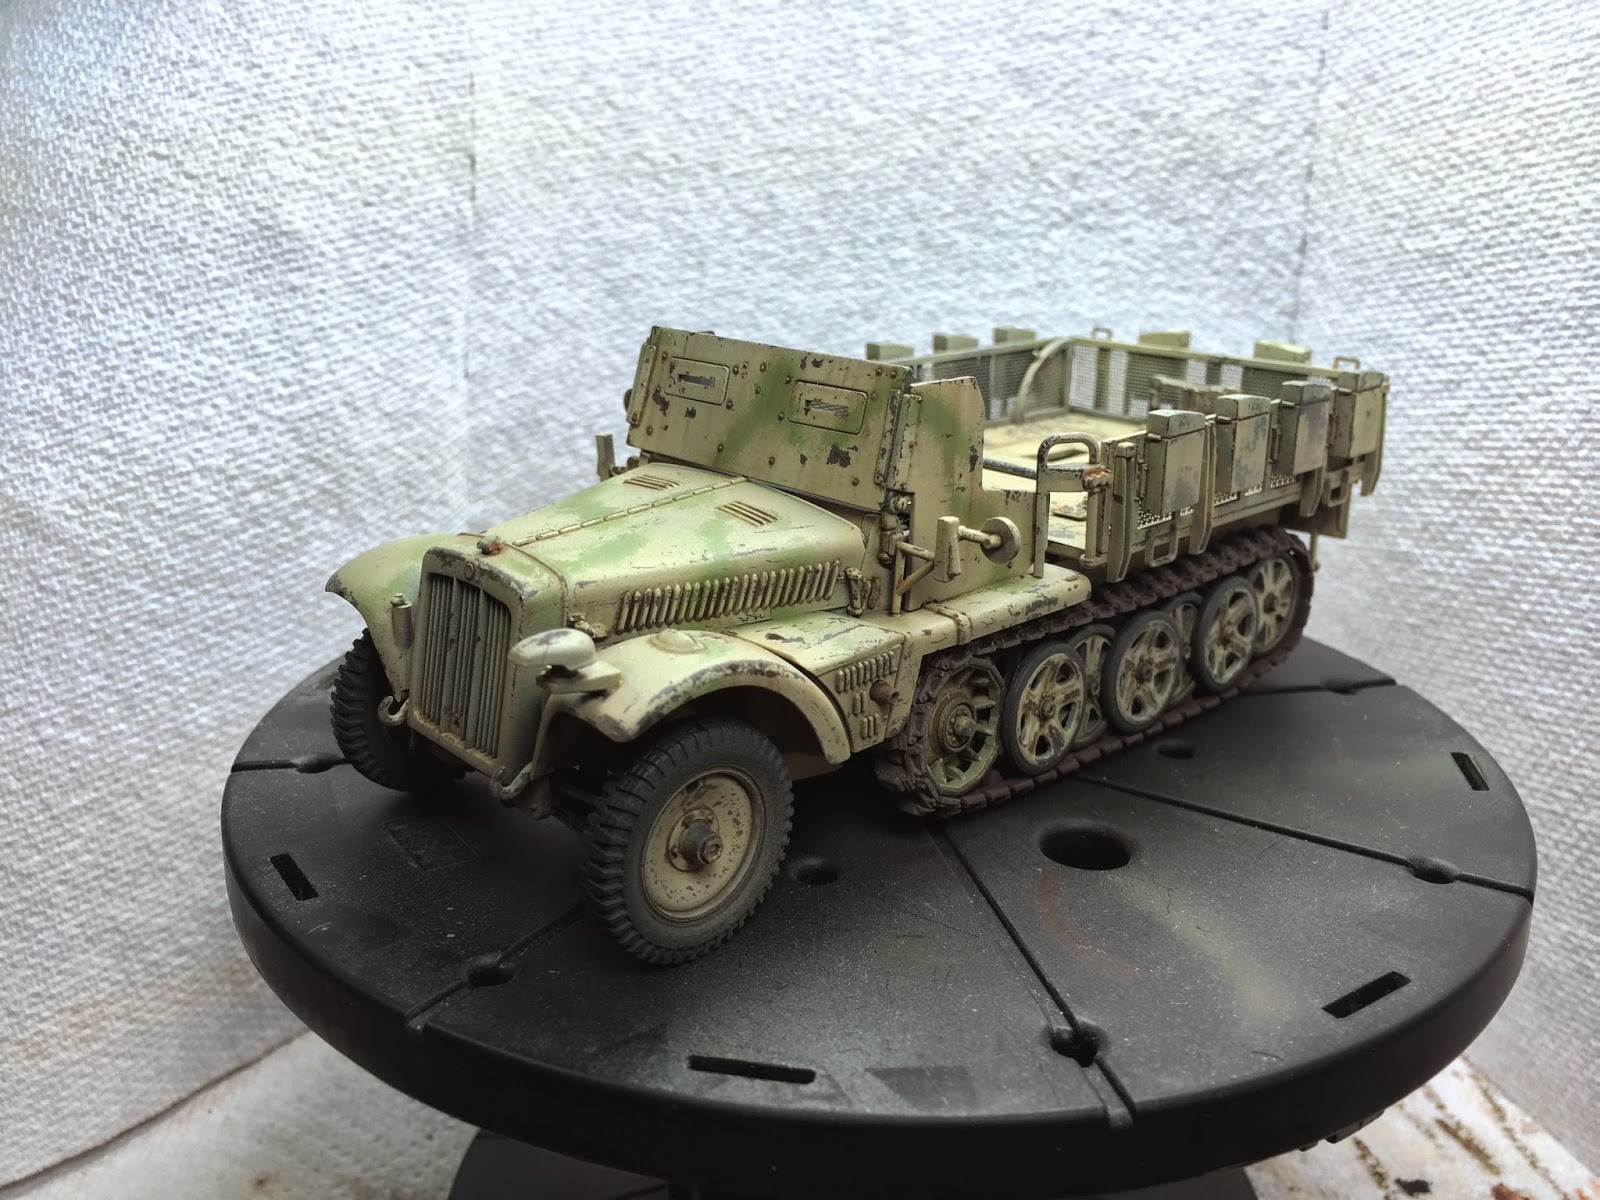
DeMag D7 Finished - WIP

Finally after over a decade that this was started, it is FINALLY done. 


Thursday, February 12, 2015

DEMAG D7 UPDATE: Adding dirt and dust

So, I am new to dust and dirt, at least making it look good and realistic.  As you all remember, I tried my hand with dust on the SIG 33 and T55, so those were my practice models.  Then the SU-100 was my first "real" attempt at it.  But I am still learning.  So I am going to go light on this model, just cause. 

Here is photo of the dust in the driving area. 

Some more dirt and dust to add and some pigments on gun and done!

Thursday, February 5, 2015

DeMag D7 Update on Progress

So I have been moving SLOW...but here are some of the latest photos of the model.  Almost done with it.

 Dry fitting of the rear gun deck after some Ammo of Mig pigments.  Very subtle so you really cant see that much.  I mixed a little bit of light dust with earth Nature Effects and applied it to just the right areas on the tracks, hubs of wheels, exterior of the vehicle and inside the driver area. 
 I finally finished the tracks.  Remember, these are old Dragon tracks from an older edition 250/1.  I used the tracks and the sprocket wheel.  I was able to make the tracks COMPLETLY workable.  You can see the one link that is unpainted is the connecting link to put the whole thing together.  It was painted soon after with Ammo of Mig Track primer and Life Color rubber on the pads.


Here I have a series of photos of the model after applying light coats of dust in prep for the dirt/dust which will be my final step.  I used Ammo of Mig Dust and light dry mud  and did light over spray under the wheel wells, engine compartment, gun deck, screens/ammo canister and over wheels and tracks.  Next, some darker pigments.  

Thursday, January 15, 2015

The end of 2014 and the start of 2015. Going to be a good year!

Ok so here are some things I am working on....yes I know, TOO much all at once.  Regardless, here is what is on my work bench OR what I finished recently and failed to post. 

M5 Stuart from WarLord Games (Bolt Action).  This guy was modulated, control washed, and slightly weathered.  It's a gaming piece after all.  The paint is Ammo of Mig Modulation set and Ammo washes and streaking.
 

Here he have the new Bolt Action M4 plastic tank.  Italeri makes it, its pretty good, BUT they got the sag in the tracks wrong, WHICH is a bit upsetting, especially for Italeri. 
 

My prototype model of a tank from the new game which was funded via Kickstarter (I got in on it) called, All Quiet on Martian Front.  I haven't really played yet as I have not completed the models I got from buying in on the Kickstarter, which were MANY.  They had a great program and the stretch goals were VERY cool.  Anyway, the model in the photo is a Mark III tank of the Texas Militia.  I am basing my US forces on Texas Militia and US Army.  The time period of the game is 1910 (but the initial Martian invasion was in 1895, and the earth armies benefited from alien tech a bit.  Very cool concept for a table top game. 


Another Kickstarter project I participated in was the BONES kickstarter.  These are all sorts of different Reaper models that were metal and now made in some kind of PVC, which makes the cost a small fraction.  Reaper sells these figures about less than $3.00US.
The stretch goals were awesome and for $115 I got almost $400 in models!  I have enough minis to last me a life time now.  I selected 3 to test fist.  You can see those in the bottom photo.  They are WIP.  I washed them, boiled them and corrected any bent parts, placing them into freezing water right after to make sure the proper pose stayed.  I then cleaned up any flash (which is a total PAIN IN THE ASS with PVC), and primed.  I use black and then white primer by Krylon.  You can see the wizard ont he right.  Reaper says you don't need primer, but I will always apply primer.  The 2 models on the left are not finished yet, almost.  The Elf archer and Human Warlock will be used for my Mordheim armies.  The Wiz on the right will end up on a round base for Song of Blades and Heroes. 
 
The photo above is also Bones models being prepped for primer.  These are will be part of war bands for Song of Blades and Heroes. 
 
So here I started this base at least 12 years ago.  It was just built.  Then, I primed it and left it alone again, till last week.  I airbrushed it with Ammo of Mig and VJ Air paints.  Other than the wooden posts and small rocks, everything is airbrushed, even the flock and shrubs.  This is still a work in progress and the tracks that are embedded are from either a Panzer 3 or 4, so this will be ready for when I finish something with those types of tracks.  


Monday, November 17, 2014

DeMag D7 w/Flak 38 - UPDATE

So I got some more time into this model over the weekend.  So far I am pretty happy with my model and the progress.  For my first time, I think it is coming out pretty good.  Learning what works and what doesn't work.  The rails in the back on the gun platform are only dry fitted for effect. 


 I used Ammo of Mig Worn Effect for the chipping fluid.  Worked well I thought.  I also learned some good lessons as to how it reacts and when and how long to have it dry before moving fwd etc.

I was working on the wheels as well and I have to really finish the Flak 38 next.  Once the gun and the wheels are complete, I can start back on my tracks which I am not really looking fwd to. 

Then we can start on the real weathering and fun!

Wednesday, November 12, 2014

1:35 Scale - UPDATE - Demag D7

So here we have the results of my first attempt at using the chipping fluid by AMMO of Mig.  It wasn't very difficult at all.  The issue is you REALLY need to pre plan your work with EVERY step.  So after priming the model and the parts, then spraying the base color, I had spray on the fluid.  Let it dry a bit then spray on the new color.  Once that was dry, I used a brush to apply clean water to the paint and us that brush and some small sharp tools to scratch it up. 

Amazingly, it worked.  Even though the model isn't very accurate, it will look very nice when it is complete.  I highly recommend using these chipping fluids.

One of the grey colors from the AMMO Modulation Set.

Light Base Dark Yellow from the AMMO Modulation Set.


Monday, November 10, 2014

I'm Back! - Updates 1:35 scale

Phew, so after a LONG political campaign season, the elections are OVER and I can get my life back, for the time being.   I was also hit with the hardest artist block I have had in over 4 years.  Finally I was inspired to pick up my paint brush again late last week.  Worked on finishing some Empire Knights.  Just need to flat coat them and I'll post them up. 

In the meantime, I FINALLY started to prime my D7. 

Working on finishing off the priming on the wheels and some pre high light priming and I will add the grey!  THEN...I will layer on the chipping fluid.  Then hit it with some dark yellow.  Should be cool.  I am practicing new techniques on old OOTB (except for the tracks and sprocket that I am taking from a Dragon model) models so I can 1. not mess up a new cool model that I plan to detail and 2. have a cool model that might come out looking good. 

So here is an old T-60 kit.  I think its a Skala kit.  I built it 10 years ago.  It's been in the box since.  I figure I will use this kit to also practice some chipping using the chipping fluid AND practice a knocked out and abandoned tank.  I THINK I will combine both the D7 and T-60 in a small simple dio.  Both OOTB.  Primer and paints from our good friends, AMMO of Mig.  This is the newer stuff that has the 6mm stainless steel agitator ball inside.  Works great with just a drop of AMMO thinner and a PSI of 15 on the air brush pump. 


Monday, May 12, 2014

Demag D7 - UPDATE

Well, here is the latest update.  Spent some time working on the 2cm gun.  This model is VERY OOTB and being it is old, there are some details that lack modern detail standards!  Just some left over brass and an aluminum gun barrel.   BUT, it is a cool model non the less.  Here we are so far...

Wednesday, May 7, 2014

DeMAG D7 with Flak 38 - update

So I made some progress on the DeMag.  Worked on the rear flatbed where the Flak 38 20mm gun goes and also on the gun itself.  Should be done soon. 

I then decided that the kit link and length tracks SUCK!  So I decided to upgrade.  I did not want to spend any more money on this kit.  It is old, I have had it for 10 years and really just wanted it built, but I would like it to look nice.  So I grabbed the kit tracks from the older Dragon 250/1 Alt.  They are individual link.  I did however want something workable, which these are not.  BUT, I figured out a way to make then workable!  Here are some photos.

I set up some Tamiya tape and started lining tracks links up.  then, I started CAREFULLY applying a DOT of glue with the Tamiya Extra Thin cement to the center hole that the track pad fits in.  Once the cement is applied, I place the pad.  After a few minutes its all set to go and its 100% workable!

 
Then, I started going through my old parts stash.  I found an old 250/9 Tamiya etched brass set.  I will be taking off items I can use.  Here is the first piece that will help spruce this model up a bit. 
 

Monday, April 7, 2014

Up Next?

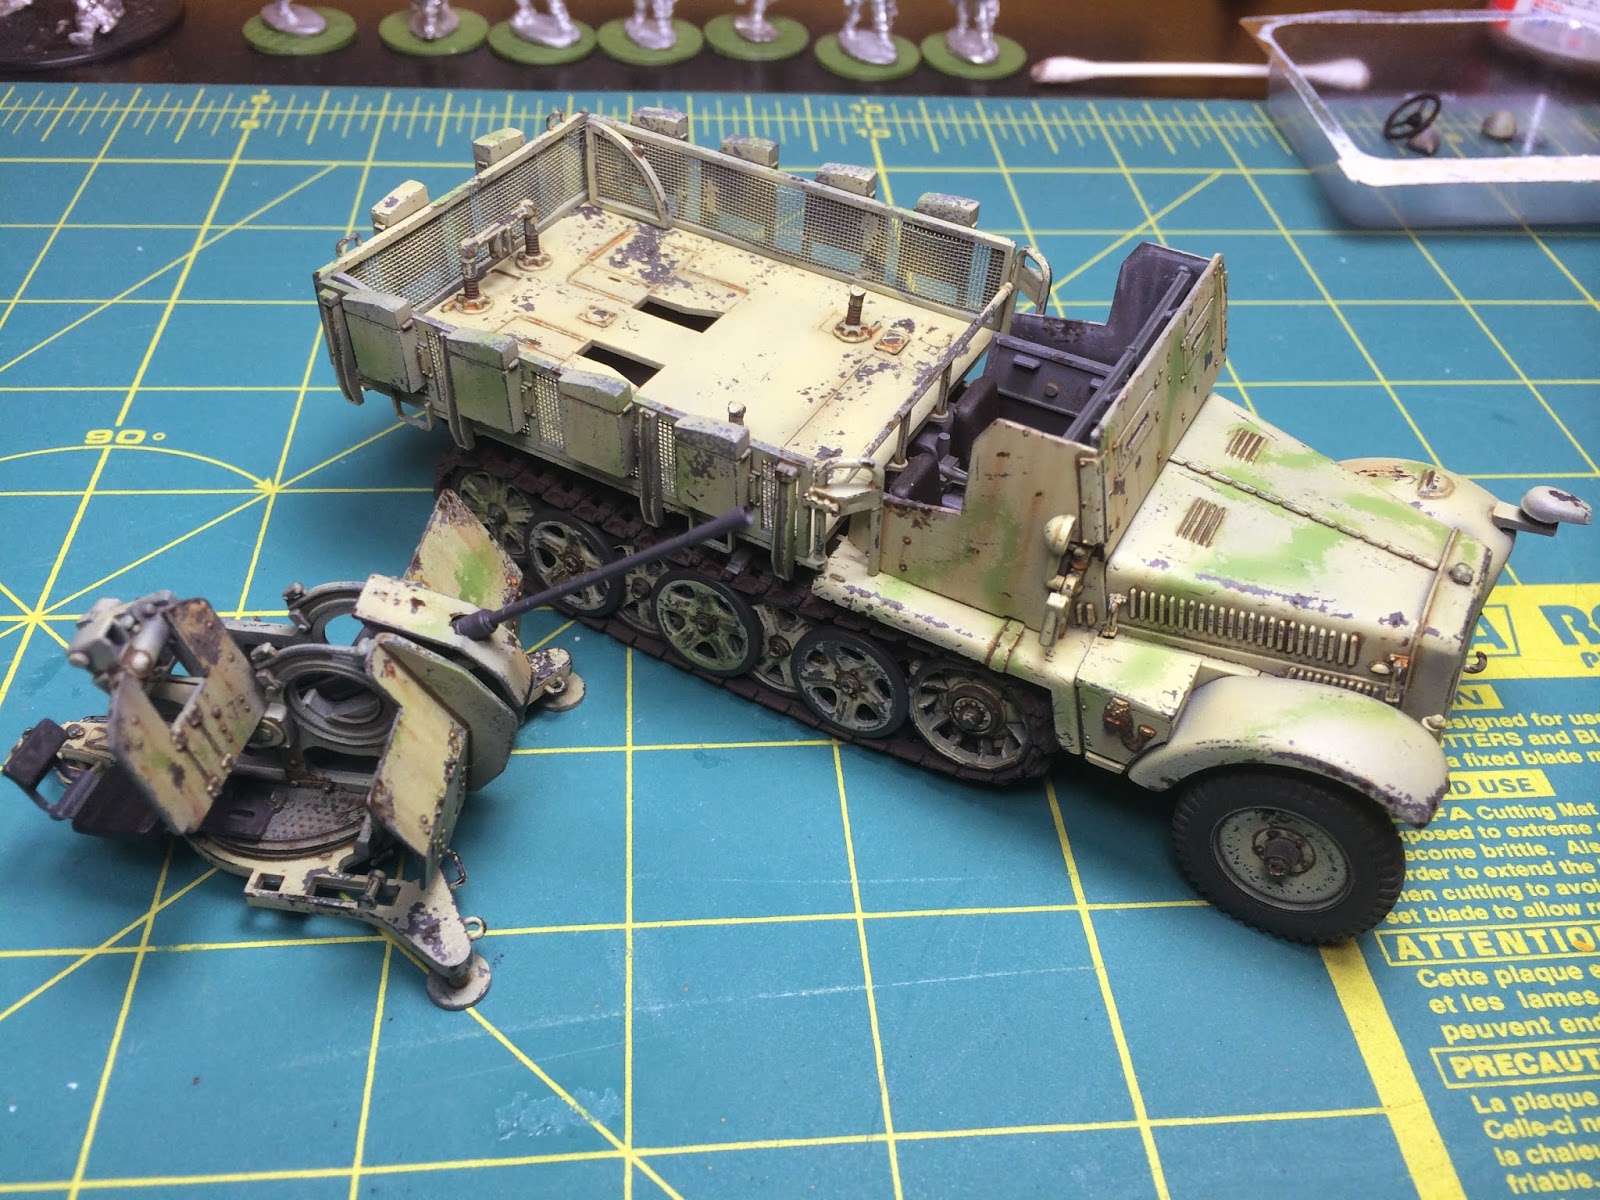
So what is up next on my work bench you ask?  I ask myself the SAME question.  I need to FINISH some old models that I have started years ago...and I mean YEARS ago.  BUT I have all these cool NEW models now too.  I MUST finish what I start though and the next model on my bench will be the OOTB DEMAG D7 Flak 38 I have from Italeri. 

This is where I stopped building.  I am only adding a turned barrel on this model, and MAYBE aftermarket tracks, cause the kit tracks which are link and length are very weak looking.  Not chunky enough. 
I have all the running gear to build, as well as the Flak 38 2cm cannon.