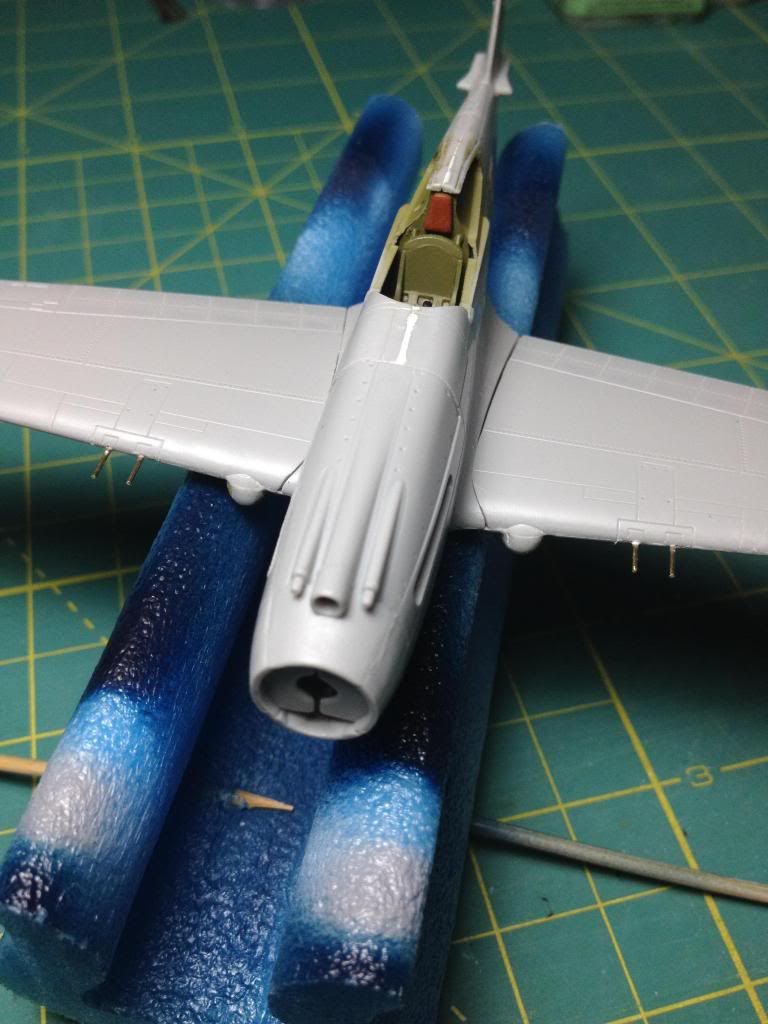
So I started the process of mating the model together. I thought being it is a Trumpeter Model, it would be almost perfect. Boy was I wrong. As nice as this model is, there are some definite fitting problems.
If you can see where the fuselage and the wings meet, the gap was too big and the parts a little offset in some areas. I also did not like the MGs in he wings. The barrels were stubby and incorrect. I didn't want to spend any more money on this kit, being I am not going to be entering it in any contests. I went through my stash of brass and metal rods and found a gauge that was close to what I needed, cut and glued them in. Not bad.
I also got my little Dremel bit and carved out a bit of the 50 cals barrels to add some definition to the guns.
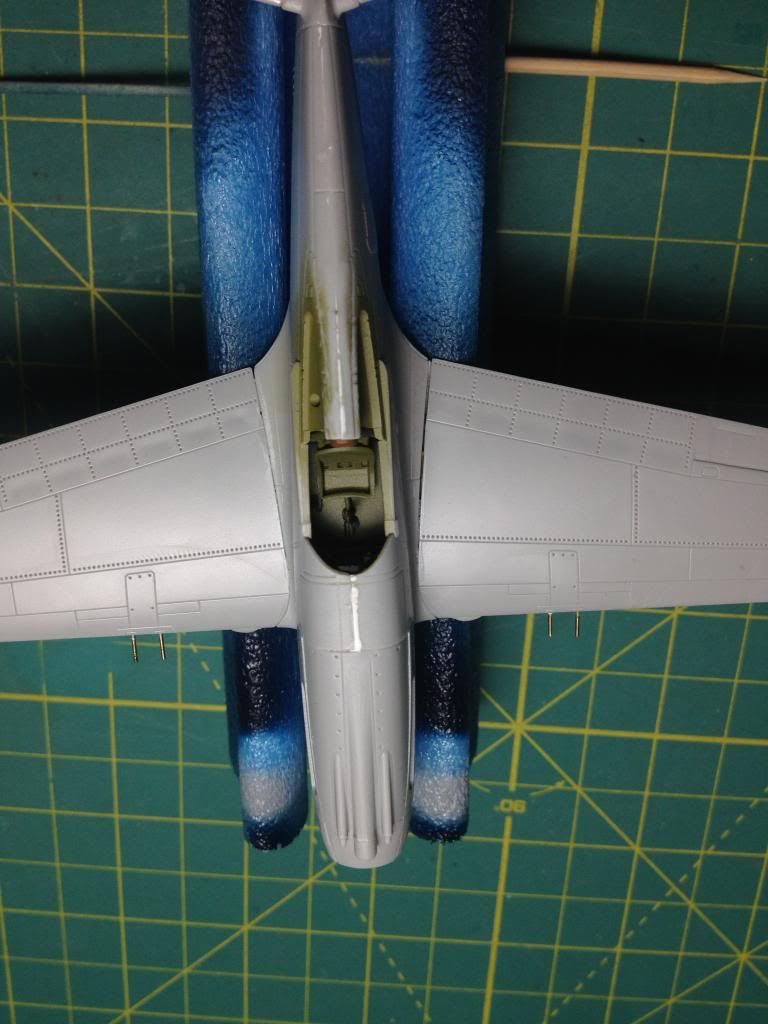
Here is another angle. You can see both sides are bit off, but one side favors the other. I used Mr. Hobby dissolved putty to close the gaps a bit to many it look like a panel line more than a gap. I used the same putty on the other seams and sanded them down.
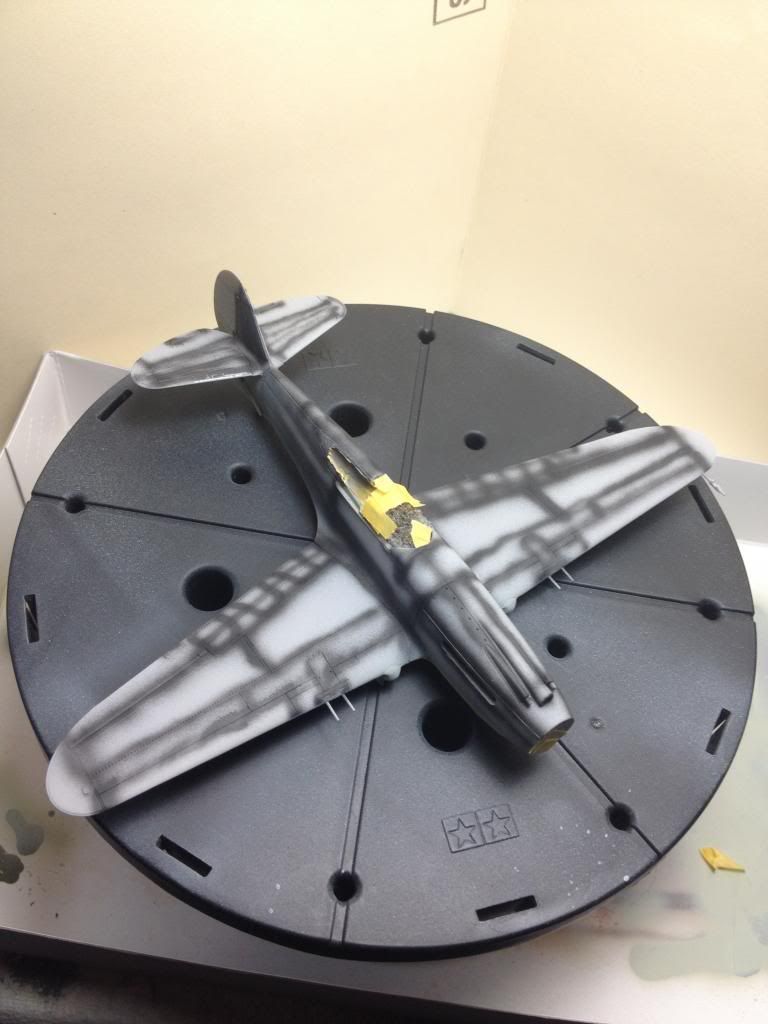
After priming the model with Mig's Ammo Primer, I used black paint to airbrush the panel lines. I was not tooo careful, I kinda rushed through this phase. Plus 1:72 scale is CRAZY small to me (I'm used to 1:35 AFV). I sprayed both sides of model and then the fun REALLY begins.
No comments:
Post a Comment